
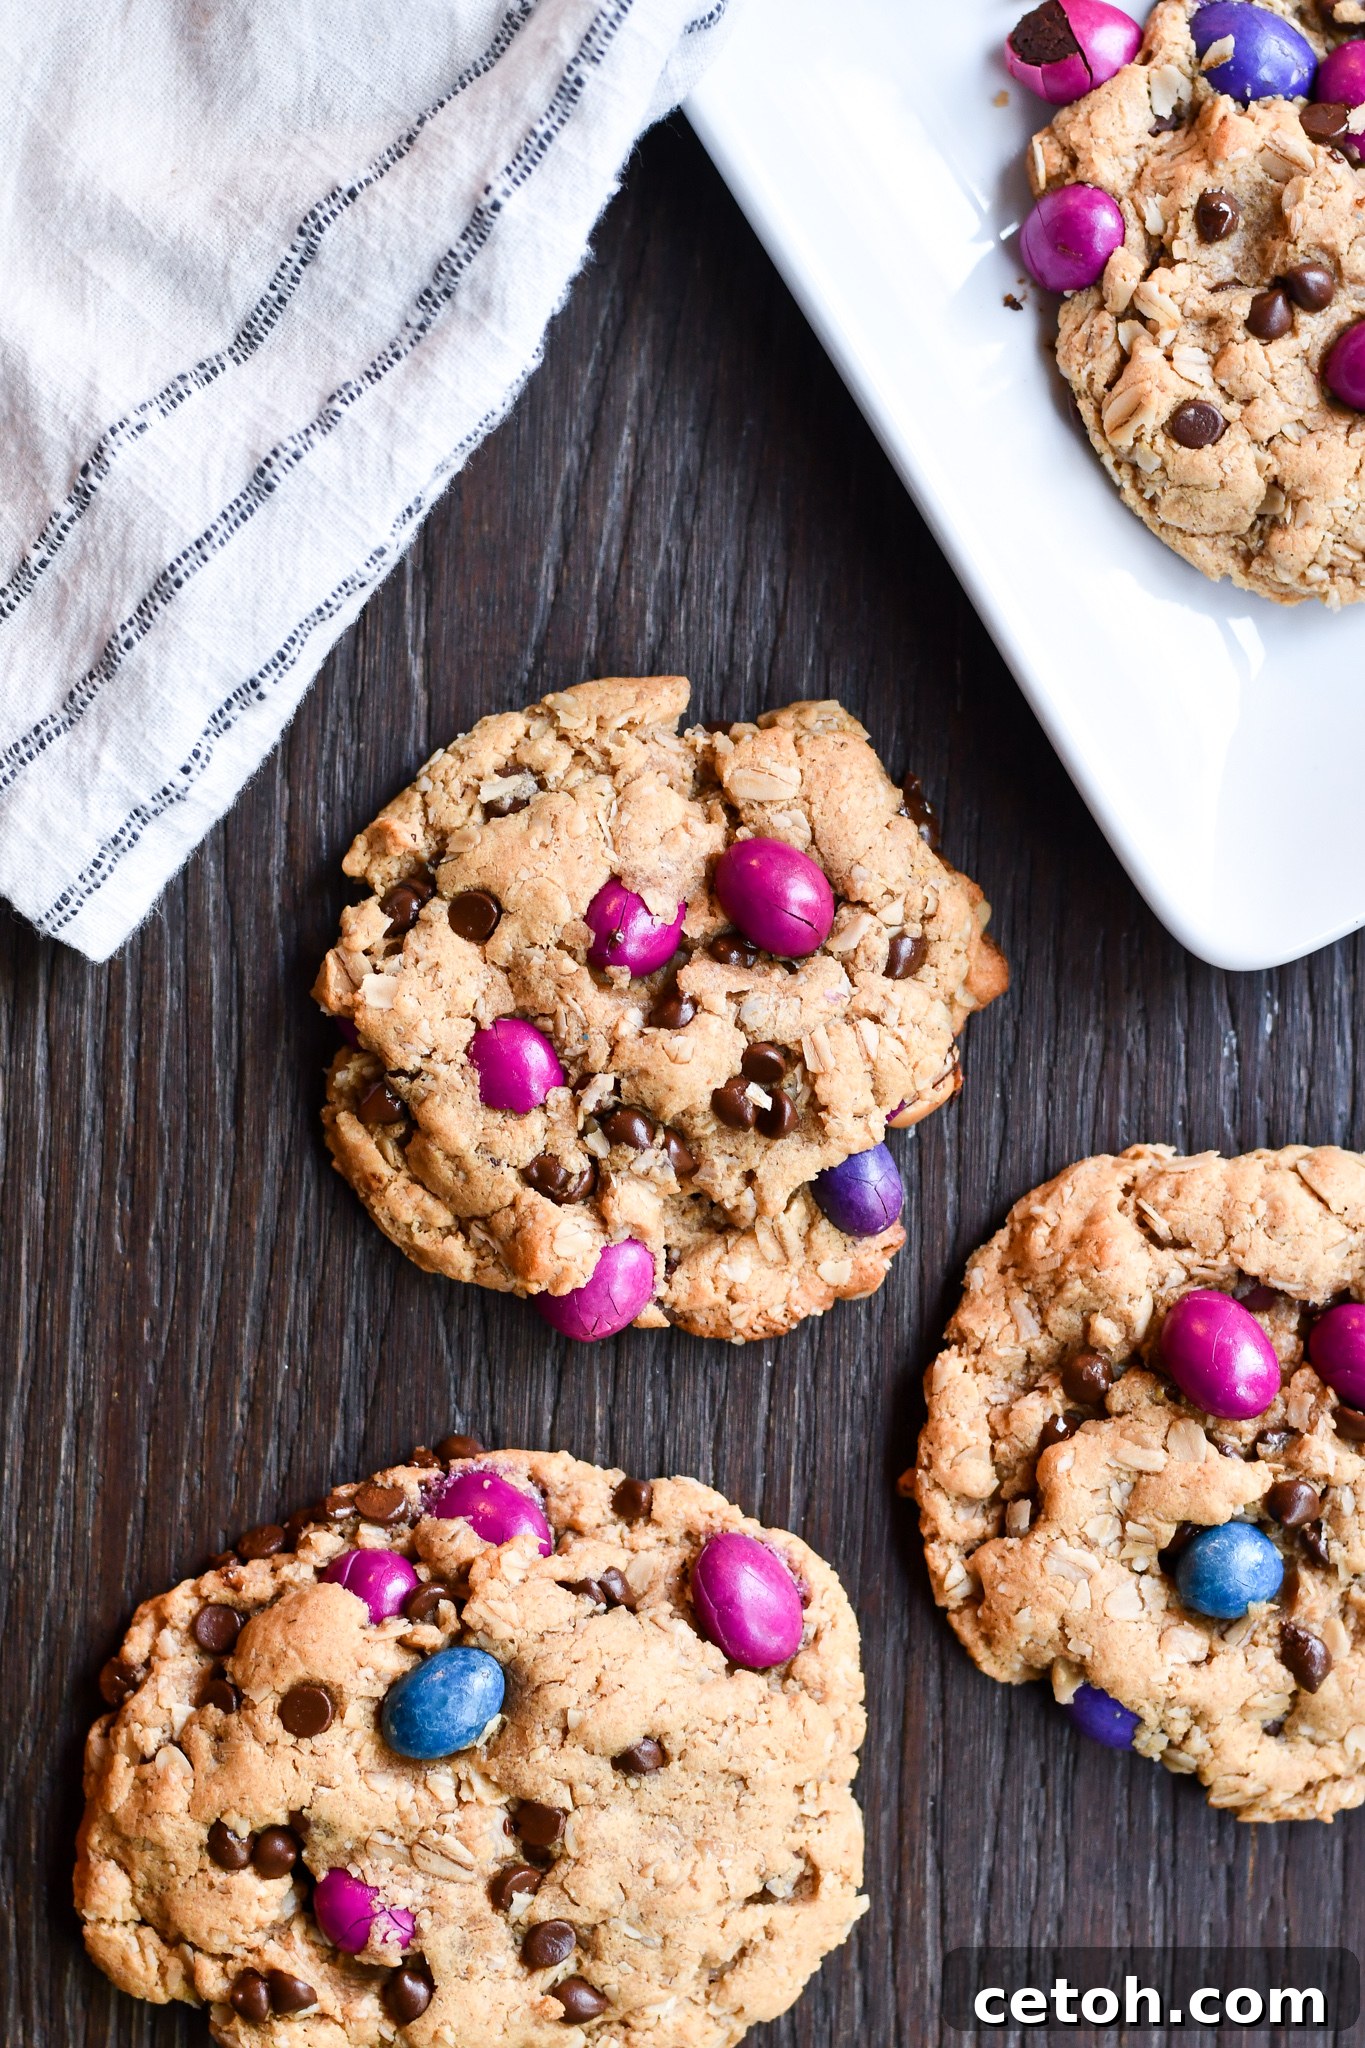
Grandma’s Legacy: The Best Gluten-Free Dairy-Free Monster Cookies Recipe
There’s something truly special about a family recipe, especially one passed down through generations. Our grandma’s monster cookies hold a cherished spot in our hearts and at every family gathering. The rich aroma, the perfect blend of sweet and salty, and that irresistible chewy texture have always made them an absolute favorite. Recently, with an increasing need to cater to gluten-free and dairy-free dietary requirements within our family, I embarked on a mission to adapt this beloved recipe. The fantastic news? This classic monster cookie recipe required only minor adjustments to become entirely gluten-free and dairy-free, preserving every ounce of its original, comforting flavor. Now, everyone can enjoy a taste of Grandma’s kitchen without compromise!
For another fantastic allergen-friendly treat, be sure to try our recipe for classic Gluten-Free Dairy-Free Peanut Butter Blossoms. They’re equally delightful and perfect for sharing!
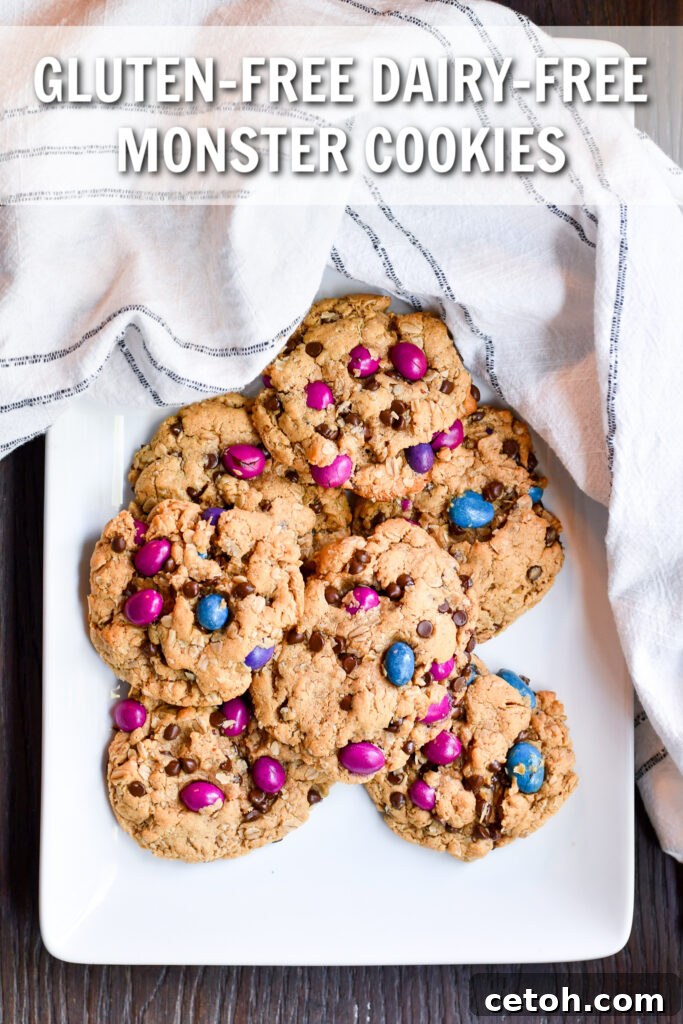
Unleashing the Monster: A Deep Dive into Key Ingredients & Essential Supplies
Creating these incredible gluten-free and dairy-free monster cookies requires a thoughtful selection of ingredients and a few fundamental kitchen tools. The beauty of this recipe lies in its simplicity and the readily available nature of most components. Here’s what you’ll need to gather to bring these cookies to life:
- Creamy peanut butter (see notes below for best results)
- Brown sugar for depth and chewiness
- Granulated sugar for sweetness and spread
- Large eggs, acting as a crucial binder
- Corn syrup for that signature chewy texture
- Certified gluten-free old-fashioned oats
- Dairy-free chocolate chips (brands like Nestle Allergen Free Morsels or Enjoy Life are excellent choices)
- UNREAL Dark Chocolate Peanut Gems* (our secret weapon for a dairy-free “M&M” experience)
Beyond the ingredients, having the right equipment ensures a smooth baking process and perfectly uniform cookies. While nothing too specialized is required, these items will make your baking journey easier and more enjoyable:
UNREAL Dark Chocolate Peanut GemsBuy on Amazon
OXO Cookie ScoopBuy on Amazon
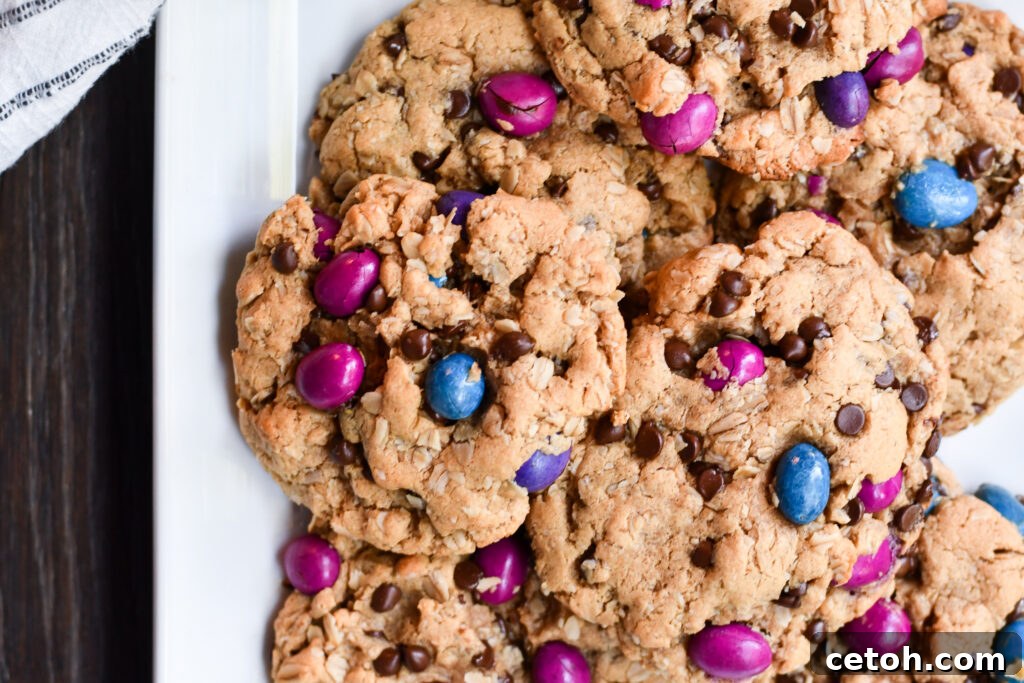
The Anatomy of a Monster Cookie: What Makes Them So Irresistible?
Monster cookies are aptly named for their colossal flavor and the “monster” list of delicious ingredients packed into each bite. Traditionally, these cookies are a glorious medley of peanut butter, rolled oats, chocolate chips, and colorful M&M’s candies. They offer an incredible textural experience – soft and chewy on the inside, with slightly crispy edges, all punctuated by the satisfying crunch of candies and the melt-in-your-mouth richness of chocolate.
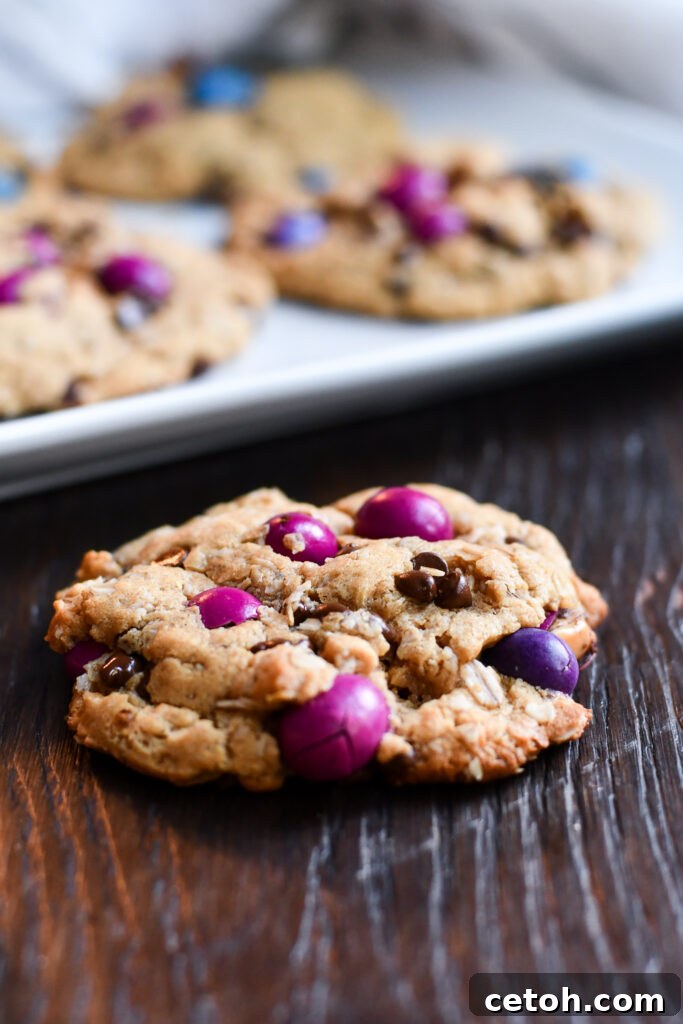
In our beloved grandma’s recipe, the foundation remains true to this classic profile. However, to ensure these treats are enjoyed by everyone, we’ve made a key substitution for the M&M’s, which typically contain dairy. Instead, we enthusiastically recommend UNREAL Dark Chocolate Peanut Gems. These gems provide the same vibrant colors and delightful crunch as traditional candies but are certified dairy-free, making them the perfect swap without sacrificing any of the monster cookie’s iconic appeal. The combination of creamy peanut butter, wholesome oats, and a generous scattering of both dairy-free chocolate chips and UNREAL gems creates a truly unforgettable cookie that truly lives up to its monstrous reputation.
Unlocking Peanut Butter Secrets: Can You Use Natural Peanut Butter in Cookies?
Peanut butter is the undeniable star of monster cookies, lending a distinct flavor and a unique chewiness. However, not all peanut butters are created equal when it comes to baking. While I’m a huge proponent of natural ingredients, when it comes to baking cookies, I generally advise exercising caution with “natural” peanut butter that separates into oil and solids. These varieties often have a thinner consistency and can lead to unpredictable results in terms of cookie spread and texture. Sometimes, they work perfectly fine, but other times, you might end up with cookies that spread too much or are too crumbly, making them frustrating to work with.
If your heart is truly set on using a natural peanut butter, or if that’s all you have on hand, I highly recommend opting for “no-stir” natural peanut butter varieties. Specifically, the Skippy brand No Stir Natural Peanut Butter has consistently yielded excellent results in my baking. Its texture is much more consistent and less oily, which helps maintain the integrity of the cookie dough. While I do find it can subtly alter the overall flavor profile of the cookies compared to conventional creamy peanut butter, it’s usually not in a negative way—just a slightly different nuance that many find enjoyable. Ultimately, for the most reliable outcome and a cookie that tastes “just like Grandma’s,” a good quality, conventional creamy peanut butter (without natural oil separation) is often the safest bet.
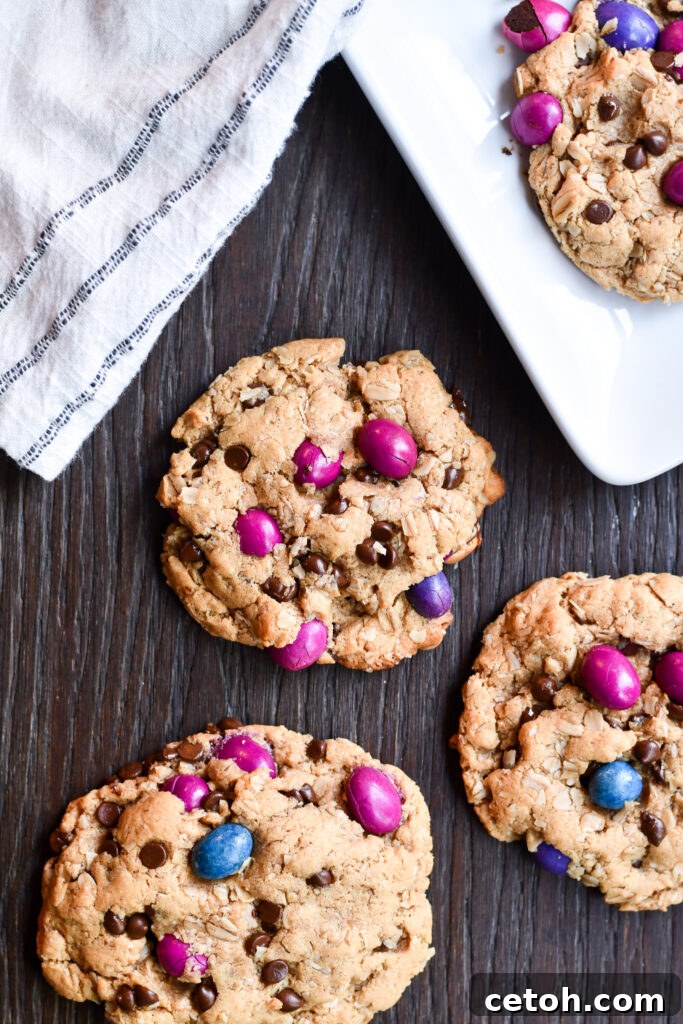
Dairy-Free Baking: What Can I Use Instead Of Butter In Cookies?
Adapting traditional recipes to be dairy-free can sometimes feel like a daunting task, especially when butter is a primary ingredient. Many dairy-free butter alternatives exist on the market, but their performance can vary greatly in baking. This is precisely why I frequently turn to my arsenal of peanut butter cookie recipes when I’m baking for family members with dietary restrictions. Peanut butter cookies are remarkably forgiving and incredibly easy to convert to gluten-free and dairy-free versions.
The secret weapon? Peanut butter itself! It serves as an absolutely fabulous substitute for traditional dairy butter in a surprising number of cookie recipes. Its rich fat content and creamy texture mimic many of butter’s functions, contributing to moisture, flavor, and structure.
In the original version of Grandma’s monster cookies, the recipe called for both dairy butter and peanut butter. However, through careful testing, I’ve discovered a brilliant and simple hack: replacing the dairy butter component with an equal amount of additional peanut butter. This clever swap doesn’t just eliminate the dairy; it also amplifies that wonderful peanut butter flavor without negatively impacting the cookie’s texture or chewiness in any way. This means that converting this cherished family favorite to a completely gluten-free and dairy-free treat is astonishingly straightforward, requiring just two primary ingredient swaps (dairy-free candies/chips and more peanut butter instead of butter). It truly couldn’t be easier to enjoy these delicious cookies!
Mastering the Monster: Tips for Perfect Gluten-Free Dairy-Free Baking
Baking gluten-free and dairy-free cookies doesn’t have to be complicated. With a few simple tips, you can ensure your monster cookies turn out perfectly every time, just like Grandma intended:
Choosing Your Oats: Go Certified Gluten-Free!
While oats are naturally gluten-free, they are often processed in facilities that also handle wheat, barley, and rye, leading to cross-contamination. To guarantee your monster cookies are truly gluten-free, always look for oats explicitly labeled “certified gluten-free.” This ensures they meet strict standards and are safe for those with celiac disease or gluten sensitivity.
Mixing Matters: Don’t Overdo It
Once you add the dry ingredients (oats, baking soda, salt) and especially the chocolate chips and candies, mix until just combined. Overmixing can develop the gluten in wheat-based flours, but even with gluten-free oats, it can lead to tougher cookies. A gentle touch ensures a tender, chewy result.
The Perfect Scoop: Consistency is Key
Using a cookie scoop (like the OXO one mentioned above) is highly recommended. It not only speeds up the process but also ensures that all your cookies are uniform in size. This consistency is crucial for even baking, preventing some cookies from burning while others remain undercooked. For these monster cookies, about a 2-tablespoon scoop is ideal.
Baking Time and Temperature: Keep an Eye Out
Preheating your oven to the correct temperature (350 degrees F) is essential. When baking, watch for the edges to set and turn golden brown. The centers might still look a little soft or underbaked, but that’s exactly what you want for a chewy monster cookie! They will continue to set as they cool on the baking sheet.
Cooling Patience: Let Them Rest
Resist the urge to move your cookies immediately from the hot baking sheet to a cooling rack. Gluten-free and dairy-free cookies can be more delicate when warm. Allow them to cool on the baking sheet for 5-10 minutes. This extra cooling time allows them to firm up and prevents them from breaking when transferred. Then, move them to a wire rack to cool completely.
Customization and Storage: Making Them Your Own
Endless Variations
While the classic monster cookie is fantastic as is, feel free to experiment with additional mix-ins or variations. Consider adding chopped walnuts or pecans (ensure they are allergen-friendly if needed), a sprinkle of shredded coconut, or even a different variety of dairy-free chocolate (like white chocolate chips or chopped dairy-free dark chocolate bars). You could also explore a different nut butter if you’re feeling adventurous and have tested its baking properties (though peanut butter is traditionally best here).
Storage Savvy
Once completely cooled, store your monster cookies in an airtight container at room temperature for up to 3-5 days. For longer storage, these cookies freeze beautifully. You can freeze the baked cookies for up to 2-3 months. Simply place them in a single layer on a baking sheet to flash freeze for an hour, then transfer them to a freezer-safe bag or container. Thaw at room temperature when ready to enjoy.
You can also freeze the unbaked cookie dough! Scoop the dough onto a parchment-lined baking sheet and flash freeze until firm. Then, transfer the frozen dough balls to a freezer bag. When a cookie craving strikes, simply bake from frozen, adding a minute or two to the baking time.
Gluten-Free Dairy-Free Monster Cookies
2 dozen
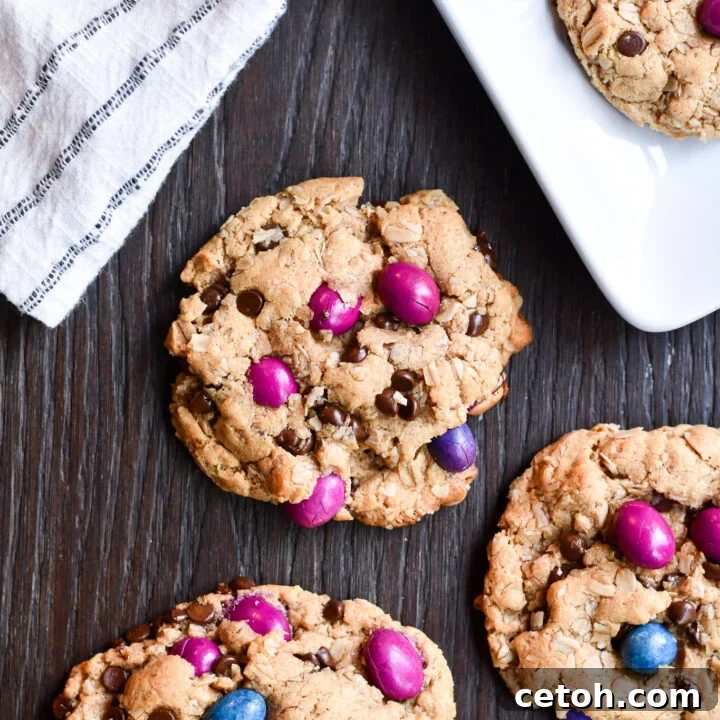
Our grandma makes the BEST monster cookies. Her recipe is a family favorite, and I recently tweaked it ever-so-slightly to make it gluten-free and dairy-free so that our GF DF family members can enjoy it too. The best part is that original recipe needs very little alteration to make it GF DF, which means it still tastes just like Grandma’s!
Ingredients
- 2 c. creamy peanut butter
- 1 c. brown sugar
- 1 c. granulated sugar
- 3 large eggs
- 1 tbsp. corn syrup
- 1 tsp. vanilla extract
- 2 tsp. baking soda
- 4-1/2 c. certified gluten-free old-fashioned oats
- 1/4 tsp. salt
- 1 package UNREAL Dark Chocolate Peanut Gems (dairy-free candy-coated peanuts)
- 2 c. allergen-friendly semi-sweet chocolate chips (dairy-free)
Instructions
- Preheat your oven to 350 degrees F (175 degrees C). Prepare a baking sheet by lining it with parchment paper or foil.
- In a large mixing bowl, beat together the creamy peanut butter, granulated sugar, and brown sugar until light and fluffy. An electric mixer (stand or hand-held) works best for this.
- Add the eggs, one at a time, mixing well after each addition until fully incorporated into the mixture.
- Stir in the corn syrup and vanilla extract until evenly combined.
- In a separate bowl, whisk together the baking soda, certified gluten-free oats, and salt. Gradually add the dry ingredients to the wet ingredients, mixing until just combined.
- Gently fold in the UNREAL Dark Chocolate Peanut Gems and dairy-free chocolate chips until evenly distributed throughout the dough. The dough will be thick, slightly sticky, and a little oily—this is perfectly normal for monster cookies!
- Using a cookie scoop (approximately 2 tablespoons per scoop), drop rounded balls of cookie dough onto your prepared baking sheet, leaving about 2 inches between each cookie.
- Bake for 9-11 minutes, or until the edges of the cookies look set and are lightly golden. The centers may still appear slightly soft; this indicates a perfectly chewy cookie. Do not overbake.
- Remove the baking sheet from the oven and allow the cookies to cool on the sheet for 5-10 minutes before transferring them to a wire rack to cool completely. Enjoy these delicious, allergen-friendly monster cookies!
Nutrition Information:
Yield: 24
Serving Size: 1
Amount Per Serving:
Calories: 302Total Fat: 17gSaturated Fat: 5gTrans Fat: 0gUnsaturated Fat: 9gCholesterol: 23mgSodium: 245mgCarbohydrates: 36gFiber: 3gSugar: 26gProtein: 7g
Did you make this recipe?
We’d love to see your creations! Please leave a comment on the blog below or share a photo on Instagram using #GFDFMonsterCookies.