
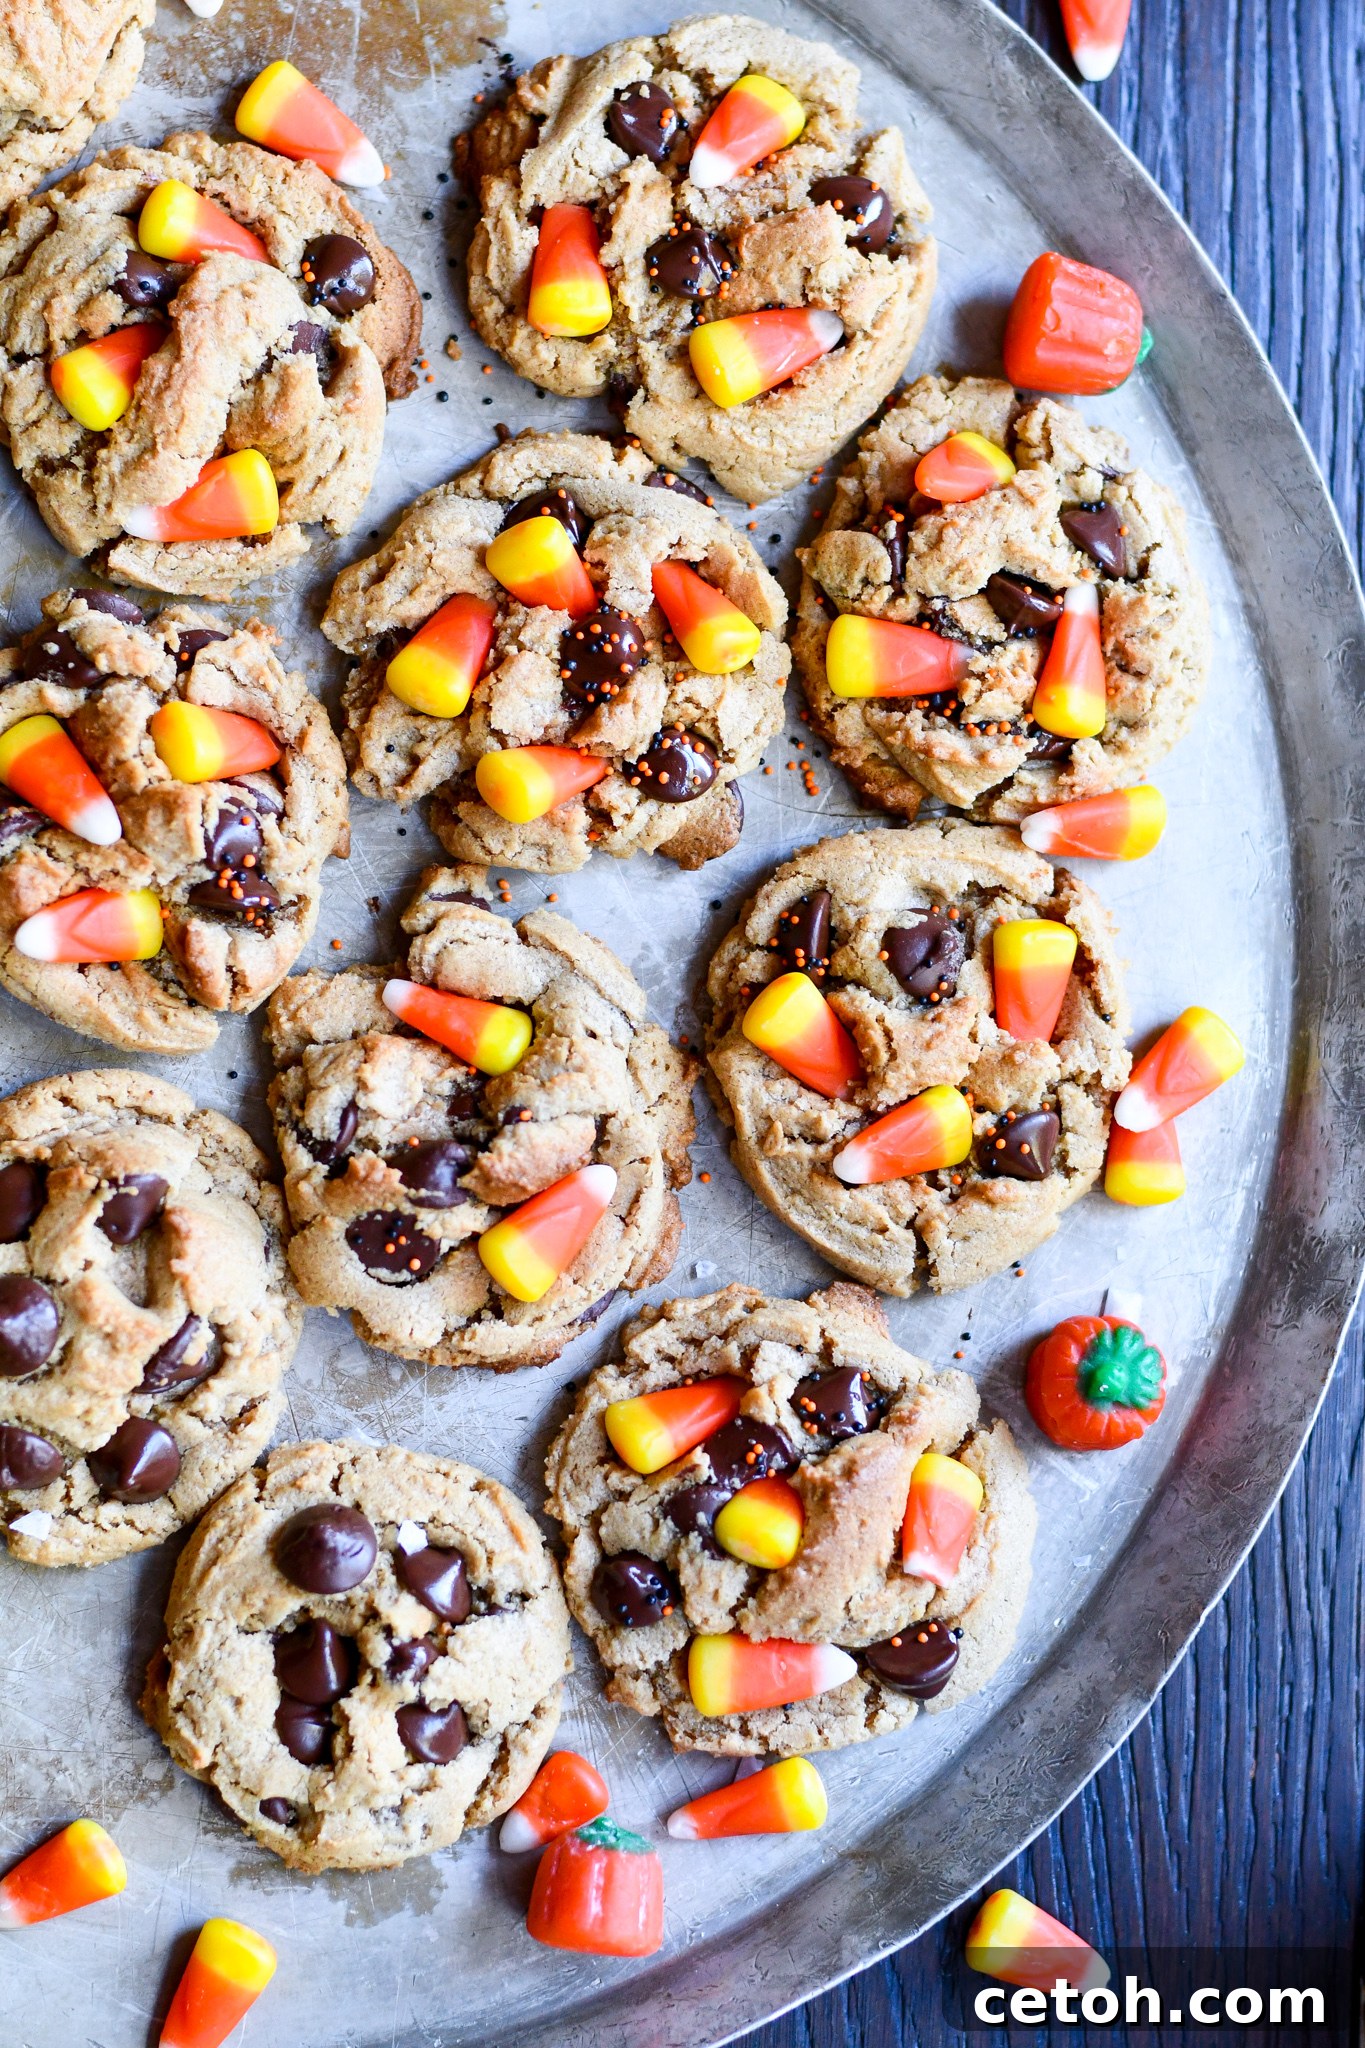
Irresistible Candy Corn Peanut Butter Cookies Recipe
Elevate your fall baking experience with our incredibly easy Candy Corn Peanut Butter Cookies recipe. This festive treat transforms a classic peanut butter cookie into a seasonal delight, perfect for both Halloween and Thanksgiving celebrations. Imagine biting into a soft, chewy peanut butter cookie, perfectly complemented by the pleasant surprise of a tender candy corn melt-in-your-mouth texture. It might sound simple, but the combination is utterly magical and undeniably delicious. Prepare to fall in love at first bite – these cookies are truly irresistible!
Even for those who aren’t typically fans of candy corn, these cookies possess a captivating charm that’s hard to resist. There’s something truly special about the contrasting textures: the familiar, comforting chewiness of the candy corn harmonizing with the soft, melt-in-your-mouth goodness of a homemade peanut butter cookie. This unique textural interplay, coupled with the sweet and savory balance, makes them disappear almost as quickly as they emerge from the oven in our home!
To keep this recipe effortlessly simple, we’ve adapted our incredibly popular 3-Ingredient Peanut Butter Cookies as the delicious base. This means fewer ingredients and less fuss, allowing you to focus on the fun of baking. However, if you have a cherished peanut butter cookie recipe you adore, feel free to use it as your foundation and simply add the candy corn magic!
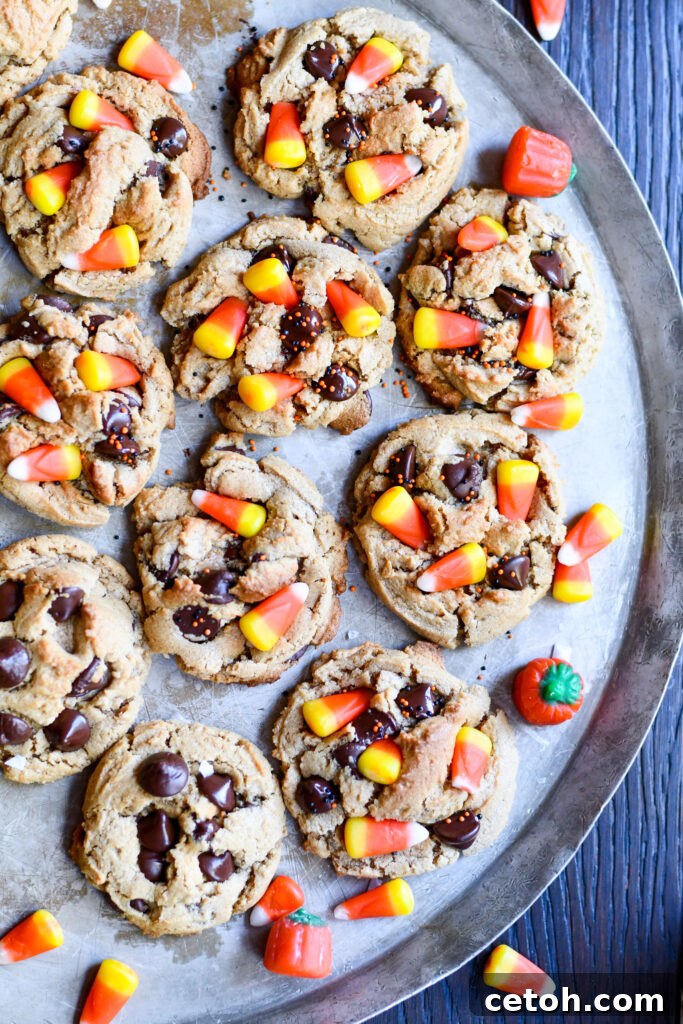
Why You’ll Adore These Festive Fall Cookies
- Effortlessly Easy: Starting with a simple peanut butter cookie base means less time in the kitchen and more time enjoying your delicious creations. It’s a perfect recipe for beginners and seasoned bakers alike.
- Seasonal Charm: The addition of candy corn instantly infuses these cookies with the spirit of autumn and the joy of Halloween. Their vibrant colors make them a delightful centerpiece for any fall gathering.
- Unforgettable Texture: The combination of soft, tender peanut butter cookie and the slightly chewy, sweet candy corn creates a truly unique and addictive textural experience.
- Customizable Fun: While candy corn is the star, this recipe is incredibly versatile. Add sprinkles, different chocolate chips, or even a touch of pumpkin spice to make them uniquely yours.
- Crowd-Pleaser Guaranteed: These cookies are a hit with both kids and adults. They’re perfect for school parties, potlucks, holiday celebrations, or simply as a cozy treat on a crisp autumn evening.
Essential Ingredients for Your Candy Corn Peanut Butter Cookies
Crafting these delightful cookies requires just a handful of simple ingredients, most of which you likely already have in your pantry. Each plays a crucial role in achieving the perfect flavor and texture:
- Peanut Butter:
- Role: This is the heart and soul of our cookie, providing its signature flavor, rich texture, and structure.
- Tips: For optimal results, use a creamy, processed peanut butter (like Jif or Skippy) with added stabilizers. Natural peanut butters tend to separate and can alter the cookie’s texture, making it drier or more crumbly. If using crunchy peanut butter, be prepared for an even more textured cookie!
- Brown Sugar:
- Role: Brown sugar contributes moisture, chewiness, and a wonderfully rich, caramelized sweetness that complements the peanut butter beautifully.
- Tips: Always pack brown sugar firmly into your measuring cup to ensure accurate measurements and the best texture. This also helps keep the cookies soft and moist.
- One Egg:
- Role: The egg acts as a vital binding agent, holding all the ingredients together and adding essential moisture and richness. It also contributes to the cookie’s rise and tender crumb.
- Tips: Ensure your egg is at room temperature for better incorporation into the dough. A quick whisk before adding can help ensure even distribution.
- Baking Soda:
- Role: This leavening agent helps the cookies rise slightly and contributes to their soft, tender texture. It reacts with acidic ingredients (like brown sugar) to create air pockets.
- Tips: Always use fresh baking soda for the best results. Measure accurately, as too much can lead to a soapy taste, and too little might result in dense cookies.
- Dark Chocolate Chips:
- Role: Chocolate chips add a rich, decadent contrast to the peanut butter and candy corn. Dark chocolate provides a lovely bittersweet balance.
- Tips: Feel free to customize! Use semi-sweet, milk chocolate, white chocolate, or even chocolate chunks based on your preference. Gently fold them into the dough to avoid overmixing.
- Candy Corn:
- Role: Beyond its iconic seasonal appearance, candy corn provides a burst of sweet, vanilla-like flavor and a delightful, slightly chewy texture when pressed onto the warm cookies.
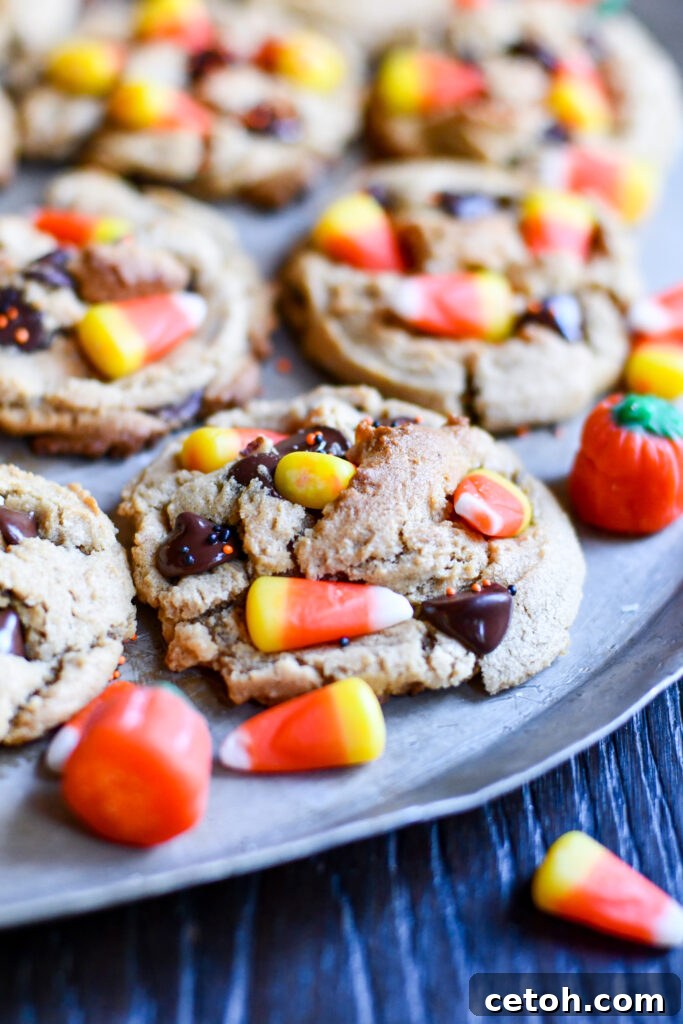
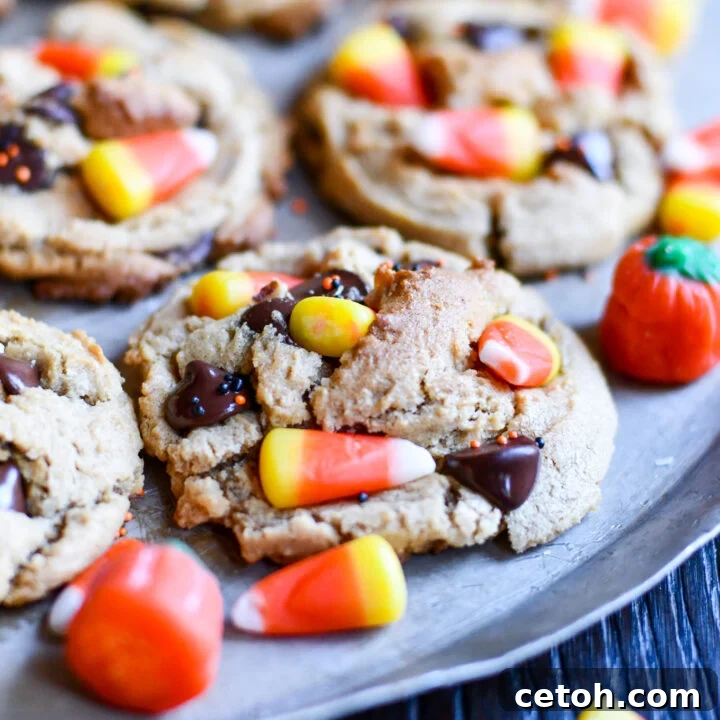
- Tips: For the best visual appeal and texture, reserve the candy corn for topping the freshly baked cookies rather than mixing it into the dough. This prevents melting and burning. Consider complementing with candy corn-colored sprinkles for an extra festive flair.
- Optional: Halloween Sprinkles:
- Role: Adds an extra layer of visual festivity and a touch of fun, especially for Halloween-themed treats.
- Tips: Apply them immediately after pressing in the candy corn, while the cookies are still warm and the chocolate chips are slightly melted, to help them adhere.
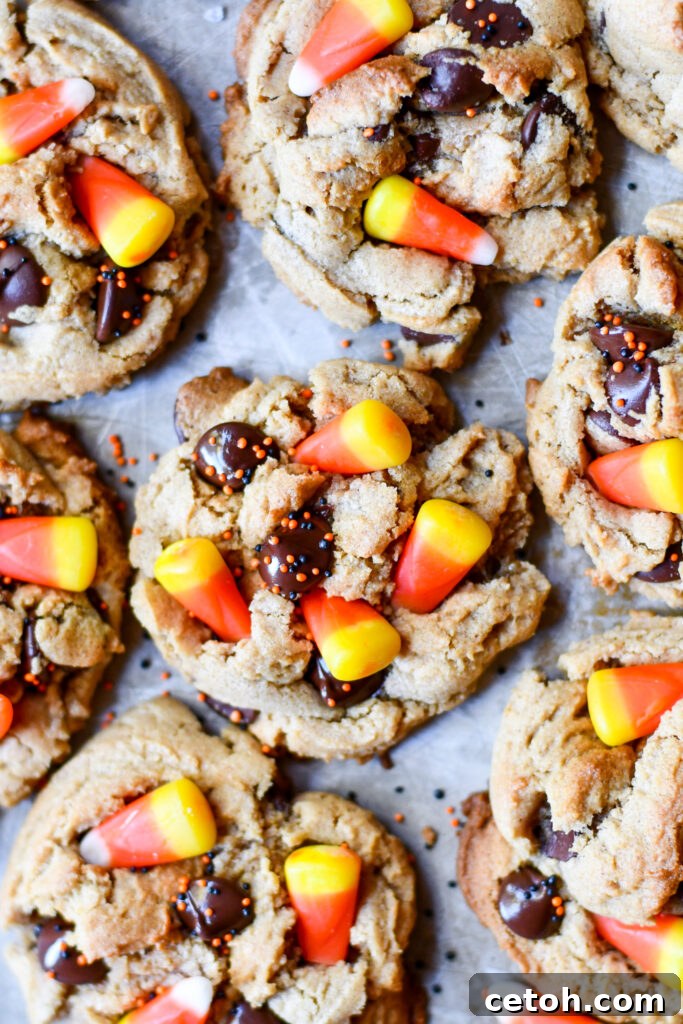
More Peanut Butter Cookie Inspiration
Homemade Nutter Butters Recipe
Muddy Buddy Crumbl Cookies Copycat Recipe (Dairy Free)
Gluten-Free Dairy-Free Monster Cookies Recipe
Gluten Free Peanut Butter Blossoms
3-Ingredient Peanut Butter Cookies
Expert Tips & Tricks for Perfect Candy Corn Peanut Butter Cookies
- Soften Your Peanut Butter: If your peanut butter is stiff straight from the jar, microwave it in a safe bowl for 10-15 seconds. This slight warming will make it much easier to mix into a smooth, consistent dough, preventing lumps.
- Strategic Candy Corn Placement: For the most visually appealing and texturally satisfying cookies, resist the urge to mix candy corn directly into the dough. Instead, immediately after removing the hot cookies from the oven, gently press several candy corn pieces onto the top of each warm cookie. The residual heat will soften the candy corn slightly, allowing it to adhere without melting completely or burning.
- Maintain Cool Cookie Sheets: Always use cool cookie sheets for each batch of dough. Placing dough on a hot sheet can cause the cookies to spread too rapidly before they have a chance to set, leading to thin, unevenly baked results. If you only have one sheet, run it under cold water and dry thoroughly between batches.
- Adequate Spacing is Key: Ensure you leave enough space (about 2 inches) between each cookie dough ball on your baking sheet. This allows for natural spreading during baking and ensures each cookie bakes evenly without merging into its neighbors.
- Watch the Clock Carefully: Baking times can vary depending on your oven. Begin checking your cookies a minute or two before the recommended baking time. Look for edges that appear set and slightly dry, while the center still looks slightly soft or even underbaked. They will continue to cook slightly from residual heat once removed from the oven. Avoid waiting for significant browning, as this can lead to dry, overbaked cookies.
- Patient Cooling Process: Once out of the oven, allow your cookies to cool on the baking sheet for 5-10 minutes. This crucial step allows them to firm up and set, making them easier to transfer to a wire rack without breaking or crumbling.
- Proper Storage for Freshness: While these cookies rarely last long, any leftovers should be stored in an airtight container at room temperature. This will help maintain their softness and prevent them from drying out. They typically stay fresh for up to 3-4 days.
- Optional Dough Chilling: For thicker cookies that spread less, consider chilling your cookie dough for 15-30 minutes before baking. This helps solidify the fats, leading to less spread in the oven.
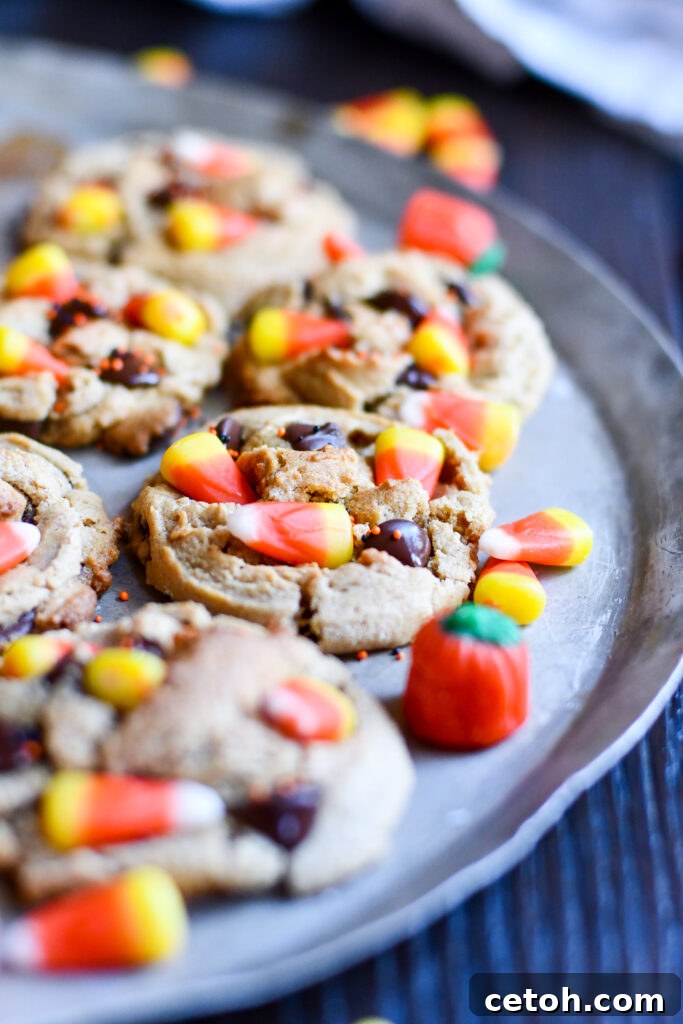
Understanding Candy Corn and Cookie Dough: Why Placement Matters
You might be tempted to simply mix the colorful candy corn directly into the cookie dough before baking, but this is a common pitfall we strongly advise against. Candy corn, being primarily sugar, behaves quite differently than chocolate chips or nuts when exposed to high oven temperatures. Here’s why it’s not recommended:
- Sticky, Melted Texture: When candy corn is baked within the dough, its high sugar content causes it to melt entirely. Instead of retaining its shape or offering a pleasant chew, it creates pockets of incredibly hot, sticky, and often hard caramel-like sugar within the cookie. This can lead to an undesirable texture that feels messy and difficult to eat, rather than the delightful experience we’re aiming for.
- Burning Risk: Sugar burns quickly. Exposing candy corn to direct, sustained oven heat for the entire baking duration significantly increases the risk of it caramelizing excessively, turning bitter, or even burning. This can impart an unpleasant, scorched flavor to your otherwise delicious peanut butter cookies.
- Loss of Visual Appeal: A major part of the charm of candy corn cookies is the iconic tri-color design of the candy itself. When baked into the dough, the candy corn melts and loses its distinct stripes and vibrant hues, becoming indistinguishable and diminishing the festive visual impact.
Instead, Master the Art of Post-Bake Candy Corn Integration:
- Immediate Post-Baking Application: The optimal method is to gently press a few candy corn pieces onto the top of each cookie immediately after they come out of the oven. At this stage, the cookies are still incredibly warm and pliable. The residual heat will slightly soften the candy corn, allowing it to embed and adhere perfectly without fully melting or burning. This preserves its vibrant colors and distinct shape, creating a beautiful and appetizing presentation.
- Avoid Overloading: While it’s tempting to pile on the candy corn, a moderate amount is usually best. Aim for 3-5 pieces per cookie, strategically placed for maximum visual appeal and balanced sweetness. Too many candy corn pieces can overwhelm the cookie’s texture and flavor, making it feel less like a cookie and more like a candy bar. The goal is to enhance, not overshadow, the delicious peanut butter base.
More Festive Fall and Halloween Recipes
Looking for more spooky season treats or comforting autumn bakes? Explore our collection of delightful recipes designed to add a touch of magic to your fall festivities. Whether you’re planning a Halloween party or a cozy family evening, you’ll find inspiration to satisfy every sweet tooth.
Frequently Asked Questions (FAQ’s)
Can I use natural peanut butter for this recipe?
While natural peanut butter is a healthy choice, its oil content and consistency differ significantly from conventional processed peanut butter (like Jif or Skippy). It lacks the added stabilizers, which can result in a cookie dough that is too oily or crumbly, leading to cookies that spread excessively or have a drier, less desirable texture. For the best, most consistent results with these chewy and soft cookies, we highly recommend using a traditional creamy or crunchy peanut butter with stabilizers.
How can I prevent my cookies from spreading too much during baking?
Several factors can contribute to cookies spreading too much. To minimize this, ensure your cookie dough balls are adequately spaced on the baking sheet (at least 2 inches apart). Also, using cool cookie sheets for each batch is crucial; a warm sheet can cause immediate spreading. If your kitchen is warm or your dough feels soft, chilling the prepared cookie dough balls in the refrigerator for about 15-30 minutes before baking can significantly help them hold their shape and reduce excessive spreading.
Can I freeze the cookie dough for later use?
Absolutely! Freezing cookie dough is a fantastic way to prepare ahead. To do so, shape the dough into uniform cookie-sized balls and place them on a baking sheet lined with parchment paper. Freeze until they are completely solid (this usually takes 1-2 hours). Once frozen, transfer the dough balls to an airtight freezer-safe container or a heavy-duty freezer bag. They can be stored for up to 2-3 months. When you’re ready to bake, simply place the frozen dough balls on a prepared baking sheet and add an additional 2-4 minutes to the original baking time.
Do I need any special equipment for this recipe?
Not at all! This recipe is designed to be simple and requires only basic kitchen tools. You’ll need a large mixing bowl, a sturdy spoon or rubber spatula for mixing (an electric mixer is optional but can make mixing easier), measuring cups and spoons, a baking sheet, and parchment paper. A cookie scoop is helpful for uniform cookie sizes, but not essential.
What if I don’t like candy corn but still want a festive fall cookie?
No problem! If candy corn isn’t your favorite, you can easily substitute it with other festive toppings. Consider pressing miniature chocolate chips, autumn-colored sprinkles, chopped roasted peanuts, or even a light dusting of cinnamon sugar onto the warm cookies instead. The delicious peanut butter cookie base is versatile enough to pair with many different additions!
Candy Corn Peanut Butter Cookie Recipe Card
Candy Corn Peanut Butter Cookies Recipe
12
10 minutes
9 minutes
19 minutes
These Candy Corn Peanut Butter Cookies are perfect for autumn gatherings, Halloween parties, or simply as a delightful treat any time of the year!
Ingredients
- 1 cup creamy peanut butter
- 1 cup packed brown sugar
- 1 large egg
- 1 tsp baking soda
- ½ cup dark chocolate chips
- 1 cup candy corn, reserved for topping
- Optional: Halloween sprinkles
Instructions
Preheat your oven to 350°F (175°C) and line a baking sheet with parchment paper.
- In a large mixing bowl, combine the peanut butter and packed brown sugar. Using a sturdy spoon or an electric mixer, beat them together until the mixture is well blended, smooth, and creamy. Ensure there are no streaks of unmixed sugar.
- Add the large egg to the peanut butter mixture. Continue to mix thoroughly until the egg is fully incorporated, and the dough achieves a consistent, creamy texture.
- Sprinkle the baking soda evenly over the mixture and mix it in until just combined. Be careful not to overmix at this stage.
- Gently fold in the dark chocolate chips using a spatula. Mix just enough to ensure they are evenly distributed throughout the cookie dough without crushing them.
- Using a tablespoon or a cookie scoop, portion out the dough into uniform balls. Place them onto the prepared baking sheet, leaving approximately 2 inches of space between each cookie to allow for proper spreading during baking.
- Bake the cookies in the preheated oven for 9-11 minutes. The cookies should have slightly set edges and still appear a bit soft or even slightly underbaked in the center. They will continue to firm up as they cool.
- Remove the cookies from the oven. Immediately and gently press 3-5 pieces of candy corn into the top of each warm cookie. Allow them to cool on the baking sheet for at least 5-10 minutes before carefully transferring them to a wire rack to cool completely.
- Optional: For an extra touch of charm, press a few more chocolate chips on top of the warm cookies immediately after baking. Once they have melted slightly, sprinkle with Halloween sprinkles. The sprinkles will adhere beautifully to the melted chocolate, adding a delightful flair!
Nutrition Information:
Yield: 12
Serving Size: 1
Amount Per Serving:
Calories: 292Total Fat: 13gSaturated Fat: 3gTrans Fat: 0gUnsaturated Fat: 8gCholesterol: 16mgSodium: 221mgCarbohydrates: 40gFiber: 2gSugar: 35gProtein: 6g
Did you make this recipe?
Please leave a comment on the blog or share a photo on Instagram