
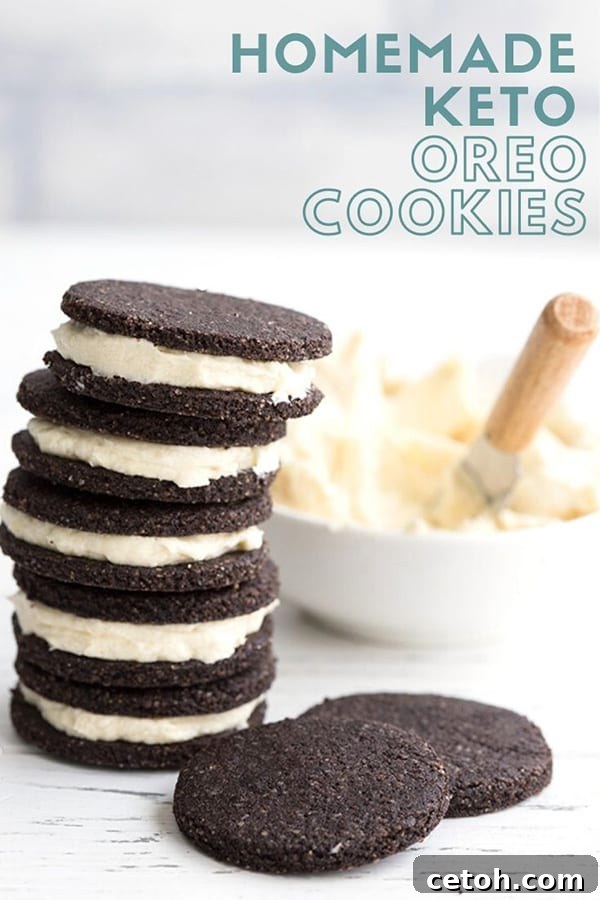
Delicious Dairy-Free Keto Oreos: Your Guilt-Free Low-Carb Treat!
Indulge your sweet tooth without compromising your low-carb lifestyle with these incredibly easy and delicious keto Oreos. Crafted to be sugar-free, dairy-free, and paleo-friendly, these homemade chocolate sandwich cookies with a rich vanilla cream filling taste remarkably like the classic original. Perfect for satisfying cravings, these treats offer a guilt-free way to enjoy a beloved childhood favorite, making them an essential addition to any keto or low-carb dessert repertoire.
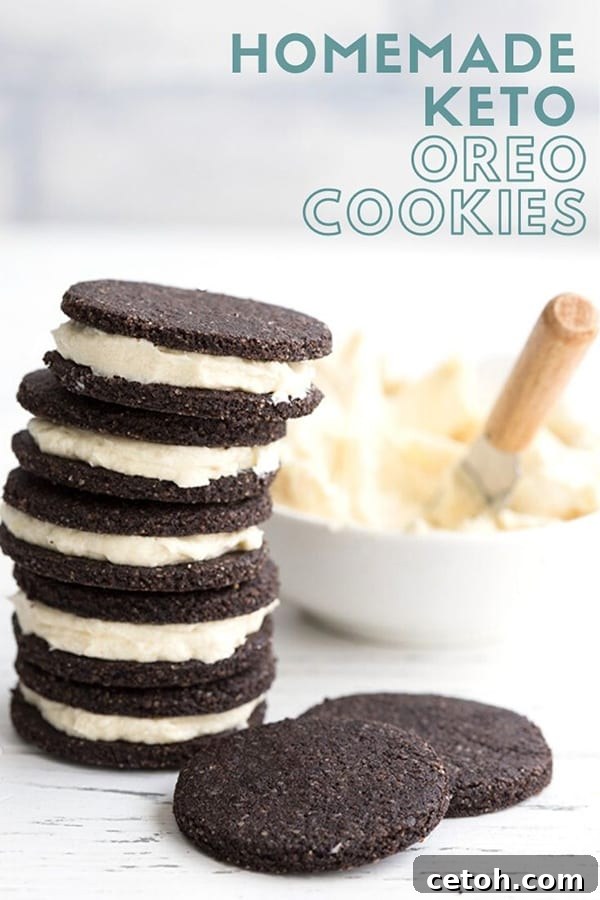
If you’ve been searching for that perfect, nostalgic treat that fits seamlessly into your keto, low-carb, or even paleo dietary plan, your quest ends here. These keto Oreo cookies are an absolute revelation, allowing you to relive childhood memories with every delightful bite, completely free from guilt. It’s a magical experience to discover a dessert that captures the essence of the classic Oreo without any of the sugar, grains, or dairy often found in traditional recipes.
Beyond being completely sugar-free, these keto sandwich cookies are also dairy-free, making them an excellent choice for those with lactose intolerance or dairy allergies, or simply those looking to reduce their dairy intake. Despite these significant modifications, they truly taste just like the conventional Oreos you remember, but with an impressive difference: only 1.8g net carbs per serving. This makes them a phenomenal option for anyone managing blood sugar levels or adhering to a strict ketogenic diet.
The recipe thoughtfully incorporates the crisp chocolate wafers from my popular Keto Thin Mints recipe, utilizing coconut oil instead of butter to maintain their dairy-free status. These perfectly baked wafers embrace a luscious, rich vanilla cream center, creating a harmonious balance of flavors and textures. Even my notoriously picky son, a true connoisseur of sweet treats, absolutely adores these, which is the ultimate seal of approval. If he loves them, you can be sure they’ll become a fast favorite in your home too!
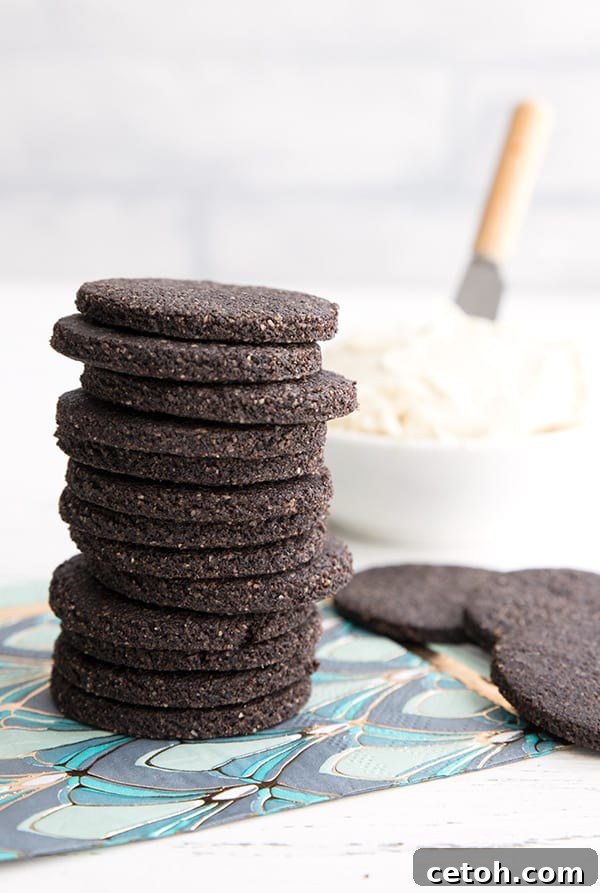
The Magic of Dairy-Free Keto Oreos: A Healthier Twist
My culinary journey has recently involved extensive experimentation with dairy-free keto recipes. This exploration isn’t driven by personal dietary restrictions, but rather by the overwhelming demand from readers who seek delicious, accessible alternatives. I believe in thoroughly testing various ingredients and substitutes to provide the most accurate and helpful advice on how they perform in different recipes, ensuring successful outcomes for everyone.
Through this dedicated process, I’ve successfully developed an array of magnificent dairy-free keto desserts that ingeniously mask the absence of sugar, grains, and dairy. Creations like my decadent Keto Peanut Butter Pie and the rich Keto Chocolate Fudge have proven that healthier versions can be just as satisfying, if not more so. It is with immense pride and excitement that I now add these incredible Keto Oreos to that growing list of must-try dairy-free delights!
Traditionally, I often turn to dairy-free cream cheese as a base for my frostings and fillings due to its creamy texture and tangy profile. However, for these keto Oreos, I embarked on a new adventure, experimenting with palm shortening. This choice was a deliberate one, aimed at replicating the authentic flavor and texture of real Oreos, whose creme filling is notably made with vegetable shortening. The result is a surprisingly authentic taste that truly captures the essence of the classic cookie, providing that signature smooth and melt-in-your-mouth experience.
Understanding Palm Shortening: A Wholesome Dairy Alternative
Before any concerns arise about the inclusion of shortening in this recipe, let me assure you that this is not the trans-fat laden, industrially processed shortening often associated with unhealthy junk foods. My commitment to wholesome, clean eating extends to every ingredient I recommend.
For these Keto Oreos, I specifically use Nutiva Palm Shortening, which is a remarkable product. It’s simply a carefully blended combination of organic, unrefined palm fruit oil, coconut oil, and red palm oil. This particular blend is known for its purity and sustainability, standing in stark contrast to hydrogenated shortenings. At room temperature, it maintains a firm consistency and has a natural yellowish hue, making it an ideal, high-quality dairy-free substitute for butter in a multitude of recipes.
One of its most significant advantages is its nutritional profile: it contains absolutely no hydrogenated fats, zero trans fats, and no cholesterol. This makes it a heart-friendlier option compared to many conventional cooking fats. Furthermore, palm shortening is almost entirely tasteless, which is a huge benefit when baking. You won’t have to worry about strong, unwanted flavors overpowering the delicate taste of your keto treats, allowing the rich chocolate and creamy vanilla notes of your homemade Oreos to shine through beautifully.
In this recipe, palm shortening plays a crucial role in creating a wonderfully smooth and luxurious dairy-free frosting. This texture is absolutely perfect for the iconic cream filling of keto Oreo cookies, providing that signature soft, rich, and spreadable consistency that we all adore. It truly is the secret ingredient that elevates these low-carb Oreos to a gourmet level, proving that healthy eating can still be incredibly indulgent.
Mastering Homemade Keto Oreos: Expert Tips for Perfection
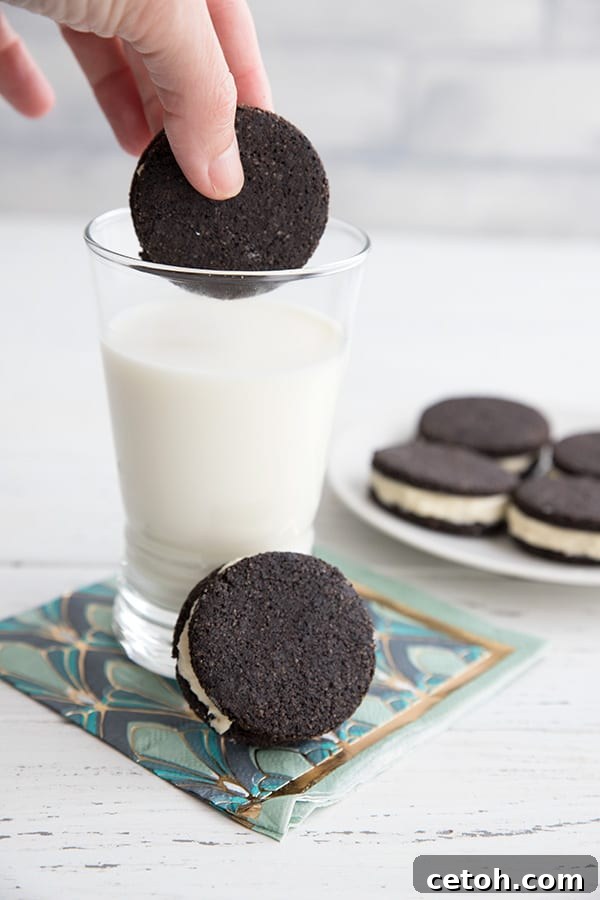
While making these keto Oreos is an undeniably fun and rewarding experience, it does require a little time and attention to detail, particularly during the assembly phase of these delightful sandwich cookies. Think of it as a creative endeavor, a culinary project that’s both tasty and engaging. It’s also a fantastic activity to share with younger family members – if you have kids, they’ll surely enjoy helping with the cookie cutting and frosting spreading! To ensure your journey to perfect homemade keto Oreos is smooth and successful, here are my best tips:
- Embrace Black Cocoa Powder: For that truly distinctive, deep chocolatey flavor and signature dark color of traditional Oreos, I highly recommend using a few tablespoons of black cocoa powder if you can find it. It makes a significant difference in both appearance and taste, elevating your cookies from good to gourmet. If black cocoa powder isn’t available, simply use more regular cocoa powder, and your cookies will still be delicious.
- Baking Surface Matters: You have options when it comes to baking surfaces. Both silicone baking mats and parchment paper work wonderfully. However, keep in mind that cookies baked on parchment paper tend to cook a little faster due to better heat conduction. Always keep a close eye on your cookies, regardless of your chosen surface, to prevent over-baking.
- Patience for Crispness: Don’t expect your cookies to be fully crisp right out of the oven. This is a common characteristic of many keto baked goods. The magic happens during the cooling process; as they cool down completely, they will continue to crisp up and develop that desirable firm texture. Allow them ample time to cool on a wire rack.
- Room Temperature for Frosting Perfection: This tip is crucial for a velvety smooth cream filling. Ensure that both your palm shortening and coconut cream are at true room temperature before you begin mixing. If these ingredients are cold, they will clump up and resist combining smoothly, resulting in a lumpy and undesirable frosting texture. No one wants clumpy Oreo filling!
- Understanding Coconut Cream: When the recipe calls for coconut cream, it refers to the thick, solidified white part found at the top of a can of full-fat coconut milk after it has been refrigerated. You can sometimes find small cans specifically labeled “coconut cream,” which are perfect for this. Alternatively, simply refrigerate a regular can of full-fat coconut milk overnight, then scoop out the thick cream from the top. Two tablespoons should be sufficient.
- Utilizing Coconut Milk Liquid: After you’ve scooped out the thick coconut cream, you’ll notice a thinner, watery “milk” remaining at the bottom of the can. Don’t discard it! This liquid is ideal for thinning out your frosting if it turns out too thick.
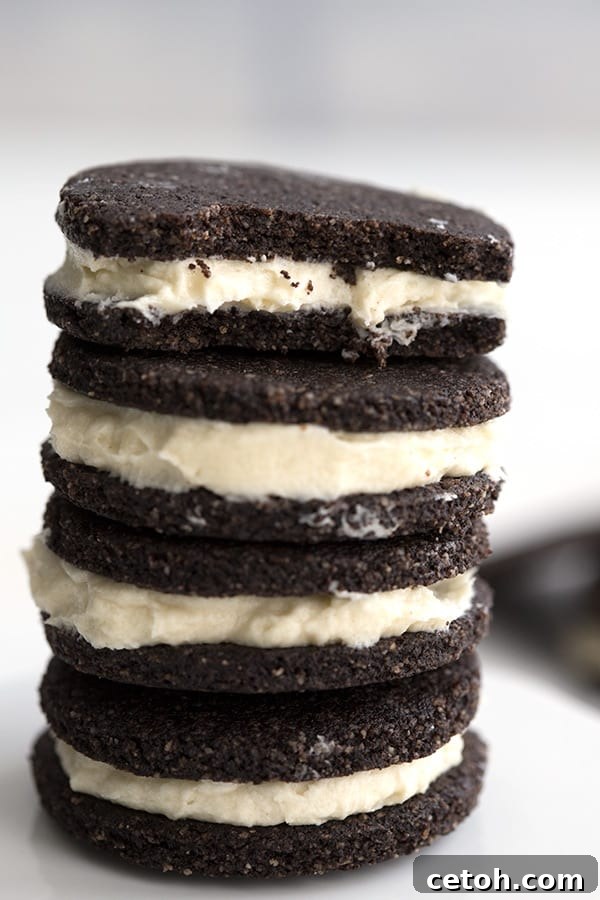
- Achieving Ideal Frosting Consistency: The vanilla frosting for these keto Oreos should be thicker than a typical cake frosting, but not so thick that it’s difficult to spread. It needs to hold its shape well between two cookies. Aim for a consistency that is firm yet easily spreadable, ensuring a clean and satisfying sandwich.
Dairy-Based Keto Oreos: An Alternative Option
Indeed, for those who prefer or can consume dairy, a fantastic dairy-based keto Oreo recipe is available! You can find this delightful variation in The Ultimate Guide to Keto Baking. This version utilizes the same irresistible chocolate wafers, but replaces coconut oil with butter, contributing a rich, familiar dairy flavor to the cookie base. The cream filling in the dairy-based recipe is also slightly different, as I found that incorporating a touch of cream cheese not only enhanced its flavor but also gave it that distinctly white, creamy appearance, making it even more reminiscent of traditional Oreo filling.
So, if you’re eager to create these amazing cookies with dairy, simply beat together the following ingredients until you achieve a smooth, luscious frosting:
- 6 tbsp butter, softened
- 2 ounces cream cheese, softened
- 2/3 cup powdered Swerve
- 2 tbsp heavy whipping cream, room temperature
- 1/2 tsp vanilla extract
Ready to make some delicious Keto Oreo Cookies? Let’s get baking!
Storage Recommendations for Your Keto Oreos
Once assembled, these keto Oreos can be stored in an airtight container at room temperature for up to 3-4 days. For extended freshness, especially if your home is warm, I recommend refrigerating them. They will keep well in the refrigerator for up to a week. For longer storage, you can even freeze the assembled cookies for up to 1-2 months. Simply thaw them at room temperature for about 30 minutes before enjoying.
Creative Variations to Try
While the classic chocolate and vanilla combination is unbeatable, feel free to experiment with these delicious low-carb Oreos:
- Minty Fresh: Add 1/4 teaspoon of peppermint extract to both the cookie dough and the frosting for a refreshing “Thin Mint” inspired flavor.
- Peanut Butter Bliss: Swirl a tablespoon of natural peanut butter into the vanilla frosting for a nutty twist.
- Almond Delight: Use almond extract instead of vanilla in the frosting for a sophisticated flavor profile.
- Double Chocolate: Drizzle melted sugar-free dark chocolate over the finished cookies for an extra chocolatey punch.
- Espresso Kick: Add 1/2 teaspoon of instant espresso powder to the chocolate wafer dough to deepen its flavor.
Frequently Asked Questions About Keto Oreos
Curious about these low-carb delights? Here are answers to some common questions:
Are regular Oreos keto-friendly?
Unfortunately, no. Traditional Oreos are packed with sugar and refined carbohydrates, making them unsuitable for a ketogenic diet. Each regular Oreo contains about 13g of net carbs, which would quickly exceed daily carb limits on keto. Our keto Oreo recipe provides a delicious, low-carb alternative.
Can I use a different sweetener?
Yes, you can. Powdered erythritol, xylitol, or a monk fruit/erythritol blend are good alternatives to Swerve. Just ensure they are powdered to achieve a smooth frosting texture. If using xylitol, be aware that it is toxic to pets.
Why are my cookies not crisp?
Keto cookies often soften when stored. If you prefer them very crisp, you can briefly re-bake them at a low temperature (e.g., 250°F / 120°C) for 5-10 minutes, then let them cool completely. Ensuring they are fully cooled after the initial bake is also crucial for crispness.
Can I make the dough ahead of time?
Absolutely! The chocolate wafer dough can be made a day or two in advance and stored in the refrigerator, tightly wrapped. This can help break up the prep time.
What if my palm shortening is too hard or too soft?
Palm shortening’s consistency can vary with room temperature. If it’s too hard, gently warm it slightly (e.g., in a warm water bath for a few minutes). If it’s too soft, chill it in the refrigerator briefly until it reaches a firm, yet pliable, consistency.
Making keto Oreos is more than just baking; it’s about reclaiming a beloved treat and adapting it to fit a healthier lifestyle. These cookies prove that you don’t have to miss out on delicious desserts just because you’re following a low-carb, sugar-free, or dairy-free diet. They offer the perfect balance of rich chocolate wafers and creamy vanilla filling, all while being incredibly low in net carbs. So go ahead, whip up a batch, and rediscover the joy of Oreos, keto-style!
More Delicious Keto Sandwich Cookies
If you loved these Keto Oreos, you’ll be thrilled to discover other fantastic low-carb sandwich cookie recipes:
- Keto Maple Cream Sandwich Cookies
- Keto Peanut Butter Sandwich Cookies
- Keto Pecan Lace Cookies
- Keto Chocolate Hazelnut Sandwich Cookies
- Keto Pumpkin Sandwich Cookies
- Keto Zucchini Bread Whoopie Pies
Keto Oreos
Servings: 18 cookies
Prep Time: 30 mins
Cook Time: 30 mins
Total Time: 1 hr
Keto oreos are easy and delicious low carb chocolate cookies with a delectable vanilla cream filling. Sugar-free, dairy-free, and paleo-friendly, and they taste just like the real thing.
Ingredients
Chocolate Wafers
- 1 3/4 cup (180 g) almond flour
- 3 tbsp cocoa powder
- 2 tbsp black cocoa powder (or just more regular cocoa powder)
- 1/3 cup (60.67 g) Swerve Granular
- 1 tsp baking powder
- 1/4 tsp salt
- 1 large egg
- 2 tbsp melted coconut oil (or any non-dairy oil)
- 1/2 tsp vanilla extract
Vanilla Frosting
- 1/2 cup (108 g) palm shortening, room temperature
- 2 tbsp coconut cream, room temperature
- 3/4 cup (136.5 g) powdered Swerve Sweetener
- 1/2 tsp vanilla extract
- 2 to 4 tbsp coconut milk
Instructions
Chocolate Wafers
- Preheat the oven to 300F and line two baking sheets with parchment paper or silicone baking mats.
- In a large bowl, combine almond flour, cocoa powder, sweetener, baking powder and salt. Add in egg, coconut oil, and vanilla extract and stir well until dough comes together.
- Roll out dough between two pieces of parchment paper to desired thickness, but no more than 1/4 inch thick. Lift off the top piece of parchment and set aside.
- Using a 2-inch diameter cookie cutter, cut out circles of dough and lift gently. Place cookies on prepared baking sheet. Gather up the scraps of dough and reroll until too little is left to roll out.
- Bake the cookies until firm to the touch, 20 to 30 minutes (this will vary depending on how thinly you rolled your dough). Remove and let cool. They will continue to crisp up as they cool.
Vanilla Frosting
- In a large bowl, beat the palm shortening with the coconut cream until smooth. Beat in the powdered sweetener and the vanilla extract.
- Beat in 2 tbsp of the coconut milk until well combined. The frosting should be a thick but spreadable consistency. If the frosting is still quite thick, beat in a bit more of the coconut milk.
Assembly
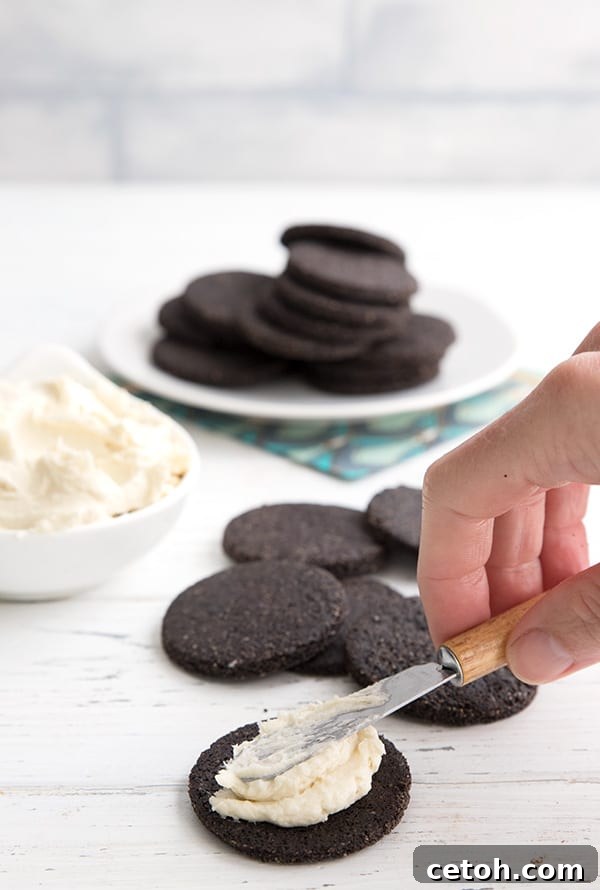
- Take one chocolate wafer and spread the bottom with a little more than 1 tbsp of the filling. Top with another wafer cookie.
- Repeat with all the cookies and the filling.
Nutrition
Serving: 1 cookie | Calories: 154kcal | Carbohydrates: 3.5g | Protein: 3g | Fat: 14.7g | Fiber: 1.7g
I’d love to know your thoughts, leave your rating below!