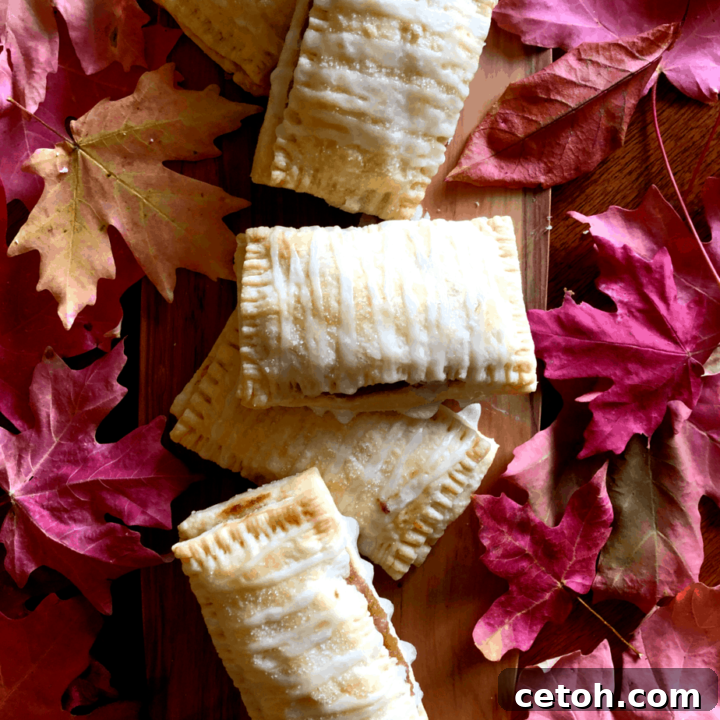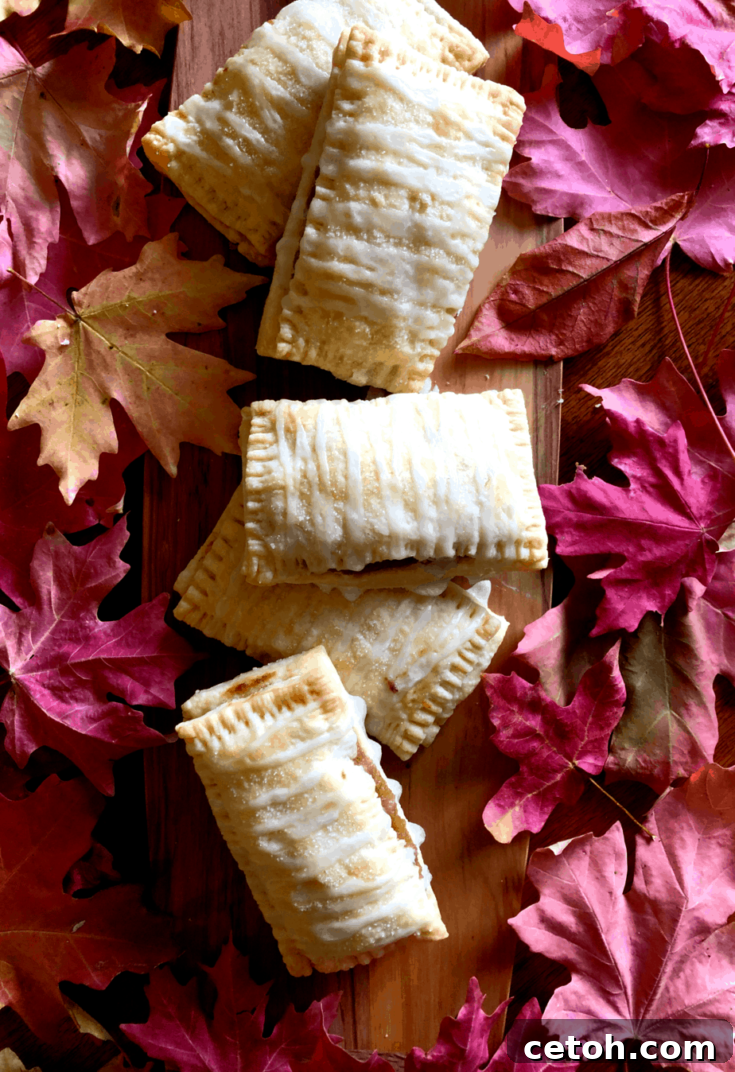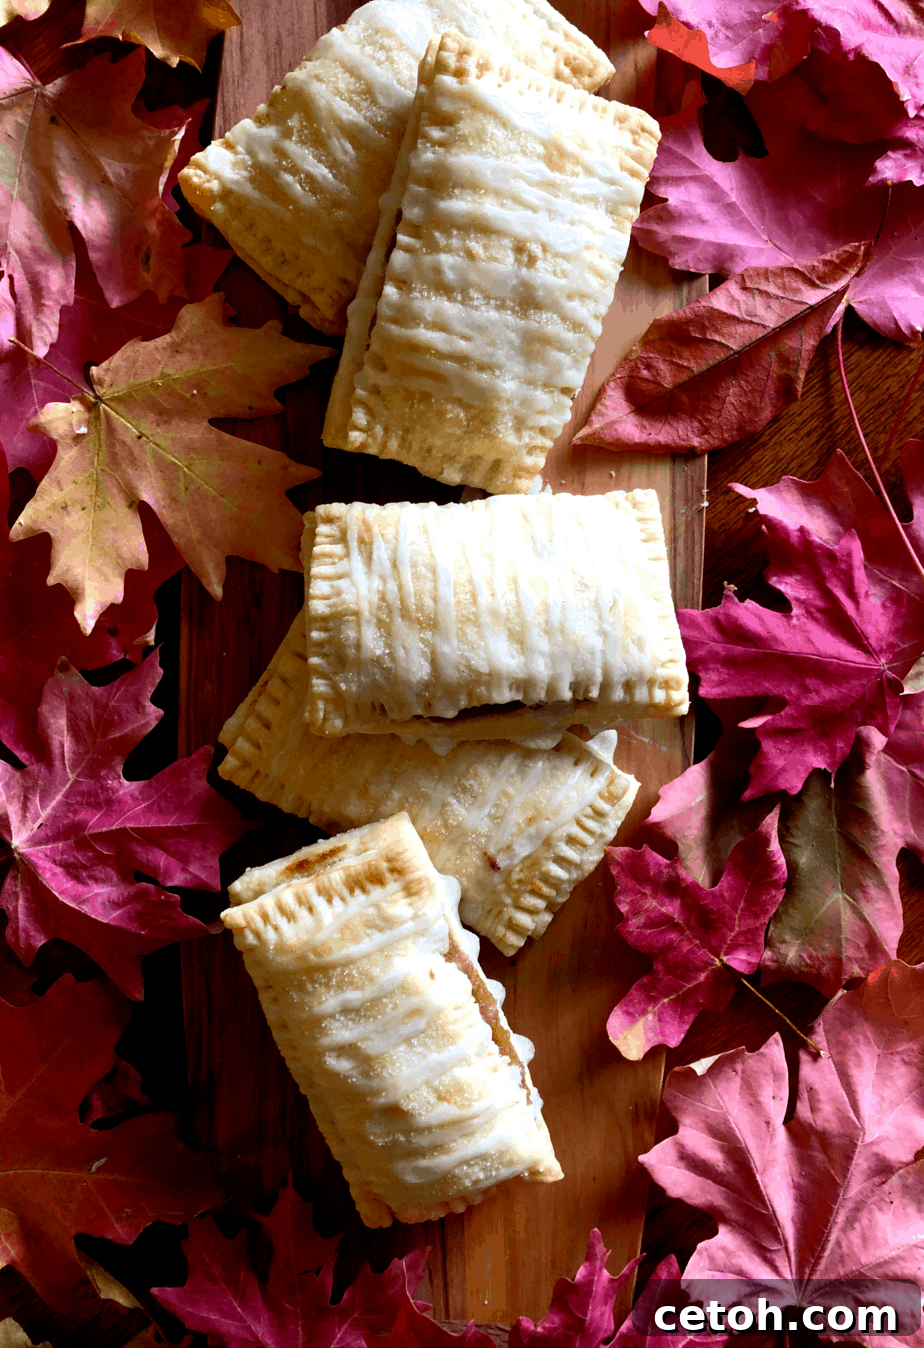
Delicious Homemade Mini Puff Pastry Apple Pies: Your Ultimate Fall Treat
There’s nothing quite like the comforting aroma of freshly baked apple pie, especially as the crisp air of autumn settles in. These Mini Puff Pastry Apple Pies are more than just a dessert; they’re a celebration of fall, a testament to homemade goodness, and a delightful treat that promises flakiness in every bite. Forget the bland, mass-produced versions – this recipe guides you through creating individual apple pies with a perfectly buttery, layered puff pastry that melts in your mouth.
The inspiration for these miniature marvels often springs from unexpected moments. Imagine a late-night craving for a classic apple pie, only to find all options unavailable. That’s precisely how these irresistible pies came to life! While convenience might tempt you to reach for store-bought puff pastry, I wholeheartedly encourage you to embark on the journey of making it from scratch. The difference in taste and texture is truly incomparable – a homemade puff pastry delivers an unparalleled flakiness and richness that elevates these pies from good to extraordinary. It requires a bit of patience and some elbow grease, but the reward is a truly magnificent dessert that tastes like pure autumn bliss.
Whether you’re hosting a fall gathering, looking for a cozy baking project, or simply craving a sweet escape, these mini apple pies are the perfect solution. They’re portion-controlled, easy to serve, and utterly adorable. Get ready to impress your friends and family with a dessert that embodies the warmth and flavors of the season.
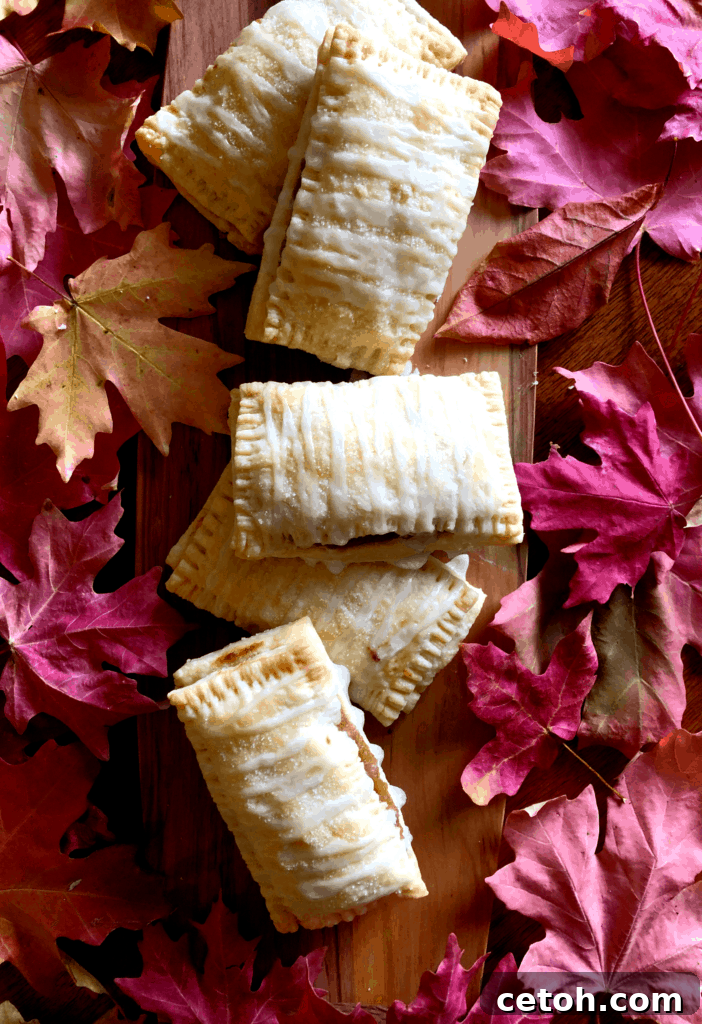
Why You’ll Love This Mini Apple Pie Recipe
These mini puff pastry apple pies stand out for several reasons, making them a must-try recipe:
- Unmatched Flakiness: The homemade puff pastry creates countless buttery layers, resulting in a light and airy texture that store-bought pastry simply can’t replicate. Each bite offers a delightful crunch followed by a tender, fruit-filled center.
- Perfect Portions: Their mini size makes them ideal for individual servings, perfect for parties, lunchboxes, or a controlled treat. No need for slicing a big pie – just grab and enjoy!
- Irresistible Apple Filling: Made with tart Granny Smith apples, brown sugar, and warm spices like cinnamon and vanilla, the filling is a harmonious blend of sweet and tangy, cooked to a smooth, luscious consistency.
- Customizable: While apples are a classic choice, this recipe serves as a fantastic base for various fillings. Feel free to experiment with pumpkin, cherry, or mixed berry fillings to suit your taste or the season.
- Rewarding Baking Experience: Crafting these pies from scratch, especially the puff pastry, is a deeply satisfying process that will fill your home with incredible aromas and leave you with a sense of accomplishment.
The Secret to Irresistible Flakiness: Mastering Homemade Puff Pastry
The star of these mini apple pies is undoubtedly the puff pastry. While it might seem daunting, homemade puff pastry is a labor of love that yields truly spectacular results. The secret lies in a technique called lamination, where butter is folded repeatedly into dough, creating hundreds of thin layers. As the pastry bakes, the water in the butter turns to steam, pushing the layers apart and creating that characteristic “puff” and incredible flakiness.
Key principles for success:
- Cold Butter is King: It’s crucial that your butter remains very cold and firm throughout the process. This prevents it from fully incorporating into the flour and instead creates distinct layers within the dough.
- Ice Water: Just like the butter, the water used to form the initial dough must be ice cold. This helps keep the butter solid and contributes to the dough’s workability.
- The Folding Technique (Turns): The process of rolling out the dough, folding it into thirds (like a letter), and rotating it 90 degrees is repeated multiple times. Each “turn” creates more layers. Don’t rush this process, and ensure even rolls.
- Chilling is Essential: Chilling the dough between turns and before final shaping allows the gluten to relax and the butter to firm up again. This prevents tearing and ensures crisp, distinct layers. A properly chilled dough is easier to handle and less likely to stick.
Essential Ingredients for Your Mini Apple Pies
Gathering your ingredients is the first step to creating these delightful treats. Using quality ingredients will truly make a difference in the final flavor and texture. Here’s what you’ll need:
For the Homemade Puff Pastry:
- 2 Cups All-Purpose Flour: The foundation of our pastry, providing structure.
- 1 ¼ Cups Unsalted Butter: Extremely cold and cubed. Unsalted butter allows you to control the salt content and offers a purer butter flavor. The cold temperature is vital for creating those flaky layers.
- 2 Tbsp Cold Water: Essential for bringing the dough together without melting the butter. You might need slightly more or less depending on your environment.
- 1 tsp Salt: Enhances the flavor of the pastry.
For the Delectable Apple Filling:
- 3 Granny Smith Apples: Peeled, cored, and diced. Granny Smiths are perfect for pies due to their tartness and firm texture, which holds up well during cooking.
- ¼ Cup Unsalted Butter: For sautéing the apples and creating a rich base for the filling.
- ¼ Cup Brown Sugar: Adds a wonderful caramel note and sweetness to balance the tart apples.
- 1 Tbsp Ground Cinnamon: The quintessential apple pie spice, providing warmth and depth of flavor.
- 1 tsp Salt: A pinch of salt brings out the sweetness of the apples and spices.
- 2 tsp Vanilla Extract: Enhances the overall flavor profile of the filling.
For Assembly and Glaze:
- 1 Large Egg (beaten): For an egg wash, which gives the pies a beautiful golden-brown, glossy finish.
- Granulated Sugar: For sprinkling on top, adding a lovely sparkle and a touch of sweetness to the crust.
- 1 Cup Powdered Sugar: For making the optional decorative glaze.
- 2-3 Tbsp Milk (or water): To mix with the powdered sugar for the glaze, creating a thick, pourable consistency.
Step-by-Step Guide to Crafting Your Mini Puff Pastry Apple Pies
Patience and precision are key to these pies, but the process is incredibly rewarding. Follow these steps carefully for the best results.
Preparing the Flaky Puff Pastry from Scratch
- Begin by cubing your very cold unsalted butter into small pieces. Place these in a large mixing bowl. Measure your flour and salt into the same bowl. Using your hands or a pastry blender, “cut” the butter into the flour mixture until it resembles coarse crumbs with some pea-sized butter pieces still visible. The goal is not to fully incorporate the butter, but to distribute it evenly within the flour.
- Have a small bowl of ice water ready. Gradually add the cold water, starting with 2 tablespoons, mixing it into the flour and butter mixture. The exact amount of water can vary slightly based on humidity and flour type. Mix until a shaggy dough forms. Be careful not to overmix. Gather the dough and gently press it into a thick disc. Wrap it tightly in plastic wrap and refrigerate for at least 1 hour. This chilling time is crucial for the butter to firm up and the gluten to relax.
- After 1 hour, remove the dough from the fridge and lightly flour your work surface. Roll the dough into a rough rectangle. Fold the rectangle into thirds (like folding a letter), then rotate the dough 90 degrees. Repeat this rolling, folding, and rotating process two more times. This is the lamination process that creates those incredible layers. After these “turns,” wrap the dough again in plastic wrap and chill it for at least 2 hours, or even better, overnight. Making the dough the night before is a great way to break up the recipe steps.
- Once thoroughly chilled, take the dough out onto a generously floured surface. This next rolling step requires a bit of effort and strength. Roll the dough out evenly to about ¼ inch thickness. To create uniform mini pies, prepare a paper template measuring approximately 4 ¼ by 2 ½ inches. Place this template over your rolled-out dough and use a sharp knife or pastry wheel to cut out rectangles. Try to cut as close to the edges as possible to maximize your yield.
- Gather the dough scraps, gently press them together (do not knead vigorously), re-roll to ¼ inch thickness, and cut out any remaining rectangles. Continue until you’ve used all the dough, yielding approximately 20 rectangles.
Creating the Delectable Apple Pie Filling
- Peel, core, and dice your Granny Smith apples into small, uniform pieces. In a medium saucepan, melt the ¼ cup of unsalted butter over medium heat. Add the brown sugar and stir until it dissolves and creates a syrupy base. Stir in the cinnamon, salt, and vanilla extract. Finally, add the diced apples to the saucepan.
- Cook the apple mixture over medium heat, stirring occasionally, until the apples have softened significantly and the mixture has thickened, about 10-15 minutes. The apples should be tender but not mushy.
- Carefully transfer the cooked apple mixture to a blender or use an immersion blender directly in the saucepan. Blend until the mixture is smooth, resembling a thick applesauce. This smooth consistency prevents the pies from being lumpy and ensures an even distribution of flavor.
- Pour the smooth apple filling into a clean container and allow it to cool completely in the refrigerator. A chilled filling is easier to work with and helps prevent the pastry from becoming soggy during assembly.
Assembling and Baking Your Perfect Mini Pies
- Lay out half of your pastry rectangles on a parchment-lined baking sheet. Spoon about a tablespoon of the cooled apple filling onto the center of each rectangle, leaving a ½ inch border around the edges. This border is essential for crimping and sealing the pies.
- Place a second pastry rectangle on top of each filled rectangle, aligning the edges. Using a fork, firmly press down along all four edges of each pie to create a decorative crimp and securely seal the filling inside. This prevents leakage during baking.
- Preheat your oven to 350°F (175°C). Arrange the assembled mini pies on a baking sheet lined with parchment paper or a silicone mat, ensuring they have some space between them.
- Bake for about 7 minutes. Then, carefully remove the pies from the oven. Brush the top of each pie with the beaten egg wash and sprinkle a light dusting of granulated sugar over them. Return the pies to the oven and continue baking for another 15-20 minutes, or until the pastry has puffed up beautifully and turned a rich golden brown.
- Once baked to perfection, remove the mini pies from the oven and transfer them to a wire rack to cool completely. Allowing them to cool ensures the filling sets and the pastry remains crisp.
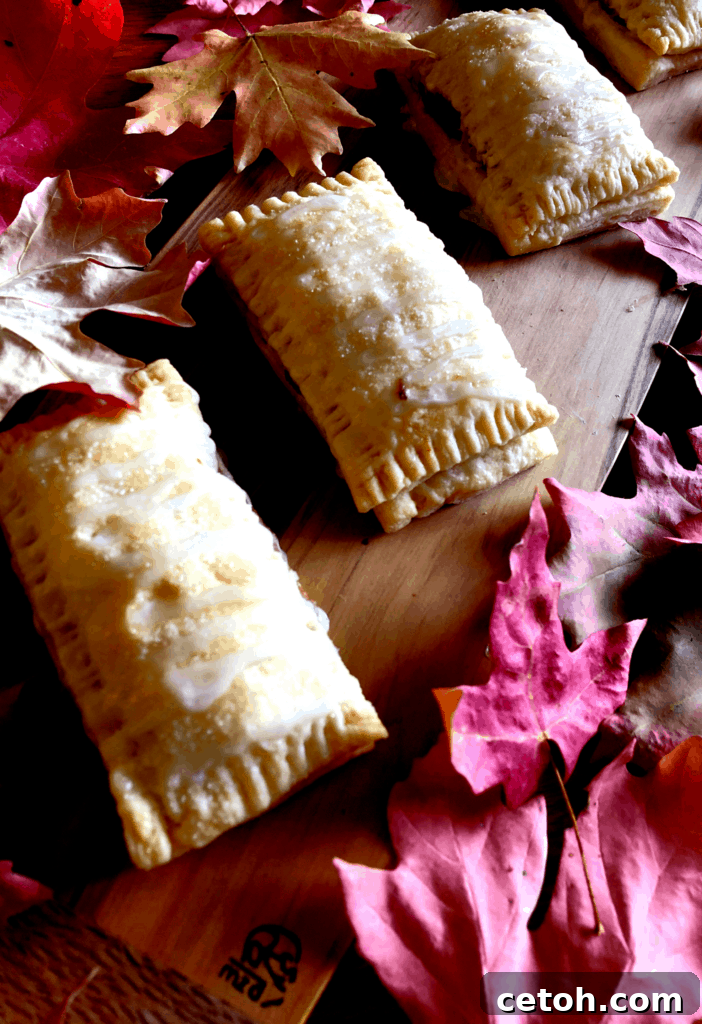
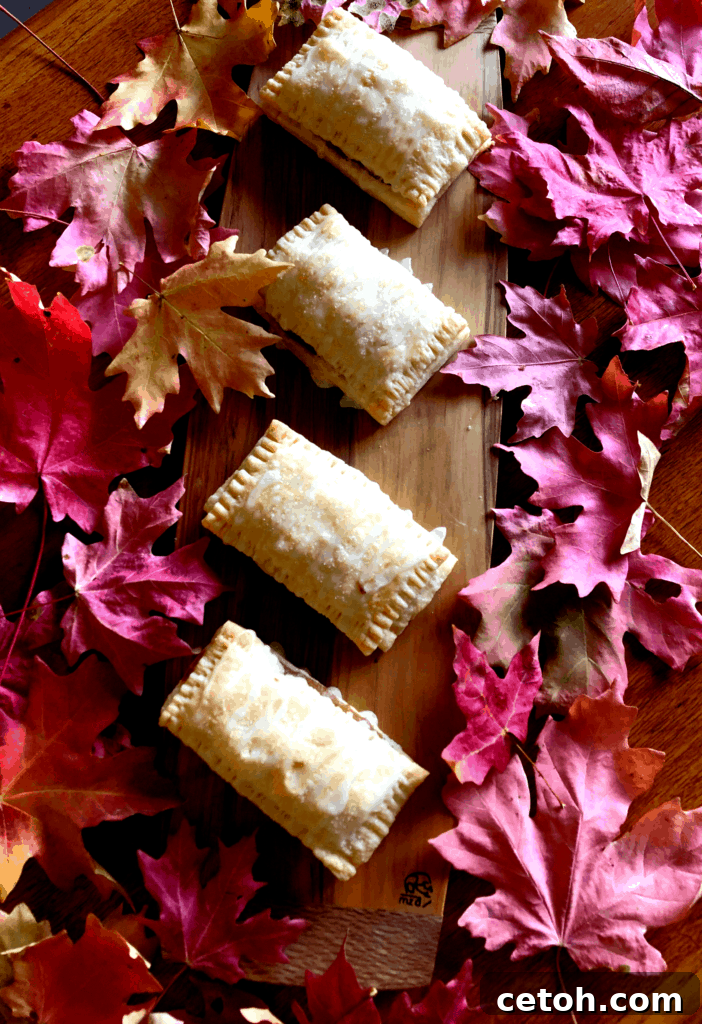
- For an extra touch of sweetness and visual appeal, prepare a simple glaze. In a small bowl, whisk together the powdered sugar and 2-3 tablespoons of milk until you achieve a smooth, thick, but still pourable consistency. Transfer the glaze to a small ziplock bag, snip a tiny corner, and artfully drizzle it over the cooled pies.
- Now, your delicious Homemade Mini Puff Pastry Apple Pies are ready to be savored! Enjoy the fruits of your labor.
Tips for Perfection and Creative Variations
To ensure your mini pies turn out perfectly every time, keep these tips in mind:
- Don’t Overwork the Dough: Handle the puff pastry as little as possible. Overworking develops gluten too much, leading to a tough pastry rather than a tender, flaky one.
- Keep Everything Cold: This cannot be stressed enough! Cold butter and dough are essential for distinct layers. If your kitchen is warm, consider chilling your rolling pin or work in short bursts with chilling breaks.
- Even Rolling: Strive for even thickness when rolling out the dough. Uneven spots will bake inconsistently.
- Ventilation: While not explicitly in the steps, sometimes a tiny slit on the top pastry layer can help steam escape and prevent the pies from bursting, though the crimped edges usually suffice.
- Don’t Overfill: Too much filling can cause the pies to burst or make the bottom pastry soggy. A spoonful is typically enough.
This recipe is wonderfully versatile, inviting you to unleash your culinary creativity:
- Fruit Variations: Instead of apples, try cherry pie filling, blueberry, mixed berries, or even a spiced pumpkin filling for another seasonal delight.
- Spice It Up: Add a pinch of nutmeg, allspice, or cardamom to your apple filling for an extra layer of warmth.
- Different Glazes: Experiment with a caramel drizzle, a maple glaze, or a simple dusting of powdered sugar without the milk.
- Savory Pies: Use the same puff pastry technique to create savory hand pies with fillings like spiced potato and pea, spinach and feta, or chicken pot pie filling.
Storage and Serving Suggestions
These mini puff pastry apple pies are best enjoyed fresh, ideally warm from the oven. The flakiness of the pastry is at its peak immediately after baking. However, if you have leftovers:
- Storage: Store cooled pies in an airtight container at room temperature for up to 2 days, or in the refrigerator for up to 4 days.
- Reheating: To restore some of their crispness, reheat the pies in a preheated oven at 300°F (150°C) for about 5-10 minutes, or until warmed through. Avoid microwaving, as it can make the pastry soft.
- Serving: Serve them as a standalone dessert, with a scoop of vanilla bean ice cream, a dollop of whipped cream, or a sprinkle of extra cinnamon for an elevated experience. They also make a fantastic addition to a brunch spread or a tea party.
Frequently Asked Questions (FAQs)
Can I use store-bought puff pastry for this recipe?
Yes, you absolutely can! If you’re short on time or prefer a quicker route, store-bought puff pastry is a convenient alternative. However, be aware that the homemade pastry offers a superior flavor and flakiness that makes a significant difference in the final product. If using store-bought, follow the package instructions for thawing and handling.
What if I don’t have an immersion blender for the filling?
No problem! You can easily transfer the cooked apple mixture to a regular blender or a food processor and blend until smooth. Just be cautious when blending hot liquids – ensure the lid is properly secured and start on a low speed, gradually increasing. You can also let it cool slightly before blending.
Can I prepare these mini pies ahead of time?
Yes, parts of this recipe are excellent for making ahead:
- Puff Pastry: The homemade puff pastry dough can be made up to 2-3 days in advance and stored tightly wrapped in the refrigerator. You can even freeze it for up to 1 month.
- Apple Filling: The apple filling can be made 2-3 days ahead and stored in an airtight container in the refrigerator.
- Assembled Pies (unbaked): You can assemble the pies and then freeze them on a baking sheet until solid. Once frozen, transfer them to a freezer-safe bag or container. Bake from frozen, adding about 5-10 minutes to the baking time.
What other apple varieties work well for apple pie?
While Granny Smiths are excellent for their tartness and firm texture, other good choices include Honeycrisp, Braeburn, Fuji, or a mix of varieties to get a complex flavor profile (e.g., Granny Smith for tartness and Honeycrisp for sweetness and crunch).
Nutritional Information (Per Serving)
Based on approximately 20 servings:
- Calories: 188
- Total Fat: 14g
- Saturated Fat: 9g
- Trans Fat: 0g
- Unsaturated Fat: 5g
- Cholesterol: 37mg
- Sodium: 236mg
- Carbohydrates: 14g
- Fiber: 1g
- Sugar: 4g
- Protein: 2g
These values are estimates and can vary based on specific ingredients and preparation methods.
Embrace the Joy of Homemade Baking
Creating these Mini Puff Pastry Apple Pies is a journey that celebrates the warmth of home, the joy of baking, and the delicious flavors of autumn. From the intricate process of making flaky puff pastry to the comforting aroma of spiced apples, every step contributes to a truly special dessert. These pies are more than just a sweet treat; they’re a heartwarming gesture, a perfect companion for a cozy evening, and a delightful centerpiece for any fall celebration.
I hope you find immense satisfaction in making this recipe and sharing these delectable pies with your loved ones. Don’t hesitate to personalize them with your favorite fillings or spices. Happy baking!
Mia