
Easy Snow Cream Recipe: Your Ultimate Guide to a Nostalgic Winter Treat
There’s a unique charm in a fresh blanket of snow, and it brings with it the perfect opportunity to create a timeless winter delight: homemade snow cream! This easy snow cream recipe offers a simple, fun, and delicious way to transform freshly fallen snow into a creamy, sweet dessert that everyone in the family will adore. You only need a handful of basic ingredients, most of which you probably already have in your pantry, allowing you to whip up this frosty favorite in mere minutes. Whether you’re comfortably snowed in, enjoying a snow day with the kids, or simply seeking a creative and joyful way to embrace the winter season, this guide will help you make snow cream a cherished new tradition. Get ready to indulge in a truly magical, melt-in-your-mouth experience that captures the essence of winter wonder!
Looking for another cozy treat to warm you up after your snow cream adventure? Don’t miss out on our Mom’s Famous Homemade Hot Chocolate Mix! It’s the perfect comforting companion for any chilly winter day.
Easy Snow Cream Recipe for Winter Fun | Discover how to make this simple and delicious snow cream recipe with just a few ingredients and fresh snow. Perfect for snowy days and family fun!
The Magic of Homemade Snow Cream: Why You’ll Love This Winter Delight
There’s something uniquely satisfying about creating a treat directly from nature, and snow cream truly embodies that spirit. Beyond its whimsical appeal, making snow cream is an incredible way to engage with the winter environment. It’s a fantastic activity for families, providing a hands-on experience that children especially adore, turning a simple snowy day into an exciting culinary adventure. It requires minimal effort and ingredients, making it accessible to almost anyone. Plus, the resulting dessert is a wonderfully light, sweet, and creamy confection that tastes distinctly of childhood memories and cozy winter afternoons. Forget waiting for the ice cream truck; with fresh snow, you have an instant, natural dessert waiting right outside your door!
The Classic (and Easiest) Snow Cream Recipe: With Sweetened Condensed Milk
This is arguably the most popular and easiest method for making snow cream, yielding a rich, incredibly creamy, and perfectly sweet dessert. Sweetened condensed milk provides a luxurious base that blends seamlessly with the snow, creating a texture akin to soft-serve ice cream. This method is quick, reliable, and guaranteed to be a crowd-pleaser!
Ingredients for Classic Snow Cream:
- 6-8 cups of fresh, clean snow (collected outside)
- 1 can (14 oz) sweetened condensed milk
- 1 teaspoon pure vanilla extract
Instructions for Classic Snow Cream:
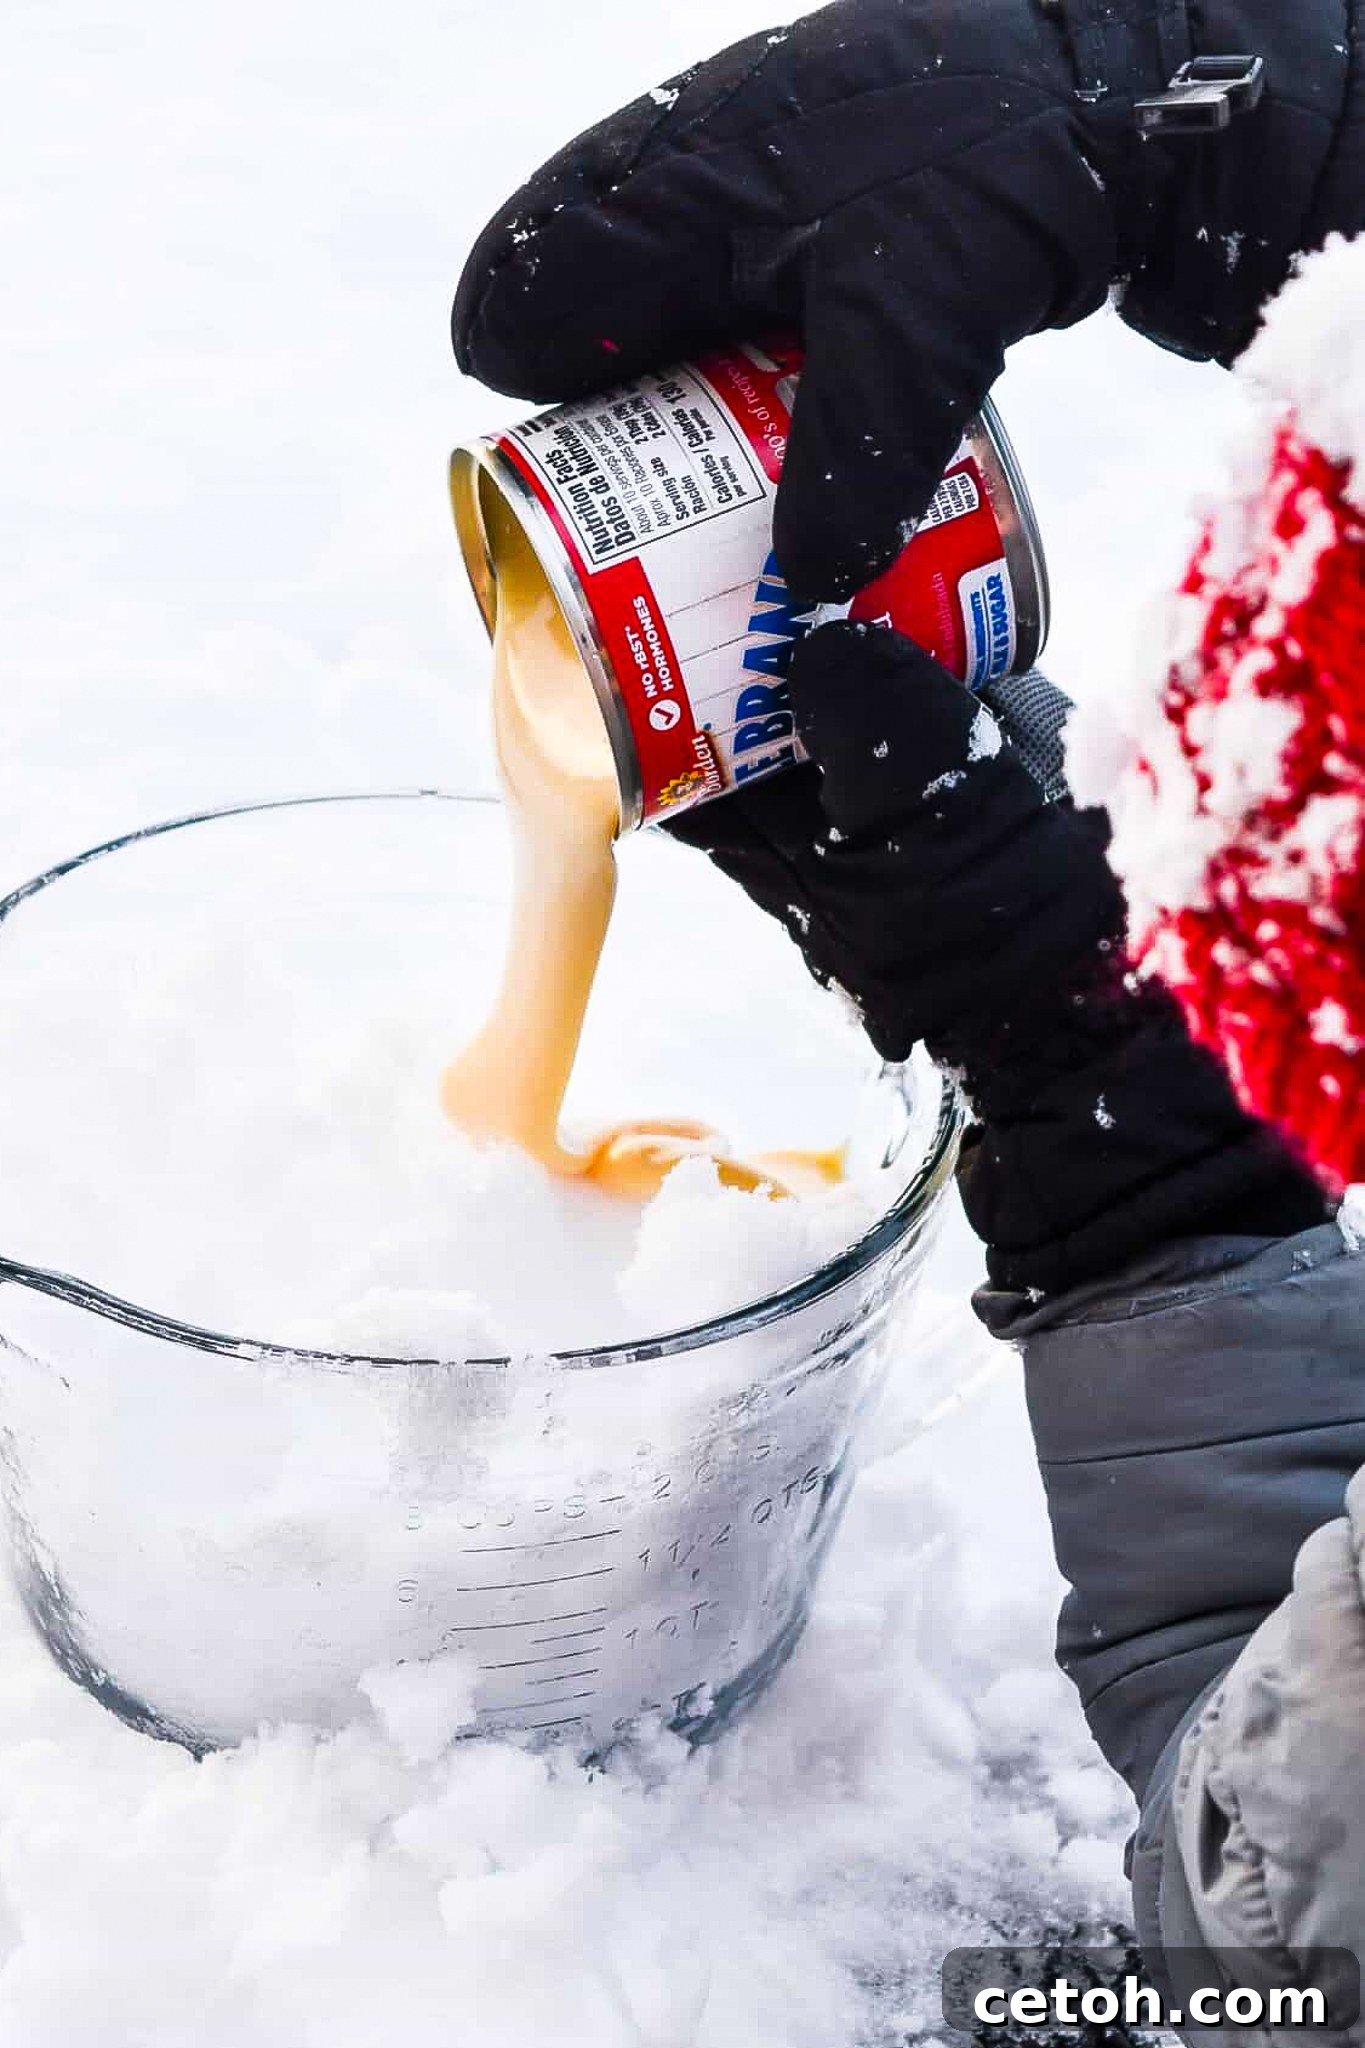
- Gather Your Snow: Head outside with a large, clean bowl or container and collect 6-8 cups of the freshest, cleanest snow you can find. It’s crucial to gather the snow quickly, ideally as soon as it falls, and before it starts to melt, to ensure optimal texture. Avoid snow near roads, dirty areas, or directly under trees to prevent contamination. Place the collected snow in your largest mixing bowl and keep it as cold as possible (you can even put the bowl back outside briefly if it’s very cold, or in the freezer for a few minutes).
- Prepare the Cream Base: In a separate large mixing bowl, combine the entire can of sweetened condensed milk with the vanilla extract. Whisk these two ingredients together by hand or use a hand mixer on low speed until they are thoroughly combined and create a smooth, homogenous mixture.
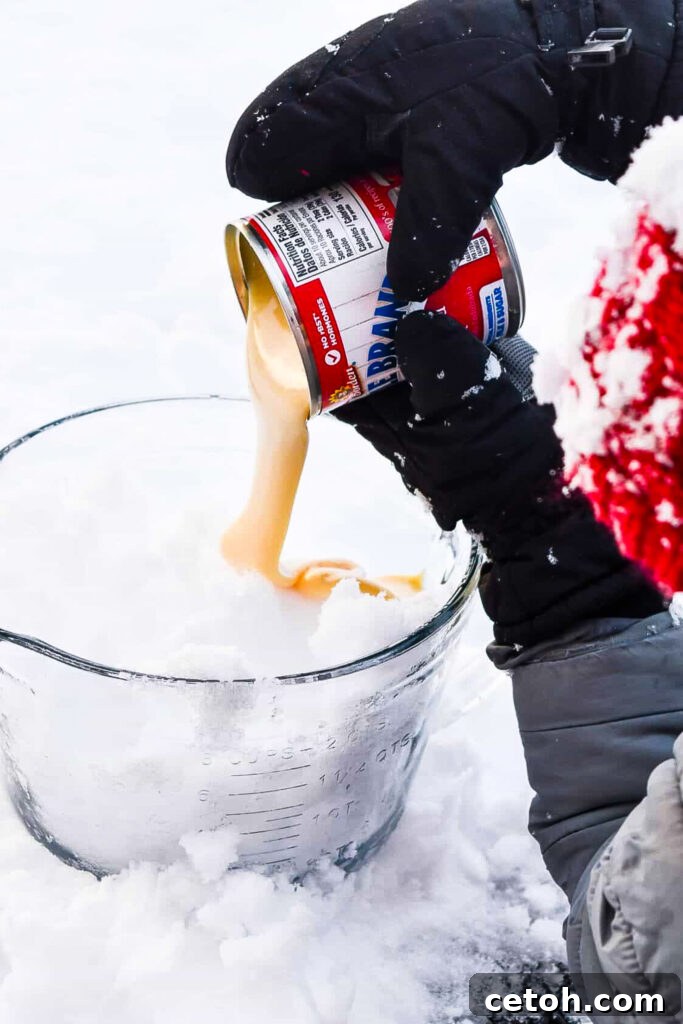
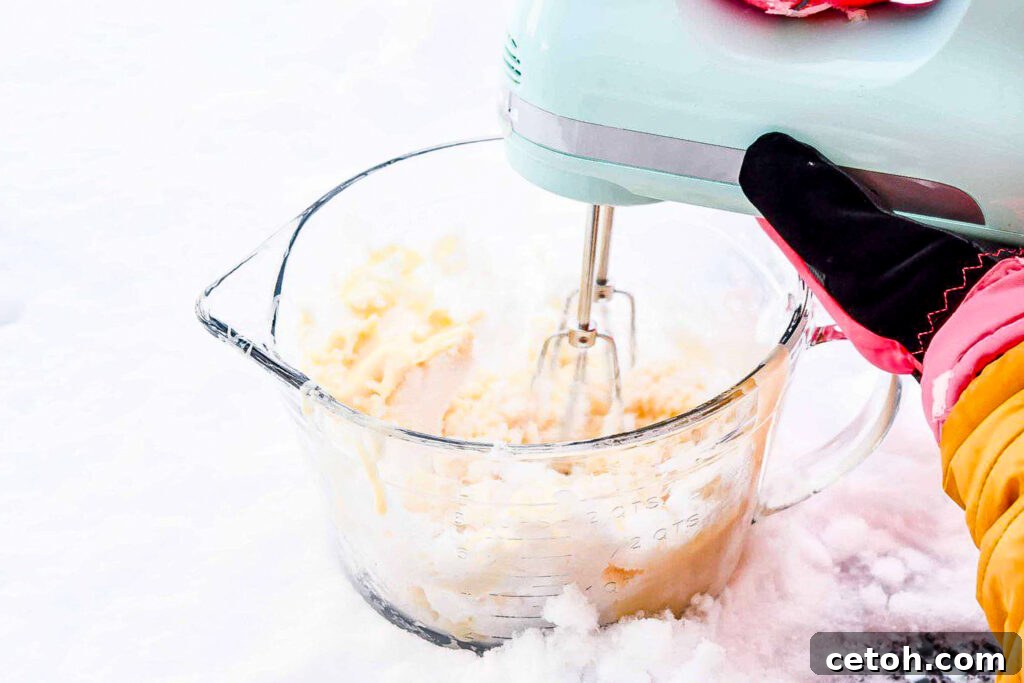
- Combine and Create: Now, it’s time for the magic! Slowly begin to add the collected snow to the milk mixture, about 2 cups at a time. Using a sturdy spatula or continuing to whisk gently, fold the snow into the creamy base. Continue adding more snow, mixing thoroughly after each addition, until the snow is fully incorporated and the mixture transforms into your desired consistency. You’re looking for a thick, creamy, and easily scoopable texture, much like soft-serve ice cream or a very thick milkshake.
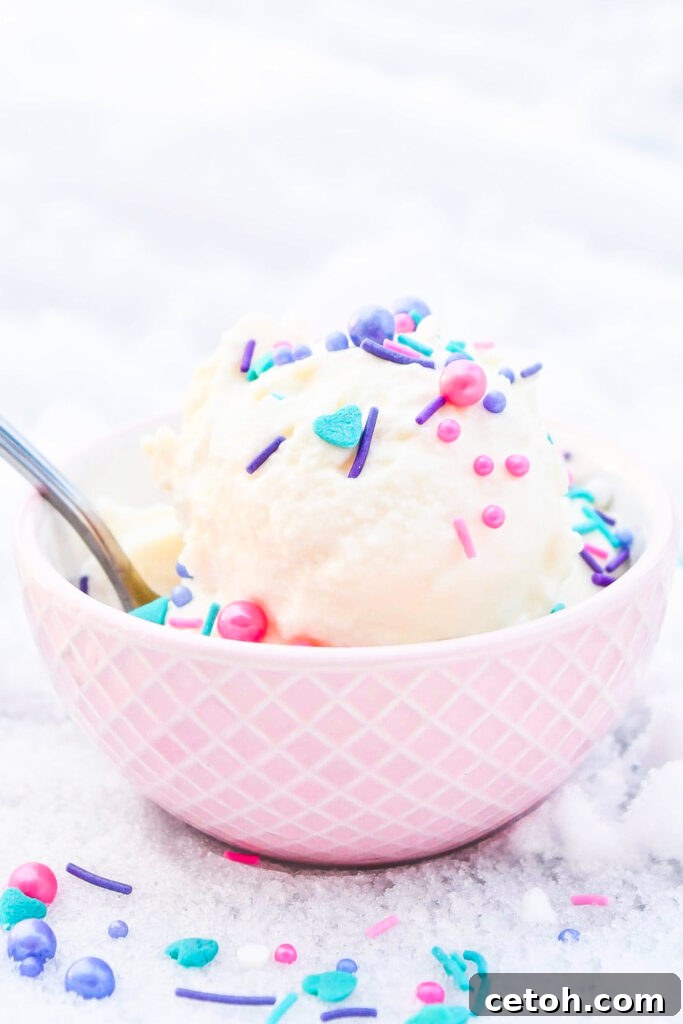
- Serve Immediately: Snow cream is a treat meant to be enjoyed right away! Once it reaches the perfect consistency, spoon it into individual bowls or cones. Garnish with your favorite toppings (see our suggestions below) and serve while it’s still cold and fresh. It melts quickly, so savor every delightful spoonful!
Tips for Perfect Classic Snow Cream:
- Snow Quality is Key: Always use freshly fallen, pristine white snow. The fluffier the snow, the better the texture of your snow cream.
- Keep it Cold: Work quickly once you bring the snow inside. If your kitchen is warm, the snow will melt rapidly. You can chill your mixing bowl in the freezer beforehand to help maintain the snow’s consistency.
- Adjust to Taste and Texture: The amount of snow needed can vary based on its density and how much “creaminess” you prefer. Start with less snow and gradually add more until you achieve your ideal consistency.
- Gentle Mixing: Over-mixing can cause the snow to melt faster. Gentle folding or low-speed whisking is best.
How to Make Homemade Snow Cream Without Sweetened Condensed Milk
While the sweetened condensed milk version is incredibly popular for its rich texture and ease, you can absolutely make a delightful snow cream without it! This alternative recipe results in a slightly lighter, yet still wonderfully creamy and sweet, dessert. It’s perfect if you prefer a less indulgent treat or simply don’t have sweetened condensed milk on hand.
Ingredients for Dairy-Based Snow Cream:
- 1 cup of whole milk (for a creamier texture, you can also use heavy cream or half-and-half)
- 1/2 cup granulated sugar (adjust to your preferred sweetness)
- 1 teaspoon pure vanilla extract (optional, but highly recommended for flavor)
- Approximately 6-8 cups of fresh, clean snow
Instructions for Dairy-Based Snow Cream:
- Gather Fresh Snow: As with the classic recipe, ensure you collect clean, fresh, fluffy snow. You’ll need about 6-8 cups. Collect it promptly after it falls and use a clean container to avoid any impurities.
- Prepare the Milk and Sugar Base: In a large mixing bowl or measuring cup, combine the whole milk (or cream) and granulated sugar. Stir vigorously until the sugar is completely dissolved. This is an important step, as undissolved sugar can create a grainy texture. If using, stir in the vanilla extract at this point.
- Combine with Snow: Slowly pour the prepared milk mixture over the collected snow. Begin with about 2 cups of snow in your main mixing bowl, then add a small amount of the milk mixture. Gently stir and fold as you go, incorporating the snow into the liquid. Continue adding snow in small batches, mixing until you achieve your desired snow cream consistency – thick, creamy, and delightful.
- Serve Immediately: Just like its condensed milk counterpart, this version of snow cream is best enjoyed immediately after mixing. Spoon it into bowls or cones and dig in!
This dairy-based version of snow cream offers a slightly different, often lighter, profile but is every bit as delicious and fun to create. It’s a testament to the versatility of this simple winter treat!
Homemade Snow Cream: A Fun Winter Treat | Enjoy the magic of snow with this easy homemade snow cream recipe. A creamy, sweet treat for snowy days that the whole family will love!
Safety First: How to Collect Clean Snow for Your Treat
While snow cream is undeniably fun, ensuring the snow you collect is clean and safe to eat is paramount. Not all snow is created equal, and some simple precautions can make all the difference:
- Fresh is Best: Always use freshly fallen, pristine white snow. The first snow of the season or snow that has fallen recently in a clean area is ideal.
- Location, Location, Location: Avoid collecting snow near roads, sidewalks, parking lots, or any high-traffic areas where pollutants like exhaust fumes, road salt, or other chemicals might have settled. Also, steer clear of snow directly under trees, as it can accumulate debris, leaves, or bird droppings.
- Go Deep: If possible, scrape off the very top layer of snow (about an inch or two) before collecting the clean snow underneath.
- Clean Tools: Use a clean bowl, spoon, or scoop to collect the snow. Avoid using anything that has been used for other household chores or that might introduce contaminants.
- Visual Inspection: Always give the snow a good look. It should be bright white, fluffy, and free from any visible dirt, debris, or discoloration. If it looks grey, yellow, or has any specks, it’s best to find a cleaner spot or wait for another snowfall.
By following these simple guidelines, you can ensure your homemade snow cream is not only delicious but also perfectly safe for everyone to enjoy.
Delicious Variations to Elevate Your Snow Cream Experience
Traditionally, snow cream is cherished for its simple, sweet vanilla flavor, evoking a sense of nostalgia with every bite. However, the beauty of this easy recipe lies in its adaptability! It serves as a fantastic blank canvas for culinary creativity, especially when you involve children in the process. You can easily add vibrant colors with food coloring or transform it into an extra special dessert with fun mix-ins like sprinkles, mini chocolate chips, or crushed candies. The possibilities are truly endless, making it a wonderful way to encourage little ones to create their own custom snow cream masterpieces!
Here are Some Fun Flavor Ideas to Get You Started:
- Chocolate Snow Cream: For a rich, decadent twist, whisk 2-3 tablespoons of unsweetened cocoa powder into your milk and sugar mixture (or directly into the sweetened condensed milk). To amplify the sweetness and chocolatey goodness, drizzle in a bit of chocolate syrup or fold in mini chocolate chips before serving.
- Cinnamon Snow Cream: Infuse your snow cream with a warm, comforting aroma by mixing in 1/2 teaspoon of ground cinnamon. This variation offers a cozy, spiced flavor that’s reminiscent of winter evenings and even hints at horchata vibes.
- Mint Snow Cream: For a refreshing and festive treat, add 1/2 teaspoon of peppermint extract or a few drops of mint extract to your liquid base. Elevate this further by sprinkling crushed peppermint candies or chopped chocolate mint cookies on top for an invigorating crunch.
- Fruit-Infused Snow Cream: Bring a burst of natural sweetness and color by pureeing about 1/2 cup of fresh or frozen fruit (such as strawberries, blueberries, raspberries, or mango). Mix this vibrant fruit puree into your sweetened condensed milk or milk and sugar base before combining with the snow.
- Coffee Snow Cream: For the adults or coffee lovers, dissolve 1-2 teaspoons of instant coffee or espresso powder into a small amount of warm milk before adding it to your main liquid mixture. This creates a sophisticated, coffee-flavored snow cream that’s surprisingly delightful.
- Peanut Butter Swirl Snow Cream: Gently swirl 2-3 tablespoons of creamy peanut butter (warmed slightly to make it more pliable) into the finished snow cream. The combination of sweet and salty, creamy and icy, is absolutely irresistible.
- Maple Snow Cream: If you’re using the “without condensed milk” version, replace the granulated sugar with an equal amount of pure maple syrup. This yields a naturally sweet, robustly flavored snow cream that’s perfect for those who adore the deep taste of maple. (Note: This variation is best suited for the milk and sugar base, not sweetened condensed milk, as the latter is already very sweet).
- Caramel Snow Cream: Create a truly decadent dessert by drizzling rich caramel sauce into the snow cream mixture as you’re folding it together. Swirl it through for ribbons of caramel goodness, and for an extra special touch, sprinkle a pinch of sea salt on top for a delightful salted caramel version.
- Vanilla Bean Snow Cream: For an indulgent and exquisitely aromatic flavor, scrape the seeds from 1 whole vanilla bean pod and add them to your liquid base. This version elevates your snow cream to a gourmet level with its deep, complex, and visually appealing specks of natural vanilla.
Feel empowered to mix and match these delightful variations or invent your own unique combinations! No matter which flavors you choose, these snow cream variations are guaranteed to make your winter days even sweeter, more exciting, and wonderfully memorable.
Fun and Easy Snow Cream Recipe for Snowy Days | Enjoy a snowy day with this quick and easy snow cream recipe. A family-friendly treat made with fresh snow and simple ingredients!
Serving Suggestions & Creative Toppings
While snow cream is utterly delicious on its own, adding a few creative toppings can transform it into an even more spectacular dessert. Here are some ideas to inspire your serving presentation:
- Classic Sprinkles: A handful of colorful sprinkles instantly makes snow cream more festive and appealing, especially for kids.
- Chocolate Shavings or Chips: A dusting of chocolate shavings or a scattering of mini chocolate chips adds a delightful texture and rich flavor.
- Fruit & Berries: Fresh berries like raspberries, blueberries, or sliced strawberries provide a refreshing contrast and a pop of color.
- Whipped Cream: A generous dollop of homemade or store-bought whipped cream makes the snow cream feel even more luxurious.
- Syrups & Sauces: Drizzle with chocolate syrup, caramel sauce, strawberry sauce, or even maple syrup for added sweetness and flavor layers.
- Crushed Cookies & Candies: Top with crushed Oreo cookies, graham cracker crumbs, or crumbled candy bar pieces for extra crunch and indulgence.
- Nuts: A sprinkle of chopped nuts like pecans, walnuts, or almonds can add a lovely toasted flavor and satisfying texture.
Don’t be afraid to experiment with your favorite dessert toppings. The goal is to make your snow cream experience as personal and enjoyable as possible!
Frequently Asked Questions About Snow Cream
Can I store leftover snow cream?
Unfortunately, no. Snow cream is a delicate dessert that relies on the unique texture of freshly fallen snow. It melts very quickly and does not refreeze well. The texture becomes icy and unappealing if stored in the freezer. It’s truly a “make and eat immediately” kind of treat!
What if I don’t have enough snow?
If you have a light snowfall, you might collect enough for a small batch. Alternatively, consider making the dairy-based version which is a bit more forgiving with snow quantity as it relies less on the snow for its bulk. You can also combine small amounts of collected snow with crushed ice for a similar frosty dessert, though the texture won’t be quite the same.
Is it safe to eat snow?
As detailed in our “Safety First” section, it is generally safe to eat clean, freshly fallen snow collected from undisturbed, unpolluted areas. Always use your judgment and err on the side of caution. If you have any doubts about the purity of your snow, it’s best to skip the snow cream for that day.
Snow cream is a delightful and easy way to celebrate the winter season, offering endless possibilities for customization and creativity. It’s more than just a dessert; it’s an experience that brings joy, nostalgia, and a touch of magic to cold days. So, the next time the flakes begin to fall, grab your bowl and get ready to whip up a batch of this enchanting winter treat!
And if you’re looking for another fun and cozy treat to pair with your snow cream, be sure to check out our Hot Chocolate Marshmallow Cookies. They’re the perfect companion for a chilly day, offering a delicious blend of chocolate, marshmallows, and fun in every bite!
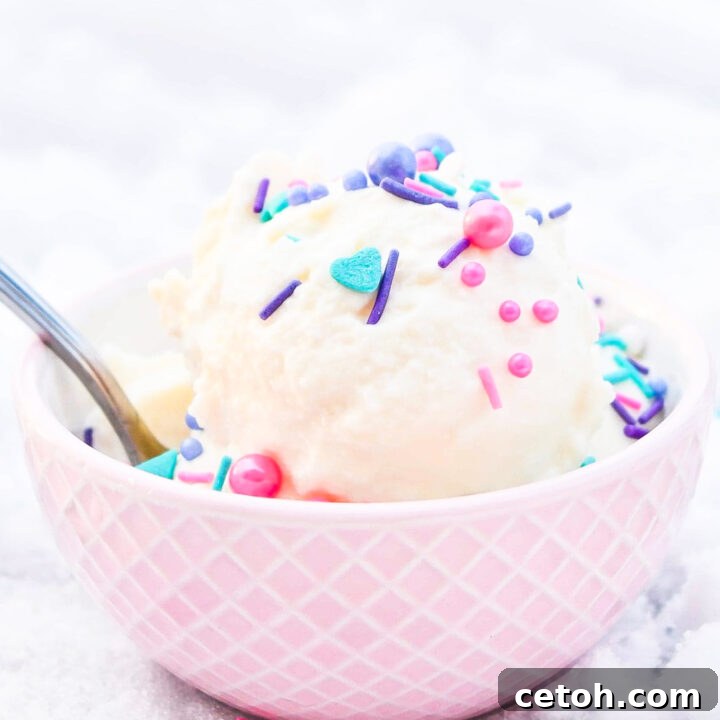
Easy Snow Cream Recipe
4-6 servings
10 minutes
10 minutes
Enjoy a snowy day with this quick and easy snow cream recipe. A family-friendly treat made with fresh snow and simple ingredients!
Ingredients
- 6-8 cups of fresh, clean snow (collected outside to prevent rapid melting)
- 1 can (14 oz) sweetened condensed milk
- 1 teaspoon vanilla extract
Instructions
- Gather Your Snow: Head outside and collect 6-8 cups of fresh, clean snow. It’s best to gather the snow quickly before it starts to melt. Use a clean container to make sure the snow stays free of dirt or debris.
- Mix the Ingredients: In a large bowl, pour in the sweetened condensed milk and add the vanilla extract. Whisk the mixture by hand or use a hand mixer until the ingredients are fully combined and smooth.
- Add the Snow: Slowly begin to add the snow to the milk mixture, about 2 cups at a time. Gently stir the snow in with a spatula or continue to whisk by hand (or with a hand mixer on low speed) until the snow is fully incorporated. Continue adding snow until the snow cream reaches your desired consistency—thick, creamy, and easily scoopable.
- Serve Immediately: Once the snow cream is well mixed, scoop it into bowls or cones and enjoy right away! Snow cream is best eaten fresh, as it may melt quickly.
Notes
Nutrition Information:
Yield: 6
Serving Size: 1
Amount Per Serving:
Calories: 23Total Fat: 1gSaturated Fat: 0gTrans Fat: 0gUnsaturated Fat: 0gCholesterol: 2mgSodium: 8mgCarbohydrates: 4gFiber: 0gSugar: 4gProtein: 1g
Did you make this recipe?
Please leave a comment on the blog or share a photo on Instagram