
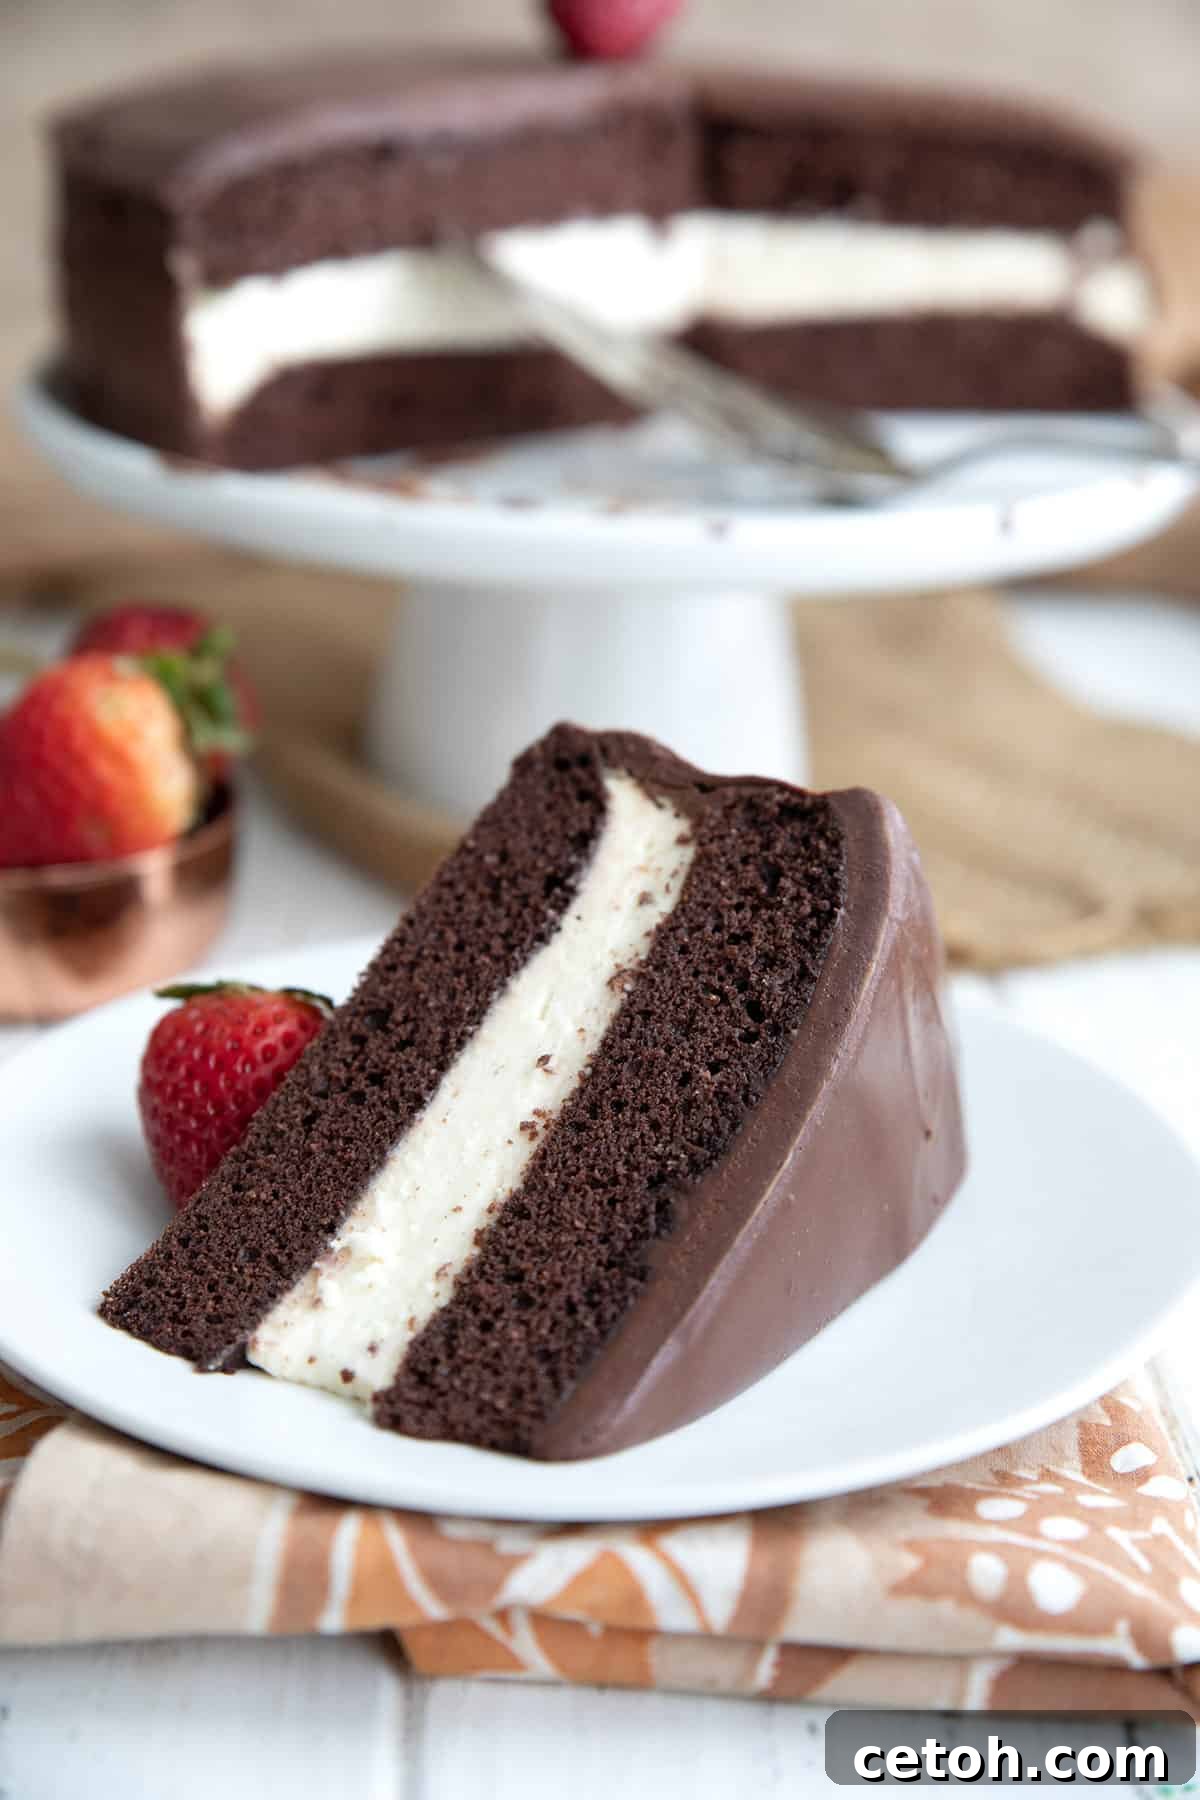
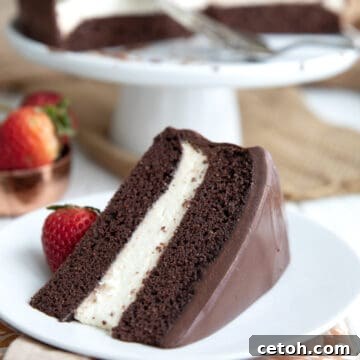
Indulge your cravings without derailing your diet with this spectacular **Keto Ding Dong Cake**. This recipe transforms the nostalgic, beloved chocolate snack cake into a guilt-free, low-carb masterpiece. Featuring rich, moist layers of chocolate coconut flour cake, a velvety smooth cream filling, and a decadent sugar-free chocolate ganache, it’s a dessert that truly has it all. Prepare to rediscover your favorite childhood treat, reimagined to be even better for you, without sacrificing an ounce of flavor or satisfaction.
For years, my **Keto Ding Dong Cake recipe** has been a fan favorite, a testament to how incredible low-carb baking can be. It’s been high time this celebrated creation received a comprehensive update, and I’m thrilled to present an enhanced version that’s just as irresistible, if not more so, than its predecessor. Fear not, loyal followers; the core deliciousness and decadent appeal remain untouched. In fact, I recently made this very cake for my own keto birthday celebration, and it added an extra layer of sweetness and joy to the special occasion. The best part? Enjoying the delightful leftovers for several days, extending the celebration with every heavenly slice. Who can resist the charm of a magnificent, healthier chocolate snack cake?
Why You Will Adore This Keto Chocolate Ding Dong Cake
This isn’t just another keto recipe; it’s a culinary triumph that consistently ranks among my most cherished and popular creations. The original version, developed using a specific boxed cake mix, quickly became a sensation. However, as product availability shifts, I made it my mission to ensure every one of my readers could easily recreate this magic in their own kitchens. That’s why I’ve meticulously updated the recipe, featuring a homemade coconut flour chocolate cake base that’s both accessible and exceptionally delicious. This update also comes with fresh, inspiring photos and an abundance of insightful tips to guide you every step of the way.
Despite its luxurious appearance, this layered keto chocolate cake is surprisingly straightforward to prepare. The cake layers themselves come together in just about 30 minutes, yielding a tender crumb that perfectly complements the creamy center. The filling is a stabilized whipped cream, effortlessly simple to whip up yet robust enough to hold its structure beautifully between the cake layers. And the grand finale, the sugar-free chocolate ganache, is practically foolproof, cascading over the cake with a glossy finish that beckons you to take a bite. The result is a truly rich and indulgent dessert experience. Each generous slice boasts an incredibly low net carb count, making it a perfect treat for anyone following a ketogenic or low-carb lifestyle. It’s the ultimate expression of how healthy eating can still be utterly delicious and deeply satisfying.
Essential Ingredients for Your Keto Ding Dong Cake
Crafting this incredible Keto Ding Dong Cake begins with selecting the right ingredients. Each component plays a vital role in achieving the perfect texture, flavor, and keto-friendly profile. Here’s a closer look at what you’ll need to create this show-stopping dessert, along with some helpful notes:
- Coconut Flour: This is the foundation of our moist and tender cake layers. Coconut flour is highly absorbent, making it an excellent low-carb, gluten-free option. I use the same reliable batter as my popular keto chocolate cupcakes. If you prefer, or have specific dietary needs, check the expert tips section below for guidance on using almond or sunflower seed flour instead.
- Sweetener: For the cake batter, you have the flexibility to use your preferred granular keto-friendly sweetener. Be aware that some sweeteners, like allulose, can cause baked goods to brown more quickly, so monitor your cake’s baking time. For the creamy filling and the luscious chocolate glaze, a powdered sweetener like Swerve Confectioners is essential for a smooth, non-gritty texture. I also recommend adding a touch of allulose to the glaze, as it helps prevent recrystallization and keeps the ganache beautifully soft.
- Cocoa Powder: To achieve that deep, rich chocolate flavor reminiscent of a classic Ding Dong, I exclusively use Dutch process cocoa powder. Its alkalized nature gives it a darker color and a less acidic, smoother chocolate taste, which blends perfectly into cake batters without reacting too strongly with baking soda.
- Protein Powder: This ingredient is key to giving the coconut flour cake structure and a light texture. You can opt for whey protein, egg white protein, or even a plant-based protein powder. However, collagen protein is not recommended for this recipe, as it behaves differently in baking and won’t yield the desired results.
- Eggs: Coconut flour-based recipes typically require a generous amount of eggs to provide moisture, binding, and lift. Do not skimp on the eggs; they are crucial for the cake’s texture and structure.
- Coffee (or Water): A secret weapon for intensifying chocolate flavor! Using leftover brewed coffee as the liquid component in the cake batter significantly enhances the depth of the chocolate. If coffee isn’t available or preferred, water works perfectly fine without altering the overall quality of the cake.
- Heavy Whipping Cream: You’ll need a good supply of heavy whipping cream for both the decadent cream filling and the rich chocolate ganache. Ensure it’s cold for optimal whipping results.
- Gelatin: This unsung hero is vital for the cream filling. A small amount of gelatin ensures the whipped cream is stable and firm enough to create a distinct layer between the cake halves without oozing out, maintaining the cake’s elegant presentation.
- Unsweetened Chocolate: For the ganache, it’s crucial to use unsweetened chocolate. This allows you to control the sweetness perfectly with your chosen keto sweetener and ensures the ganache sets properly with a rich, intense chocolate flavor.
- Pantry Staples: Don’t forget your standard baking essentials: pure vanilla extract for aromatic depth, baking powder for leavening, a pinch of salt to balance the flavors, and unsalted butter for richness in the cake.
Step-by-Step Directions to Bake Your Keto Ding Dong Cake
Creating this stunning Keto Ding Dong Cake is an enjoyable process, broken down into manageable steps. Follow these instructions carefully to achieve a perfect, delectable result every time:
1. Prepare the Cake Batter: Begin by preheating your oven to 350°F (175°C). Grease two 8-inch round cake pans thoroughly, then line the bottoms with parchment paper and grease the paper as well. In a large mixing bowl, whisk together all the dry cake ingredients: coconut flour, granular sweetener, Dutch process cocoa powder, protein powder, baking powder, and salt. Make sure there are no lumps. In a separate bowl, whisk the eggs lightly, then add them to the dry mixture along with the melted butter and vanilla extract. Stir until just combined. Gradually incorporate the coffee (or water), adding about ¼ cup at a time, until the batter is thick but still easily scoopable and spreadable. The consistency is key for even layers.
2. Bake the Cake Layers: Divide the prepared batter evenly between the two greased and lined 8-inch round pans. Use an offset spatula or the back of a spoon to spread the batter smoothly to the edges of each pan. Bake for approximately 20 to 25 minutes, or until the tops of the cakes are firm to the touch when gently pressed. Avoid overbaking, as coconut flour cakes can dry out easily. Once baked, remove the pans from the oven and let them cool in the pans for about 10-15 minutes before carefully loosening the edges with a knife. Invert the cakes onto a wire rack to cool completely before assembling.
3. Dissolve the Gelatin for the Filling: In a small, microwave-safe bowl, combine the cold water and sprinkle the unflavored gelatin powder over it. Whisk quickly to ensure the gelatin is fully moistened and doesn’t clump. Let it sit for 5 minutes to bloom. Then, heat the mixture in the microwave for about 30 seconds, or until the gelatin has completely dissolved and the mixture is clear. Whisk again to ensure no granules remain. Set aside to cool for at least 10 minutes before proceeding, as hot gelatin can curdle the cream.
4. Prepare the Whipped Cream Filling: In a large, chilled mixing bowl, combine the cold heavy whipping cream, powdered sweetener (like Swerve Confectioners), and vanilla extract. Begin beating the mixture on high speed with an electric mixer. As the cream starts to thicken, slowly pour in the cooled, dissolved gelatin mixture in a steady stream. Continue beating on high speed until the cream holds stiff peaks. It should be thick and stable, perfect for layering.
5. Assemble the Cake: Place one cooled cake layer on your chosen serving platter or cake stand. Carefully spread the entire cream filling mixture evenly over this layer, extending it almost to the edges. Gently place the second cake layer on top, pressing down lightly but firmly. This helps the cream filling spread to the edges and creates a neat, professional look. To help the filling set and make glazing easier, transfer the assembled cake to the freezer for a quick chill, about 30 minutes.
6. Prepare the Chocolate Ganache: In a medium saucepan, combine the heavy cream and powdered sweetener over medium heat. Bring the mixture to a gentle simmer, just until small bubbles appear around the edges – do not let it boil vigorously. Remove the saucepan from the heat immediately. Add the finely chopped unsweetened chocolate and vanilla extract. Let the mixture sit undisturbed for 5 minutes; this allows the chocolate to melt thoroughly. After 5 minutes, whisk the mixture vigorously until it is completely smooth, glossy, and uniform. Ensure there are no lumps of chocolate remaining.
7. Glaze the Cake: Allow the prepared chocolate ganache to cool for another 5 to 10 minutes, stirring occasionally, until it thickens slightly but is still pourable. This prevents it from being too thin and running off the cake too quickly. Carefully pour the slightly thickened ganache over the chilled cake, starting from the center and working your way outwards. You can use an offset spatula to gently spread the ganache over the top and down the sides for a fully covered look, or simply let it drip naturally for a more rustic aesthetic. Allow the glazed cake to set at room temperature for at least 20 minutes before slicing and serving. This ensures the ganache firms up beautifully.
Expert Tips for a Flawless Keto Ding Dong Cake
Achieving bakery-quality results with your Keto Ding Dong Cake is entirely within reach with a few expert insights. Here are some critical tips and tricks to ensure your cake turns out perfectly moist, flavorful, and beautifully structured:
Coconut Flour Consistency: It’s important to remember that coconut flour brands can vary significantly in their absorbency. This means the amount of liquid needed for your cake batter might need slight adjustments. The goal is a batter that is thick enough to hold its shape but still easily spreadable into your cake pans. If your batter seems too dry, add a teaspoon of coffee or water at a time until the desired consistency is achieved. If it’s too wet, you can add a tiny bit more coconut flour, but be cautious, as too much can make the cake dense.
Preventing Over-Baking: Just like many gluten-free and keto baked goods, this coconut flour cake can become dry if over-baked. Keep a close eye on your cakes in the oven, as baking times can vary slightly depending on your appliance. Start checking for doneness a few minutes before the minimum recommended time. The best indicator that your cake layers are ready is when the tops feel just firm to the touch when lightly pressed. Remove them from the oven immediately at this point to preserve their moisture.
Alternative Flours: While this recipe is optimized for coconut flour, you can certainly adapt it if you prefer nut or seed flours. For a delicious alternative, consider using the batter from my Keto Chocolate Peanut Butter Cake recipe. Simply adjust the quantity to fit two 8-inch round pans instead of three, and as always, bake carefully, monitoring for doneness. Alternatively, if convenience is your priority, a high-quality keto-friendly boxed cake mix can also be used for the layers, just ensure it’s compliant with your dietary goals.
Stabilized Cream Filling: The gelatin in the cream filling is not optional; it’s what gives this cake its signature stable, distinct layers, preventing the cream from squishing out under the weight of the top cake layer. Ensure the gelatin powder is fully dissolved in water and has cooled sufficiently before incorporating it into the whipped cream. Adding hot gelatin to cold cream can lead to a lumpy, unappealing texture. The mixture should be warm to the touch, not hot, when added.
Smooth Ganache with Allulose: To achieve the smoothest, most professional-looking chocolate ganache that remains soft even after refrigeration, I highly recommend adding a few tablespoons of allulose in addition to your powdered sweetener. Allulose is known for its ability to prevent other sugar alcohols from recrystallizing, which can cause a gritty texture in chilled glazes. If allulose isn’t available, don’t worry – the recipe will still work as written with just powdered sweetener, but you might notice a slight grittiness in the ganache once it has been refrigerated.
Serving Size Suggestion: This Keto Ding Dong Cake is incredibly rich and deeply satisfying. While the recipe officially states it serves 12, its decadence means it can easily accommodate 16 servings, especially if you prefer slightly smaller portions or are serving alongside other desserts. Adjust your slice sizes to your preference and enjoy every indulgent bite!
Frequently Asked Questions About Keto Ding Dong Cake
Here are answers to some common questions about making and enjoying this delicious low-carb chocolate cake:
Absolutely! Traditional Ding Dong Cakes are sugar-laden treats, often packing upwards of 35 grams of carbohydrates per slice. In stark contrast, this specially crafted Keto Ding Dong Cake is designed to fit seamlessly into your low-carb or ketogenic lifestyle. Each luscious slice contains only 8.3 grams of total carbohydrates and an impressive 4.2 grams of dietary fiber, resulting in a mere 4.1 grams of net carbs per serving. This makes it an ideal choice for a guilt-free indulgence.
To maintain its freshness and delightful texture, store this cake in an airtight container in the refrigerator for up to one week. For any cut edges, I highly recommend pressing a piece of plastic wrap directly against the exposed cake to prevent it from drying out. If you wish to enjoy this cake later, it freezes beautifully! Simply wrap the entire cake or individual slices tightly in plastic wrap, then an additional layer of aluminum foil, and freeze for several months. Thaw in the refrigerator overnight before serving.
Yes, this Keto Ding Dong Cake is an excellent make-ahead dessert! You can bake the cake layers a day or two in advance and store them, well-wrapped, at room temperature. The cream filling can be prepared a day before and kept refrigerated. Assemble the cake the day before or on the day of your event, and then apply the ganache a few hours before serving. This approach helps reduce stress and ensures you have a perfectly fresh and delicious cake ready to impress.
For perfectly clean and elegant slices, especially with the ganache, use a sharp, thin-bladed knife. For best results, dip the knife in hot water and wipe it clean between each slice. This warms the blade slightly, allowing it to glide through the ganache and cake layers without dragging or tearing, leaving you with beautifully presented portions every time.
More Amazing Keto Cake Recipes You’ll Love
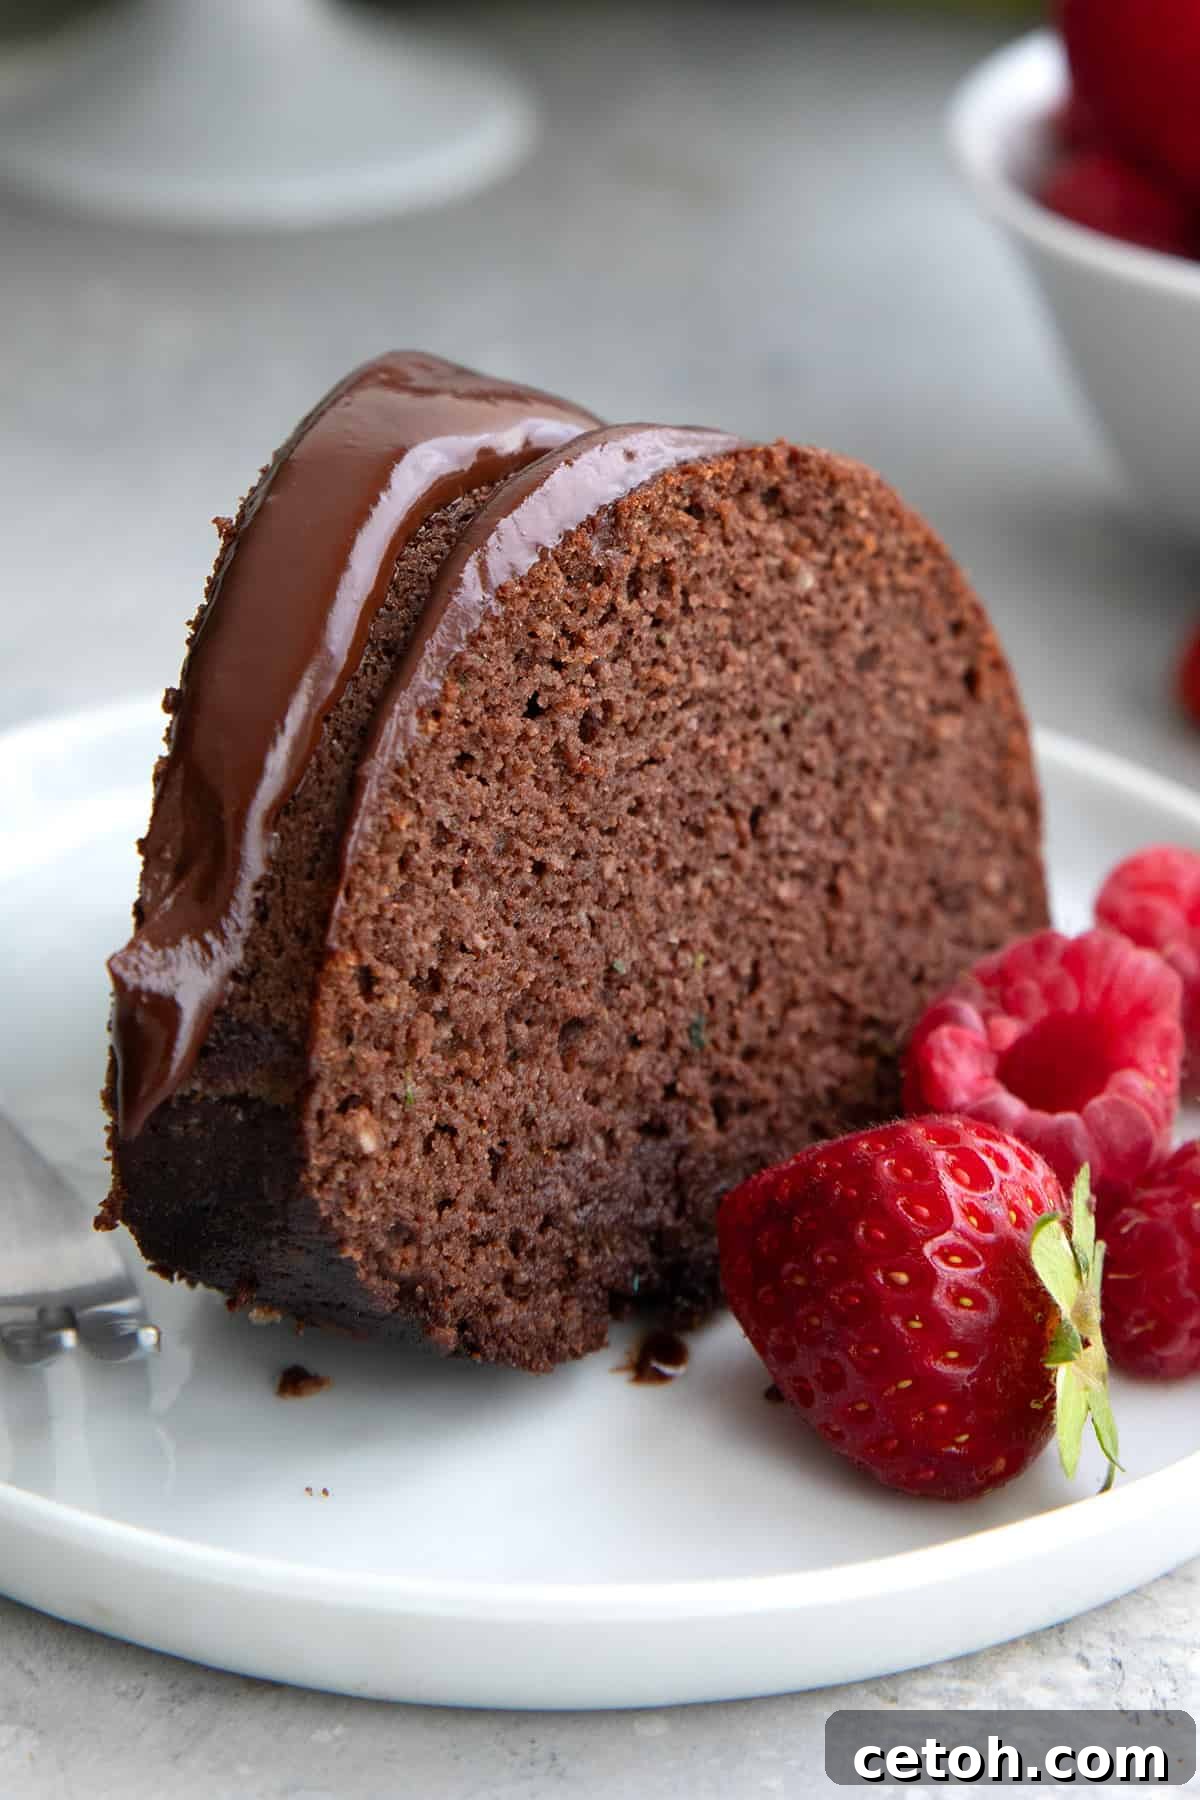
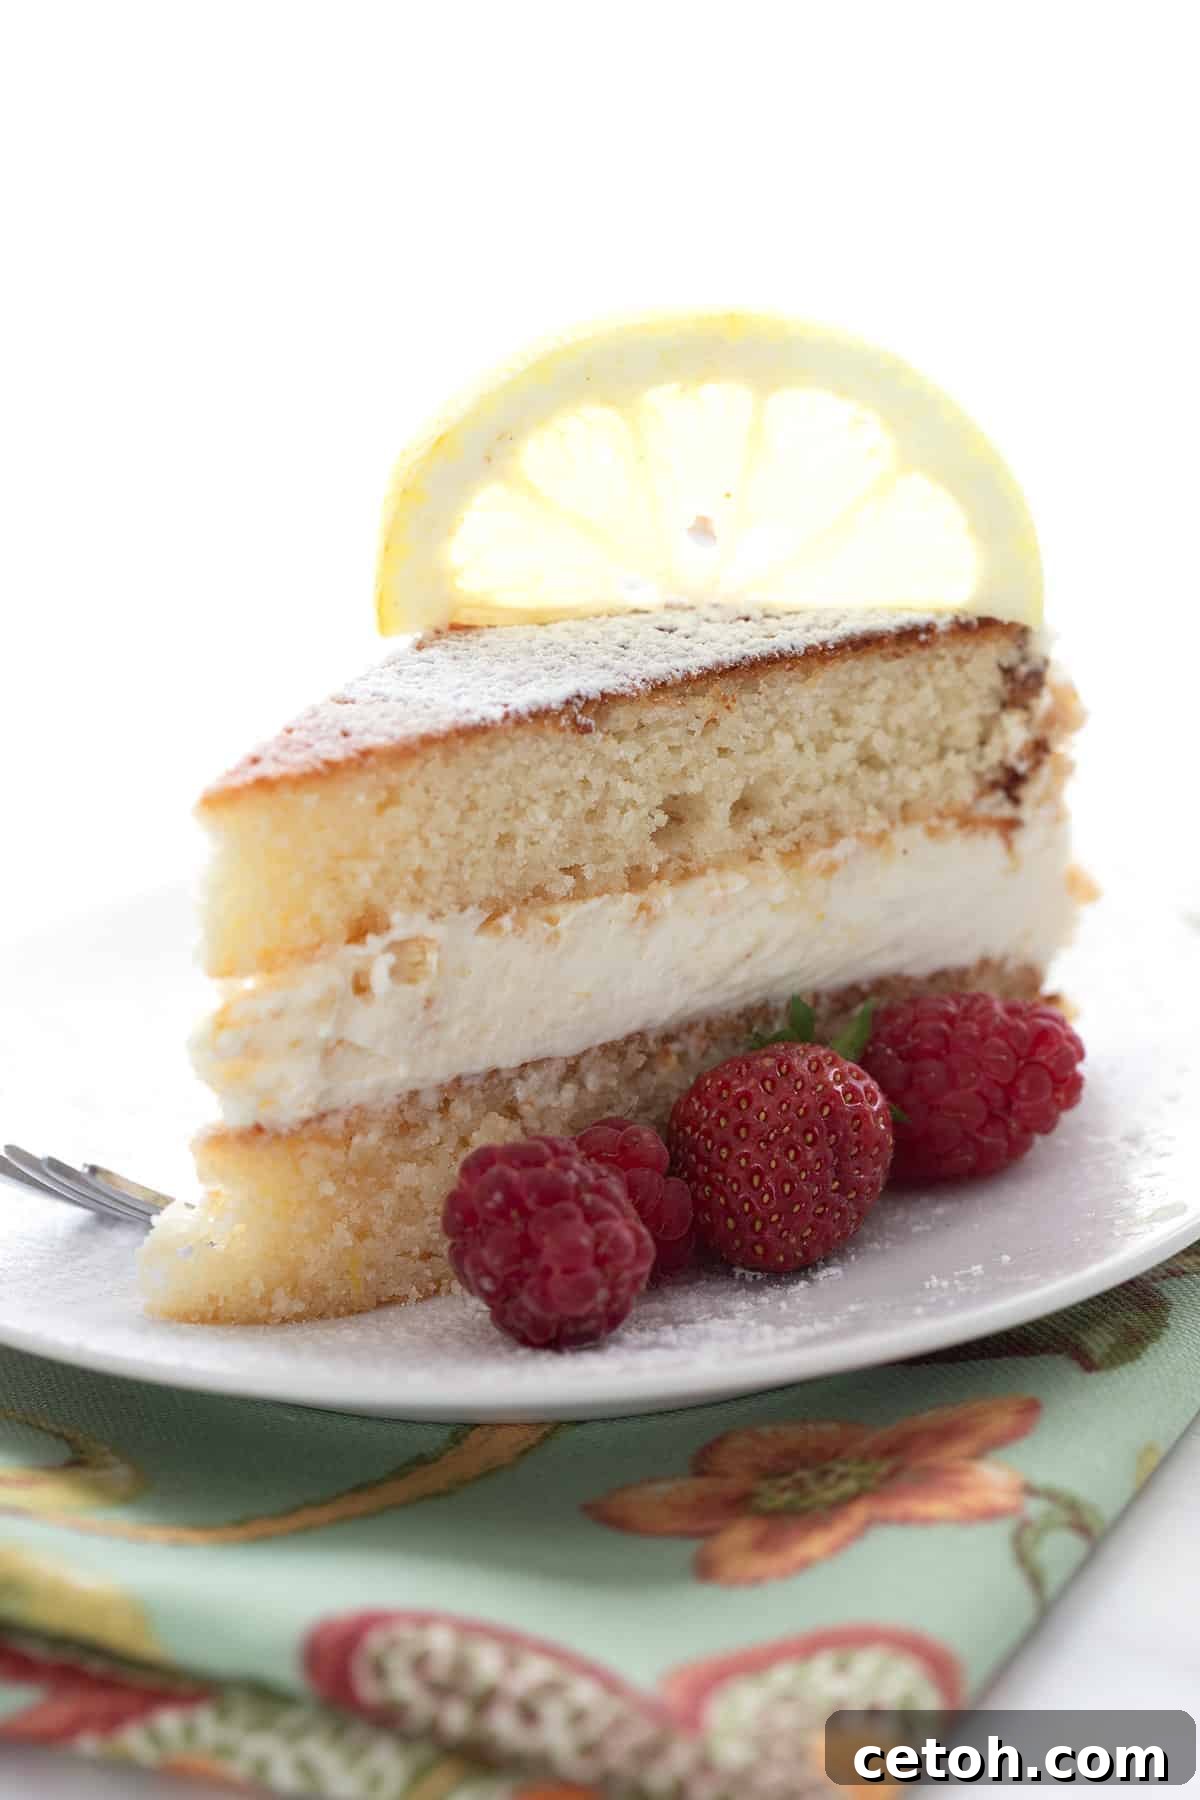
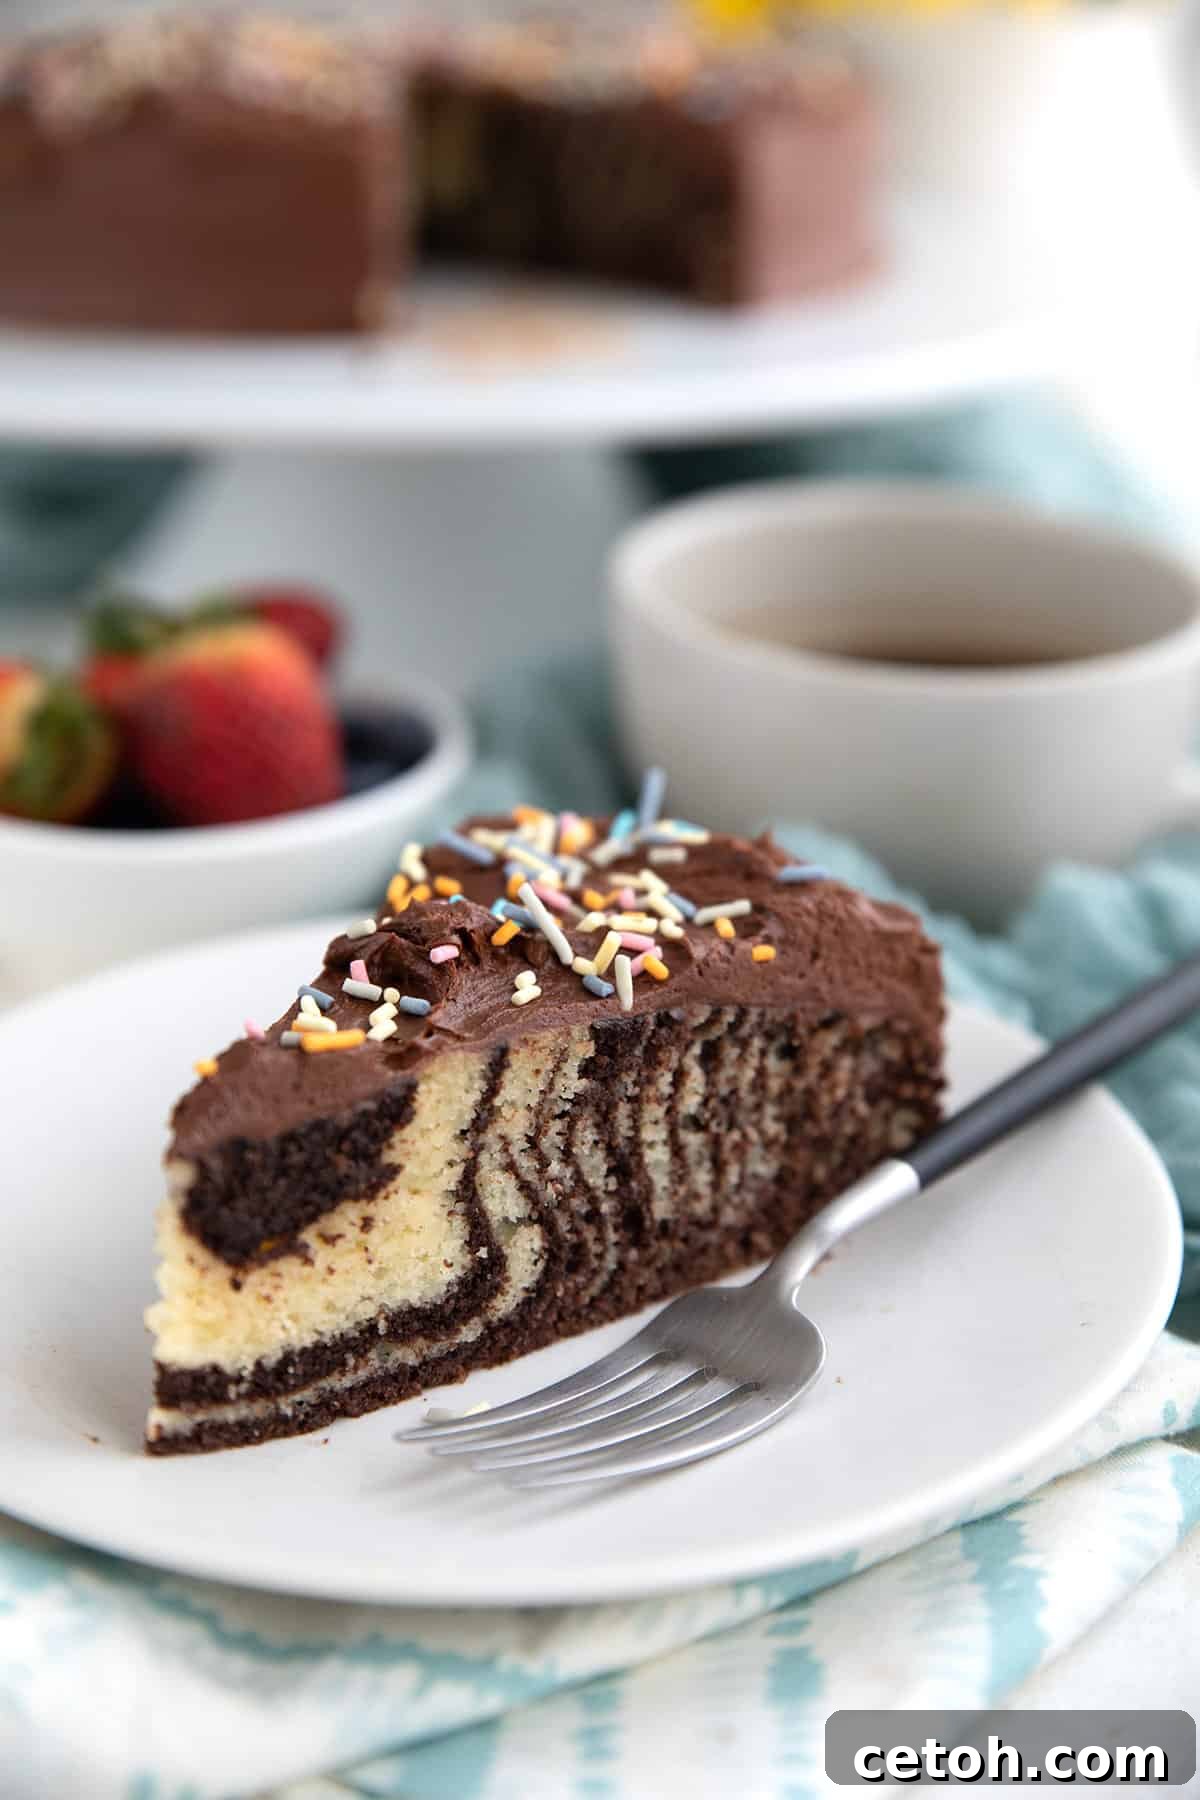
If you’ve fallen in love with this Keto Ding Dong Cake, you’ll be delighted to explore more of my incredible low-carb cake creations. Each recipe is designed to deliver maximum flavor and satisfaction while keeping your carb count in check. Here are a few more favorites to inspire your next baking adventure:
Check out this recipe
Check out this recipe
Check out this recipe
Keto Ding Dong Cake Recipe
12 servings
40 mins
40 mins
1 hr
20 mins
Ingredients
Cake
- ⅔ cup (80 g) coconut flour
- ⅔ cup (121.33 g) Swerve Sweetener or other granular sweetener
- 6 tablespoon (30.43 g) cocoa powder
- ¼ cup (27 g) whey protein powder, chocolate, vanilla, or unflavored
- 2 teaspoon baking powder
- ½ teaspoon salt
- 6 large eggs
- ½ cup (113.5 g) melted butter
- 1 teaspoon vanilla extract
- ½ cup (118.29 ml) leftover coffee or water, more if needed
Filling
- 3 tbsp water
- 1 1/2 tsp grass-fed gelatin, (or 1 envelope Knox gelatin)
- 1 cup (236.59 ml) heavy whipping cream
- 1/3 cup (41.67 g) Swerve Confectioners, or other powdered sweetener
- 1 tsp vanilla extract
Chocolate Ganache
- 2/3 cup (157.73 ml) heavy whipping cream
- 1/4 cup Swerve Confectioners, or other powdered sweetener
- 2 tbsp allulose, optional, can replace with more Swerve
- 2 1/2 ounces (70.87 g) unsweetened chocolate
- 3/4 tsp vanilla extract
Instructions
Cake
-
Preheat the oven to 350ºF (175°C) and grease two 8-inch round cake pans very well. Line the bottoms with parchment paper and grease the paper.
-
In a large bowl, whisk together the coconut flour, sweetener, cocoa powder, protein powder, baking powder, and salt. Stir in the eggs, butter, and vanilla extract until well combined.
-
Stir in the coffee about ¼ cup at a time until the batter is thick but easily scoopable. Divide the batter evenly between the two pans and spread to the edges.
-
Bake 20 to 25 minutes, until the tops of the cakes are just firm to the touch. Remove and let cool before loosening the edges and flipping out onto a wire rack.
Filling
-
Place the water in a small bowl and sprinkle with the gelatin. Whisk to combine. Heat for about 30 seconds in the microwave and whisk until the gelatin is dissolved. Cool 10 minutes.
-
In a large bowl, combine the cream, sweetener, and vanilla extract. Begin to beat at high speed and slowly pour in the water/gelatin mixture. Beat until the cream holds stiff peaks.
-
Place one layer of cake on a serving platter and spread with the cream filling. Top with the second layer of cake and press down lightly so the cream comes to the edges of the cake. Place the cake in the freezer for 30 minutes to firm up.
Chocolate Ganache
-
In a medium saucepan over medium heat, combine the cream and sweetener. Bring to just a simmer, then remove from heat and add the chopped chocolate and vanilla extract. Let sit 5 minutes and then whisk until smooth.
-
Let cool another 5 to 10 minutes to thicken, then slowly pour over the cake. You can use an offset spatula to cover the sides or simply let it drip down. Let set 20 minutes before serving.
Notes
Storage Information: Store this cake in a covered container in the fridge for up to a week. I recommend placing plastic wrap against the cut edges to keep it from drying out. You can also freeze the cake, tightly wrapped, for several months.
Nutrition
Calories: 303kcal |
Carbohydrates: 8.3g |
Protein: 8.2g |
Fat: 25.1g |
Fiber: 4.2g
I’d love to know your thoughts, leave your rating below!