
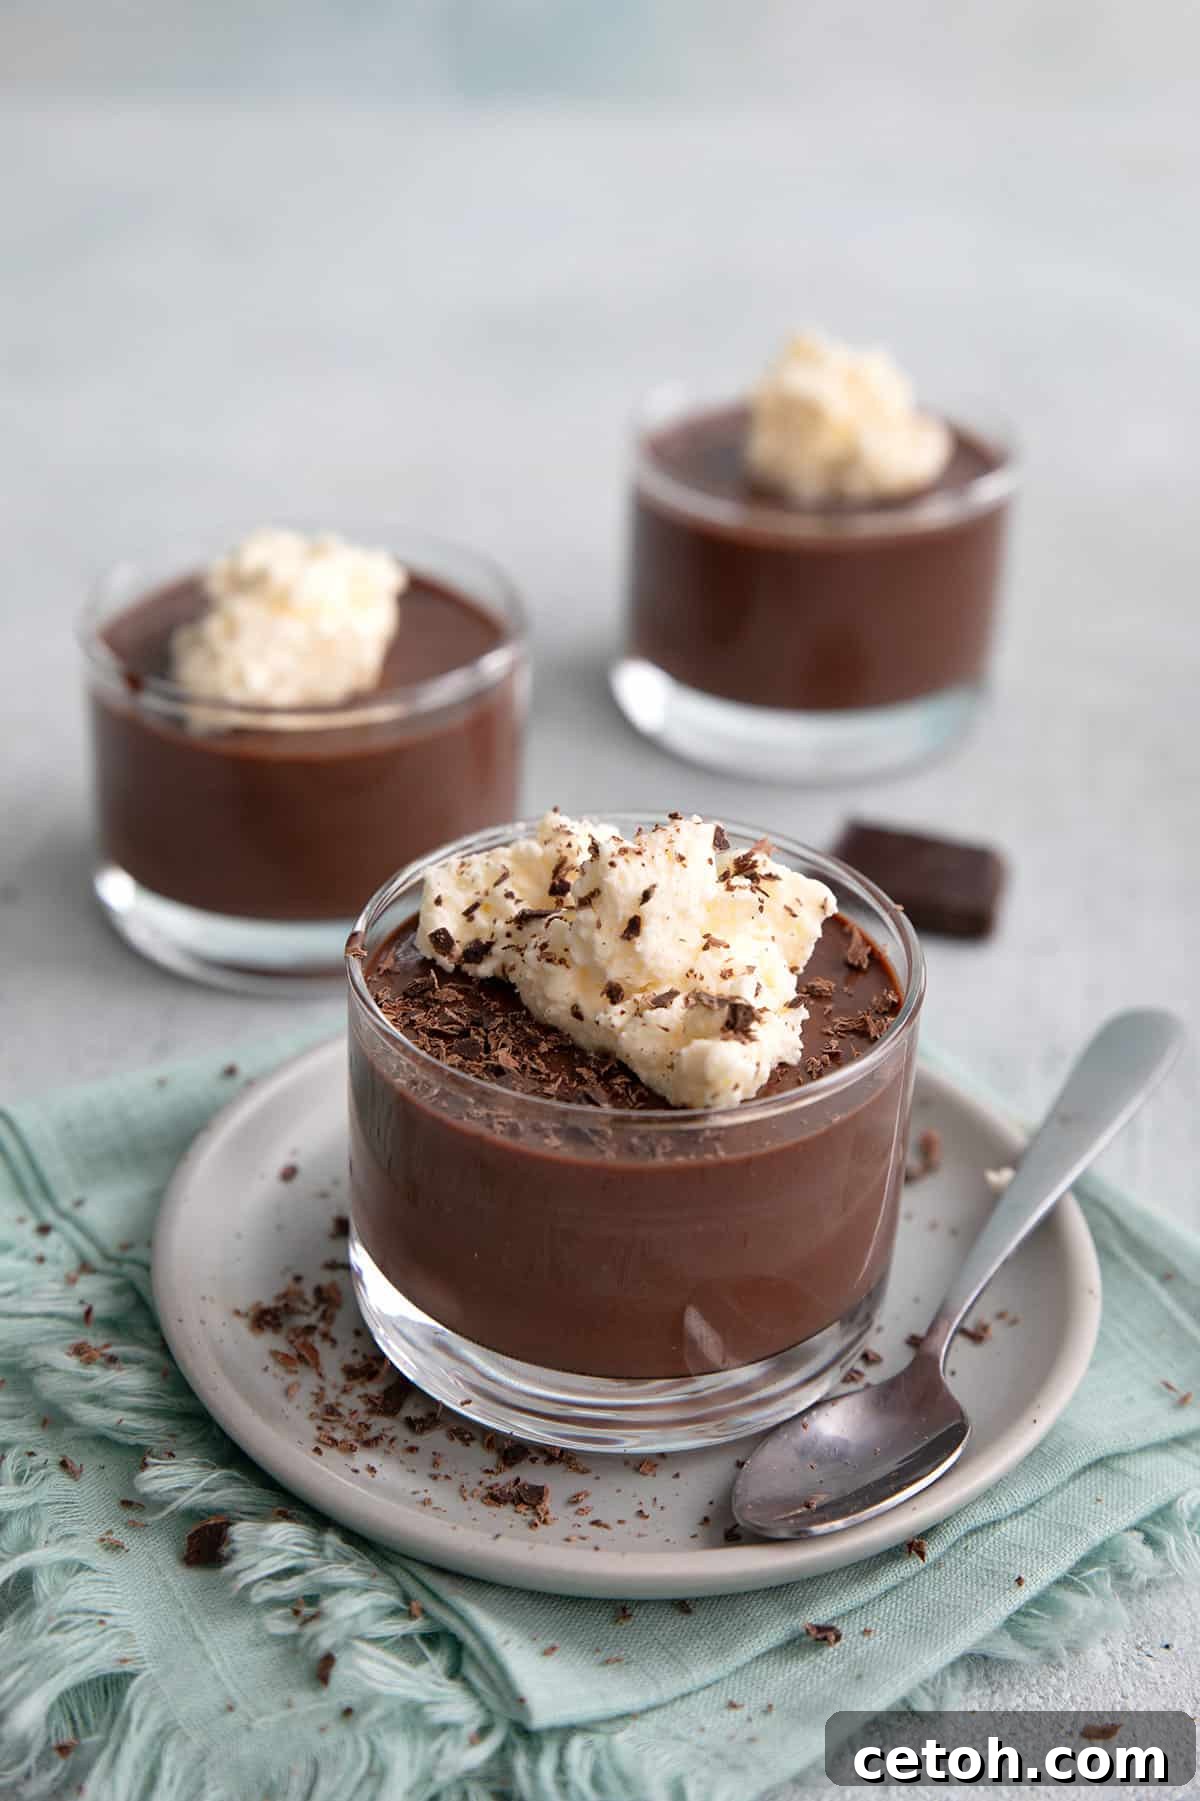
Indulge in the decadent pleasure of a truly exquisite dessert without the guilt! This **Sugar Free Chocolate Pudding** redefines what a healthy treat can be. Forget about bland, overly sweet, or artificial flavors; this homemade version is unbelievably smooth, intensely creamy, and packed with a deep chocolate richness that will satisfy even the most discerning palates. Best of all, it takes a mere 20 minutes of active prep time, making it an ideal choice for a quick yet luxurious dessert. Perfect for anyone following a keto lifestyle, seeking dairy-free options, or simply aiming to reduce sugar intake, this recipe promises a delightful experience for the whole family.
Growing up, my perception of pudding was largely shaped by the boxed varieties – a quick, somewhat rubbery, and often underwhelming dessert. While I always harbored a deep love for rich, creamy treats like keto chocolate mousse and keto cheesecake, pudding never quite topped my list. That all changed the moment I ventured into making my own **keto chocolate pudding** from scratch. The revelation was immediate and profound! The homemade version bears little resemblance to its shelf-stable counterparts; it’s a world apart in terms of texture, flavor, and overall satisfaction.
This recipe quickly ascended to become one of my most cherished desserts. Its velvety texture and profound chocolate flavor make it incredibly versatile. I’ve even enjoyed using this luscious **low carb chocolate pudding** as a luxurious filling for my celebrated keto chocolate blackout cake, proving its adaptability beyond a simple standalone treat. Prepare to have your expectations of pudding completely transformed!
Why You Will Love This Sugar-Free Chocolate Pudding Recipe
If the mere mention of chocolate pudding conjures warm, nostalgic memories of childhood, but you’ve since chosen to avoid traditional sugars, then this **sugar-free pudding** recipe is tailor-made for you. When crafted with care, it transforms into an incredibly delicious and guilt-free indulgence, easily earning its place at any dessert table. Making your own **homemade sugar-free pudding** offers numerous advantages:
- Unrivaled Smoothness and Creaminess: Unlike grainy or thin store-bought options, this pudding boasts a silken, luxurious texture that melts in your mouth, providing a truly satisfying mouthfeel. It’s the epitome of dessert comfort.
- Deep, Authentic Chocolate Flavor: By utilizing high-quality cocoa powder, this recipe delivers an intense and genuine chocolate experience. You’ll taste the true essence of cocoa, unmasked by excessive sweetness, resulting in a richer, more sophisticated flavor profile.
- Dairy-Free Adaptability: Catering to various dietary needs, this recipe includes a simple and effective dairy-free option. You can achieve the same luscious results using full-fat coconut milk and coconut oil, ensuring everyone can enjoy this delightful treat.
- Clean Ingredients, No Unwanted Additives: Taking control of your diet means knowing exactly what goes into your food. This recipe uses wholesome, readily available ingredients, free from the artificial colors, flavors, and preservatives often found in boxed mixes.
- Surprisingly Simple to Make: Don’t be intimidated by the idea of homemade pudding! This recipe is genuinely as straightforward and quick as preparing a mix from a box, often requiring less than 20 minutes of your active time in the kitchen.
- Low Net Carbs for Keto Lifestyles: Each serving contains only 3.1g net carbs, making it an excellent choice for those maintaining a ketogenic or low-carb diet. It allows you to enjoy a decadent dessert without compromising your health goals.
Ultimately, this homemade **sugar-free chocolate pudding** consistently outperforms boxed mixes in both flavor and consistency. You gain the invaluable advantage of knowing precisely what nourishing ingredients are creating your dessert, alongside the sheer enjoyment of a truly simple and rewarding cooking process.
What Our Readers Are Saying
⭐⭐⭐⭐⭐
“This recipe is awesome! I tried it yesterday and it’s the first time I’ve had chocolate pudding come out well (I’ve tried so many recipes). It had a mousse-like texture that I really loved.” – Carol
⭐⭐⭐⭐⭐
“OMG you must make this! Seriously one of the best desserts ever, keto aside! Can’t keep it in the fridge for more than a day or 2 between my husband and I. It is perfect exactly as written (I do the dairy version).” – Nikki
⭐⭐⭐⭐⭐
“Thank you for the wonderful recipes…this is one of our favorites!” – Mary
Essential Ingredients for Your Keto Chocolate Pudding
Crafting the perfect **sugar-free chocolate pudding** begins with selecting the right ingredients. Each component plays a crucial role in achieving that sought-after creamy texture and rich flavor:
- Heavy Cream (or Full-Fat Canned Coconut Milk): This is the foundation of our pudding’s luxurious richness and velvety consistency. For a dairy-free option, ensure you use full-fat canned coconut milk (the kind used for curries, not the beverage type) to maintain the desired thickness and creamy mouthfeel.
- Hemp or Almond Milk (or More Coconut Milk): Adding a lighter nut milk helps to slightly reduce the overall calorie density and balance the richness of the heavy cream. If you’re going entirely dairy-free, simply increase the amount of full-fat canned coconut milk to achieve the liquid volume needed.
- Sweetener (Allulose and Swerve Recommended): For a balanced sweetness without the sugar spike, I find a blend of allulose and Swerve (erythritol-based) works wonderfully. Allulose provides a clean, mild sweetness with excellent textural properties, while Swerve offers bulk and a familiar sweetness. See our expert tips for other suitable low-carb sweetener options.
- Eggs (1 Whole Egg and 2 Egg Yolks): Eggs are indispensable for thickening homemade pudding. The whole egg provides structure, while the extra egg yolks contribute significant richness and a wonderfully smooth texture, preventing a watery or gummy result.
- Glucomannan (or Xanthan Gum): A small amount of a thickening agent is essential to ensure the pudding sets perfectly. I personally prefer glucomannan for its superior texture, which creates a silkier finish compared to xanthan gum, though the latter can be used as an alternative.
- Good Quality Cocoa Powder: The choice of cocoa powder profoundly impacts the final chocolate flavor. Opt for a high-quality, unsweetened cocoa powder from brands like Rodelle or Ghirardelli for a truly deep, robust chocolate taste. Avoid natural cacao powder, as it tends to clump and may result in a less smooth pudding. Dutch-processed cocoa is often recommended for its darker color and milder flavor, which works well here.
- Butter (or Coconut Oil for Dairy-Free): A touch of butter (or virgin coconut oil for the dairy-free version) stirred in at the end adds an incredible layer of smoothness, richness, and helps the pudding set beautifully. It enhances both the flavor and mouthfeel, making the pudding even more decadent.
- Pantry Staples: A dash of **vanilla extract** enhances the chocolate notes and adds aromatic depth, while a pinch of **salt** is crucial for balancing the sweetness and intensifying all the other flavors.
Step-by-Step Directions to Craft Your Perfect Sugar-Free Chocolate Pudding
Follow these simple steps to create a wonderfully smooth and rich **keto chocolate pudding** that will impress everyone:
1. Gently Heat the Liquid Base: In a medium-sized, heavy-bottomed saucepan, combine the heavy cream (or full-fat coconut milk) and hemp/almond milk (or additional coconut milk). Place the saucepan over medium heat. Stir occasionally to prevent scorching and bring the mixture to a gentle simmer – you’ll see small bubbles forming around the edges, but avoid a rolling boil. Once simmering, remove the pan from the heat and whisk in your chosen sweeteners until they are fully dissolved. This warm liquid forms the flavorful base of your pudding.
2. Prepare and Temper the Eggs: In a separate medium bowl, whisk together the whole egg and the two egg yolks until the mixture is completely smooth and uniform in color. This ensures no lumps will form. Now, the crucial step: slowly and gradually stream about ½ cup of the hot cream mixture into the whisked eggs while continuously whisking the eggs vigorously. This process, known as tempering, slowly raises the temperature of the eggs, preventing them from scrambling when added to the main hot liquid.
3. Combine the Mixtures: Once the eggs are tempered, slowly whisk this warmed egg mixture back into the remaining hot cream mixture in the saucepan. Continue to whisk gently to ensure everything is thoroughly combined and smooth. This careful reintroduction is key to a perfectly integrated pudding base.
4. Introduce Cocoa and Thicken: Stir in the cocoa powder until no dry clumps remain. Return the saucepan to medium-low heat. Continue to whisk continuously and gently for 3 to 5 minutes. During this time, the mixture will gradually thicken and become smooth. Keep a close eye on it; you’ll notice it coating the back of a spoon more readily. Once thickened, sprinkle the surface with glucomannan (or xanthan gum) and whisk vigorously for about 30 seconds to a minute to fully incorporate it and achieve the final desired thickness. The pudding should be noticeably thicker and glossy.
5. Finish with Butter and Chill: Immediately remove the saucepan from the heat. Add the butter (or coconut oil) cut into pieces and the vanilla extract. Whisk until the butter is completely melted and smoothly incorporated, lending a beautiful sheen and extra richness to the pudding. Divide the warm pudding evenly among 6 small dessert cups or ramekins. Allow them to cool slightly at room temperature before covering them with plastic wrap, pressing it directly onto the surface of the pudding to prevent a skin from forming. Refrigerate for 2 to 3 hours, or until thoroughly chilled and set.
6. Serve and Garnish: Once set, your **sugar-free chocolate pudding** is ready to be enjoyed! For an extra touch of elegance and flavor, garnish each serving with a dollop of lightly sweetened sugar-free whipped cream, a sprinkle of fresh berries (like raspberries or blueberries), or delicate chocolate shavings. Enjoy this decadent, guilt-free dessert!
Expert Tips for the Best Sugar-Free Chocolate Pudding
Achieving a flawless, restaurant-quality **homemade chocolate pudding** is easier than you think with a few expert insights:
Mastering the Tempering Process: Tempering the eggs is arguably the most crucial step in making any custard-based pudding. It prevents the eggs from scrambling when they meet the hot liquid, which would result in a lumpy, unappetizing texture. The key is to add the hot cream mixture to the eggs *very slowly*, a little at a time, while whisking continuously and vigorously. This gradual warming ensures the eggs incorporate smoothly and thicken the pudding beautifully. Do not rush this step!
Constant Vigilance is Key: This is not a dessert you can walk away from, particularly during the thickening stage. Pudding can thicken quite rapidly and unexpectedly, and if left unattended, it can easily scorch on the bottom or become too thick and gummy. Keep your eyes on the saucepan and maintain continuous whisking over medium-low heat until the desired consistency is achieved. It typically takes 3-5 minutes, but rely on visual cues rather than strict timing.
Seamless Dairy-Free Adaptation: The good news is that the process for making the dairy-free version is identical to the dairy one. For a completely dairy-free **keto chocolate pudding**, simply replace all dairy components with their plant-based alternatives. This means using full-fat canned coconut milk for all 2 cups of the liquid (instead of heavy cream and nut milk) and substituting the butter with virgin coconut oil. Ensure your coconut milk is well-stirred from the can to combine the cream and liquid evenly.
Sweetener Options and Their Impact
The success of this **sugar-free chocolate pudding** largely depends on the right sweetener. I highly recommend using a bulk (granular) sweetener rather than a concentrated liquid extract. My preferred combination is equal parts allulose and Swerve (or another erythritol blend). Allulose provides a gentle sweetness and contributes to a smooth texture, but it can make the pudding take slightly longer to set in the refrigerator. Swerve adds bulk and a more pronounced sweetness. You can use one or the other if preferred, but be mindful of the allulose setting time. Other granular options like erythritol or monk fruit/erythritol blends can also work, but always adjust to your preferred sweetness level, as different sweeteners have varying potencies.
Storage and Make-Ahead Tips
This **keto chocolate pudding** is an excellent make-ahead dessert! You can prepare it up to three days in advance and store it, covered, in the refrigerator. To prevent a “skin” from forming on top, press a piece of plastic wrap directly onto the surface of the pudding before refrigerating. Freezing is not recommended, as it can significantly alter the pudding’s delicate creamy texture upon thawing, often making it watery or grainy.
Frequently Asked Questions About Sugar-Free Chocolate Pudding
Curdling often occurs when eggs are added too quickly to hot liquids without proper tempering, causing them to cook unevenly. While tempering is the best preventative measure, a curdled pudding can usually be saved! Simply transfer the entire mixture into a blender and blend on high speed until it becomes smooth and uniform. This mechanical action breaks down any cooked egg bits, restoring a creamy consistency.
Absolutely! This **sugar-free chocolate pudding** is an excellent make-ahead dessert. You can prepare it up to three days in advance. Be sure to keep it covered tightly in the refrigerator, preferably with plastic wrap pressed directly onto the surface to prevent a skin from forming. I do not recommend freezing this pudding, as the texture tends to change upon thawing, becoming less smooth and sometimes grainy.
This specific **sugar-free pudding recipe** is designed to be low in carbohydrates, making it ideal for keto and low-carb diets. Each serving contains approximately 4.9g of total carbohydrates and 1.8g of fiber. This results in a very favorable net carb count of just 3.1g per serving.
For the deepest and richest chocolate flavor, I recommend using a high-quality, unsweetened Dutch-processed cocoa powder. Dutch-processed cocoa has been treated with an alkali to neutralize its acidity, resulting in a darker color, milder flavor, and easier dissolve-ability compared to natural cocoa. Brands like Ghirardelli or Rodelle are excellent choices for achieving that perfect deep chocolate taste and smooth consistency in your **keto chocolate pudding**.
While glucomannan and xanthan gum are excellent low-carb thickeners, you can experiment with others if they fit your dietary needs. Cornstarch or arrowroot powder are traditional pudding thickeners, but they contain carbs. If you’re not strictly keto, you could use about 2-3 tablespoons of cornstarch (mixed with a little cold liquid first to form a slurry) and cook until thickened. However, for a true **sugar-free, low-carb chocolate pudding**, glucomannan or xanthan gum are the preferred choices as they provide thickness without adding significant carbohydrates.
More Luscious Keto Chocolate Dessert Recipes to Explore
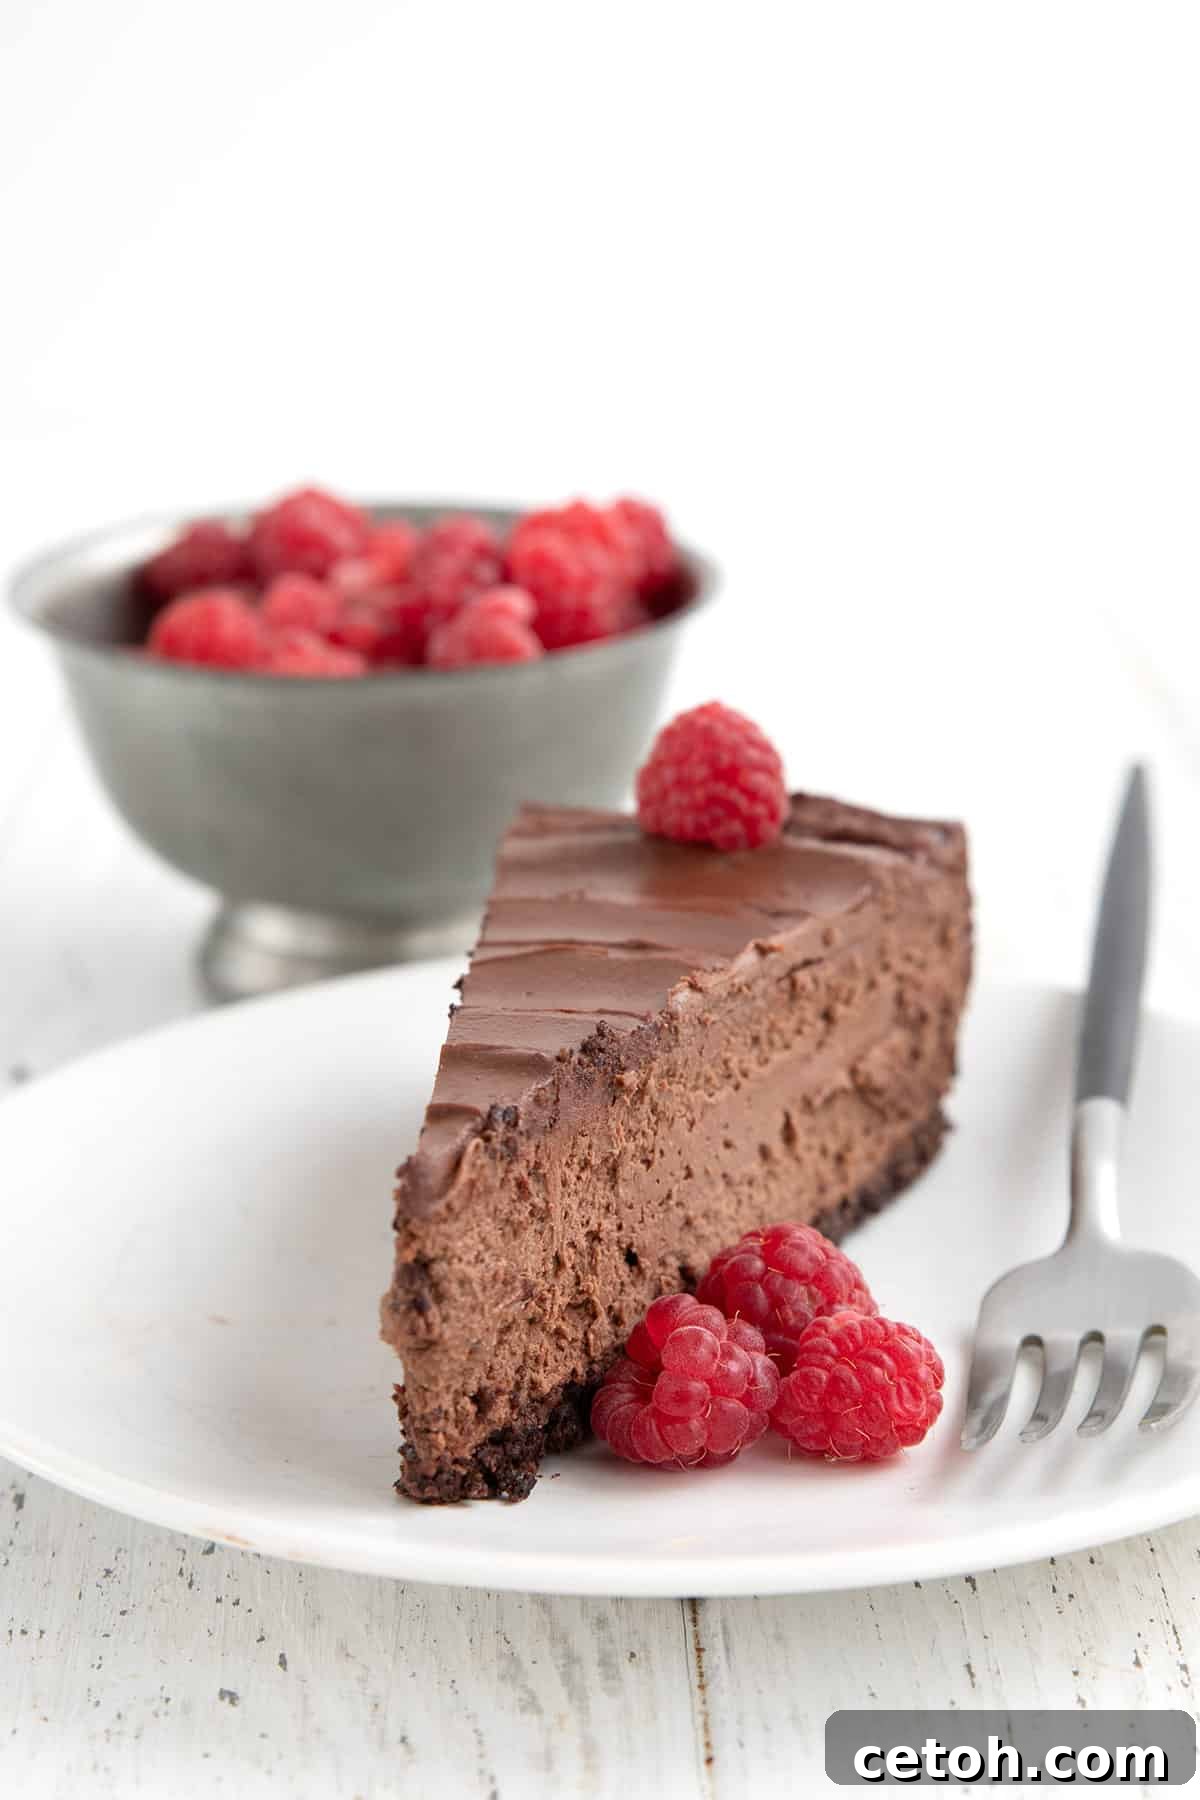
Check out this recipe
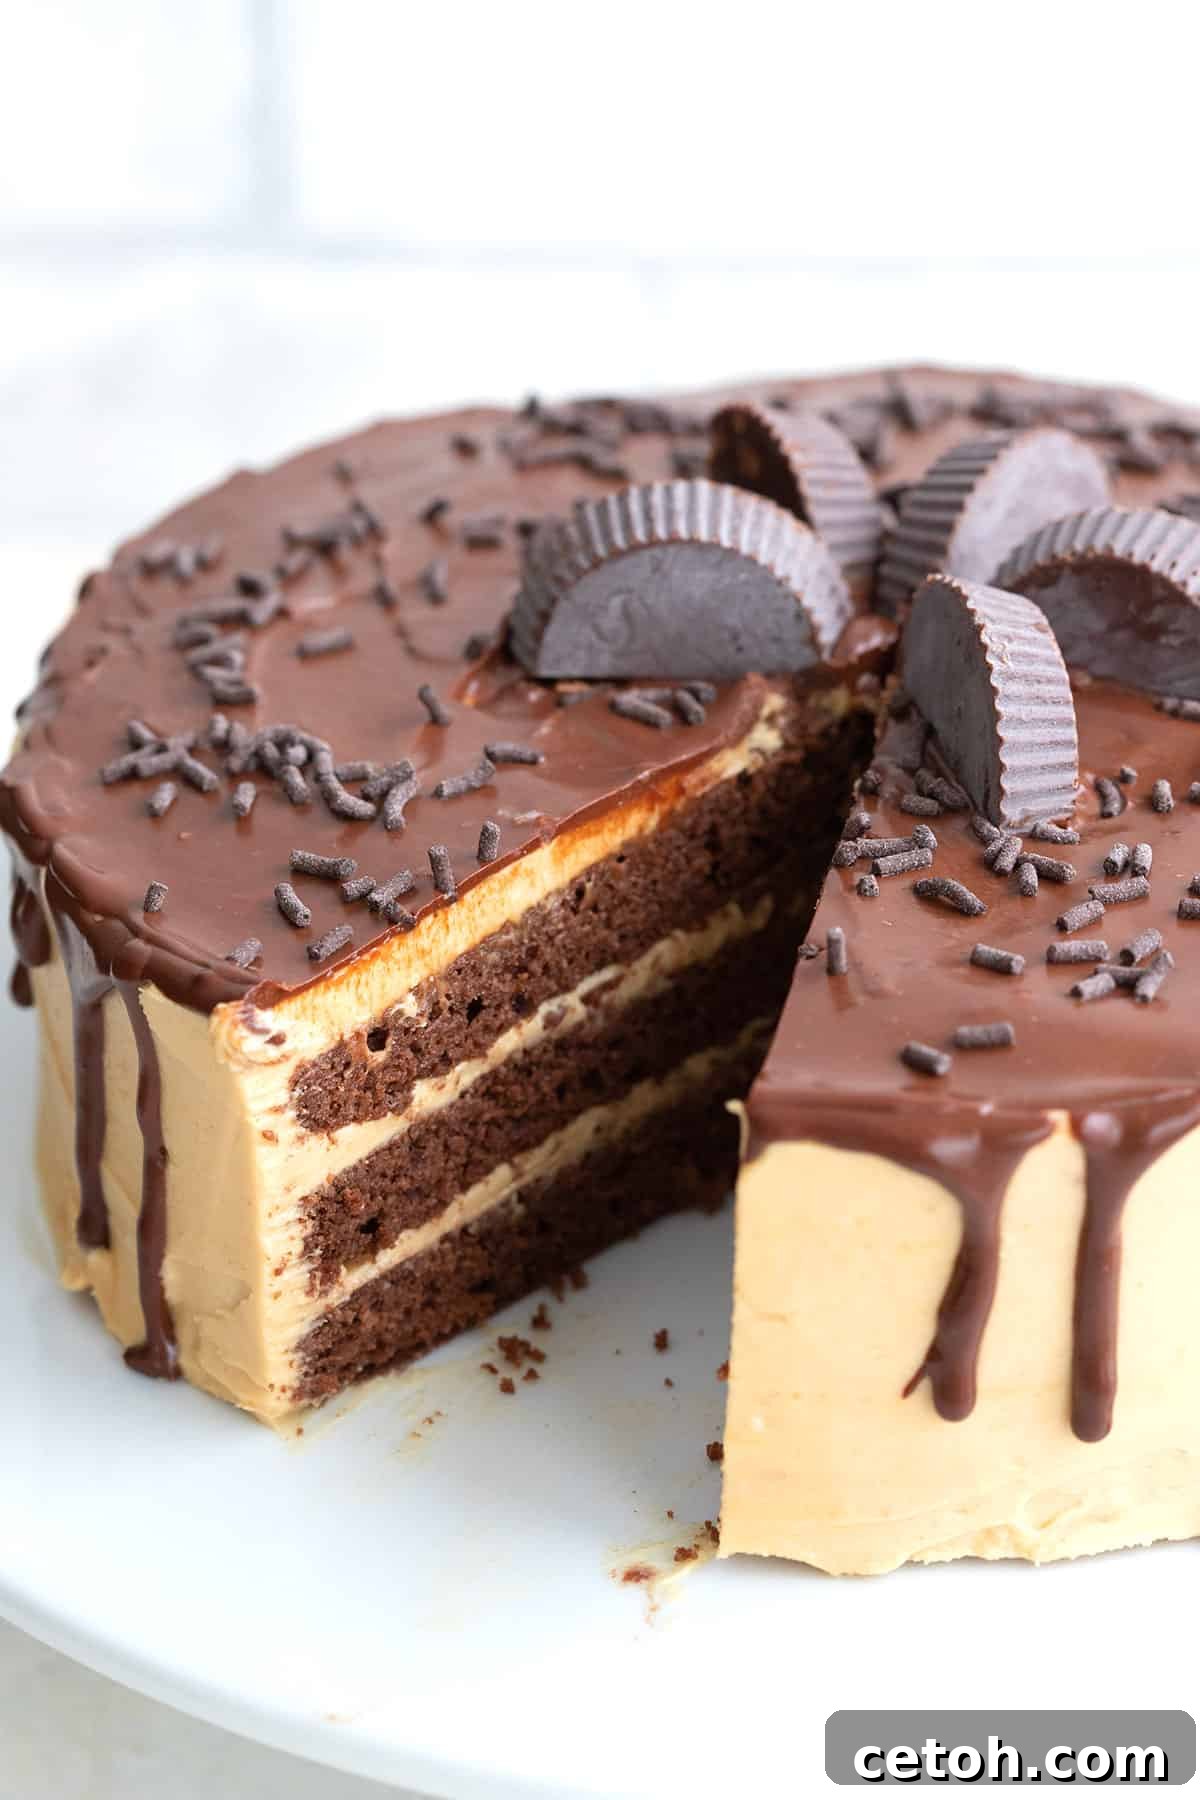
Check out this recipe
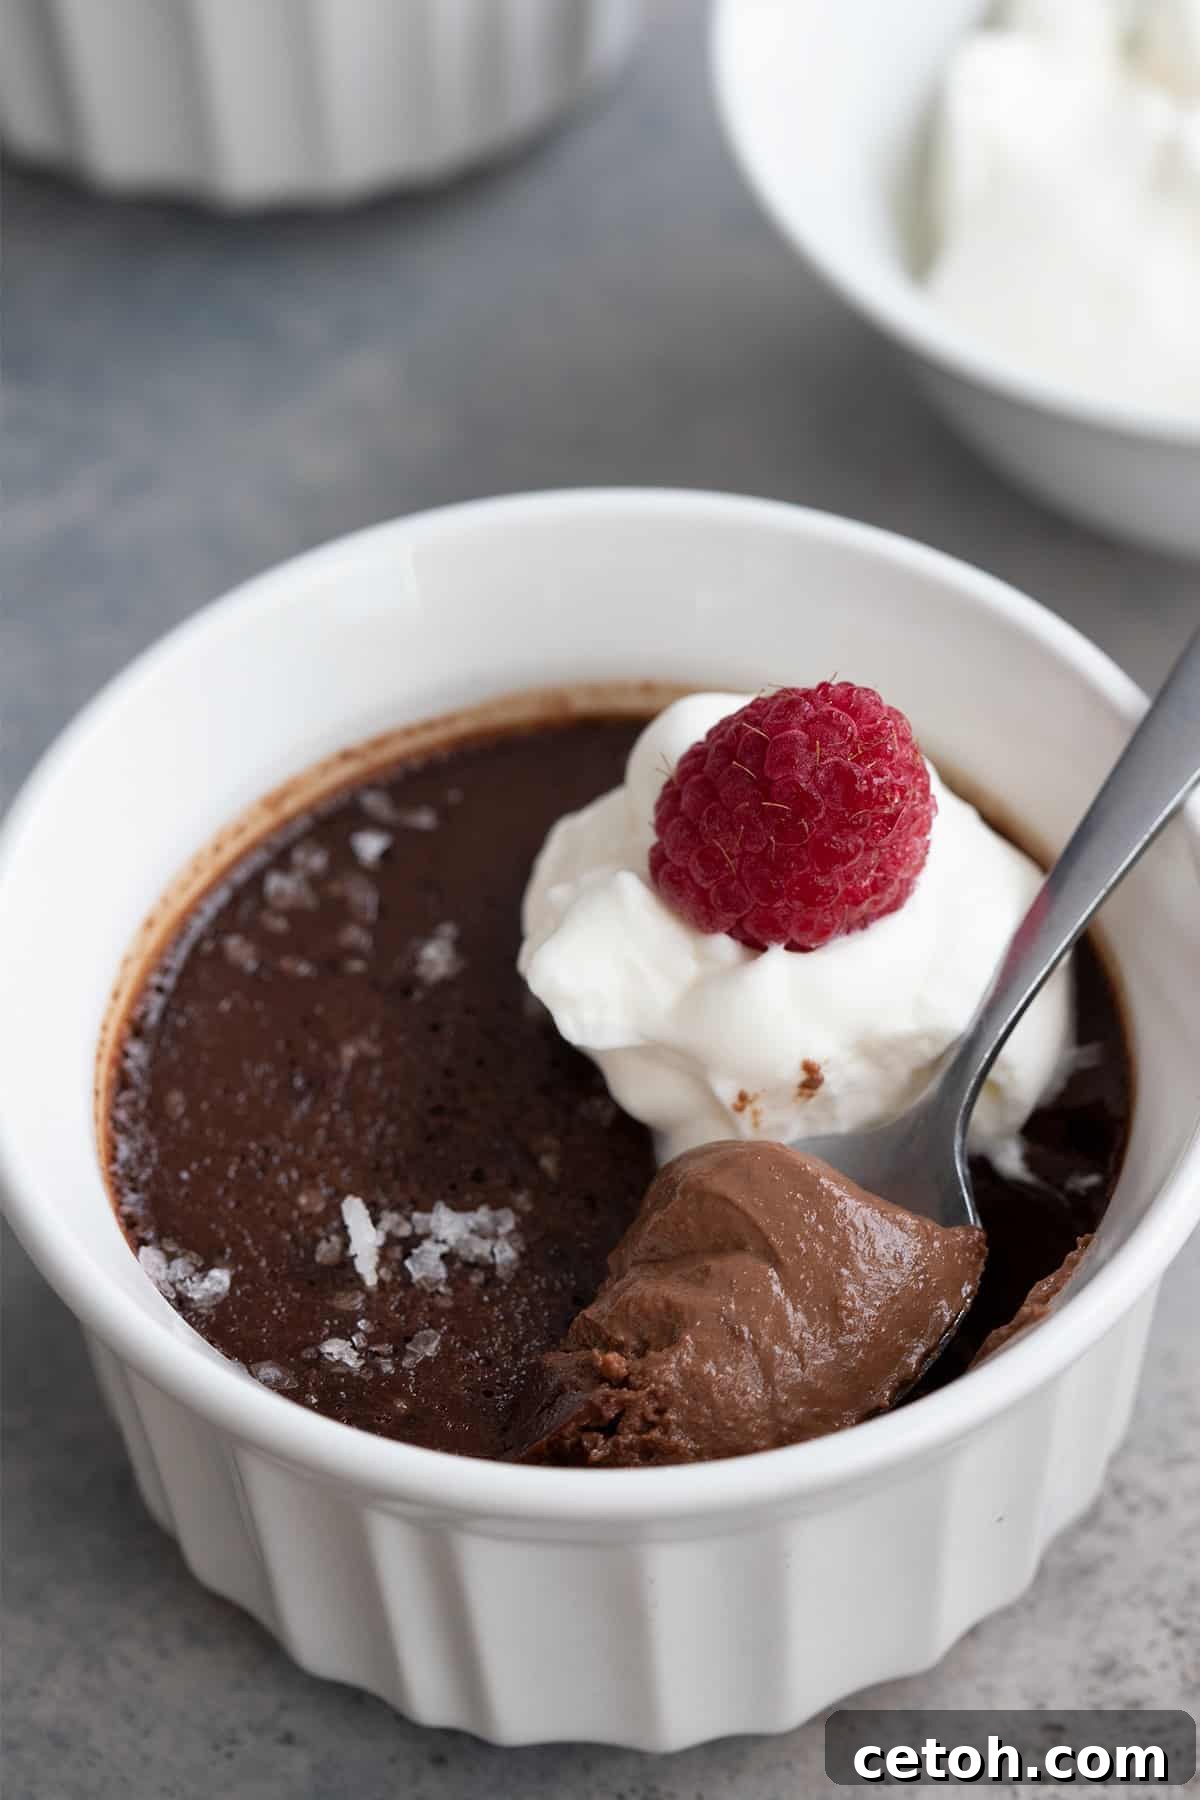
Check out this recipe
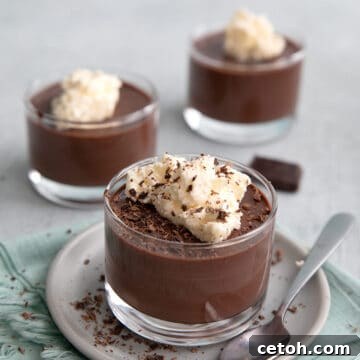
Sugar Free Chocolate Pudding Recipe
Prep Time: 2 mins
Cook Time: 15 mins
Total Time: 17 mins
This Sugar Free Chocolate Pudding is unbelievably smooth and creamy. It takes only 20 minutes to make and can be made dairy-free too. A wonderful keto-friendly treat for the whole family.
Ingredients
- 1 1/4 cups heavy whipping cream (or full-fat canned coconut milk for dairy-free)
- 3/4 cup almond/hemp/macadamia milk (or more full-fat canned coconut milk)
- 3 tbsp Swerve Sweetener (granulated erythritol)
- 3 tbsp allulose
- 1 large egg
- 2 large egg yolks
- 1/4 tsp glucomannan (or xanthan gum)
- 6 tbsp cocoa powder (good quality, Dutch-processed recommended)
- 3 tbsp butter, cut into 3 pieces (or virgin coconut oil for dairy-free)
- 1/2 tsp vanilla extract
- Pinch of salt
Instructions
- Heat the Liquid: In a medium saucepan over medium heat, combine the heavy cream and hemp/almond milk. Bring to a gentle simmer, stirring occasionally. Remove from heat and whisk in the sweeteners and salt until dissolved.
- Temper the Eggs: In a medium bowl, whisk the whole egg and egg yolks together until smooth. Slowly add ½ cup of the hot cream mixture into the eggs, whisking continuously and vigorously.
- Combine Mixtures: Slowly whisk the tempered eggs back into the saucepan with the remaining hot cream mixture.
- Add Cocoa & Thicken: Stir in the cocoa powder until smooth. Return the mixture to medium-low heat. Whisk continuously for 3 to 5 minutes until the mixture is smooth and begins to thicken, coating the back of a spoon. Sprinkle the surface with glucomannan and whisk vigorously for 30-60 seconds to fully incorporate and thicken further.
- Finish & Chill: Remove from heat and add the butter and vanilla extract, whisking until smooth and glossy. Divide the pudding among 6 dessert cups. Cover with plastic wrap, pressing it directly onto the surface to prevent a skin. Refrigerate for 2 to 3 hours, or until thoroughly chilled and set.
- Serve: Garnish with lightly sweetened sugar-free whipped cream, fresh berries, or chocolate shavings, and serve chilled.
Notes
Storage Information: This pudding can be made up to three days in advance. Keep covered tightly in the refrigerator. Freezing is not recommended as it affects the texture.
Dairy Free Option: For a dairy-free version, replace all heavy cream and almond/hemp milk with full-fat canned coconut milk (ensure it’s well-stirred from the can). Substitute butter with virgin coconut oil. The preparation process remains identical.
Nutrition
Serving: 1 serving (1/6th of recipe) | Calories: 276kcal | Carbohydrates: 4.8g | Protein: 4.5g | Fat: 26.2g | Fiber: 2g