
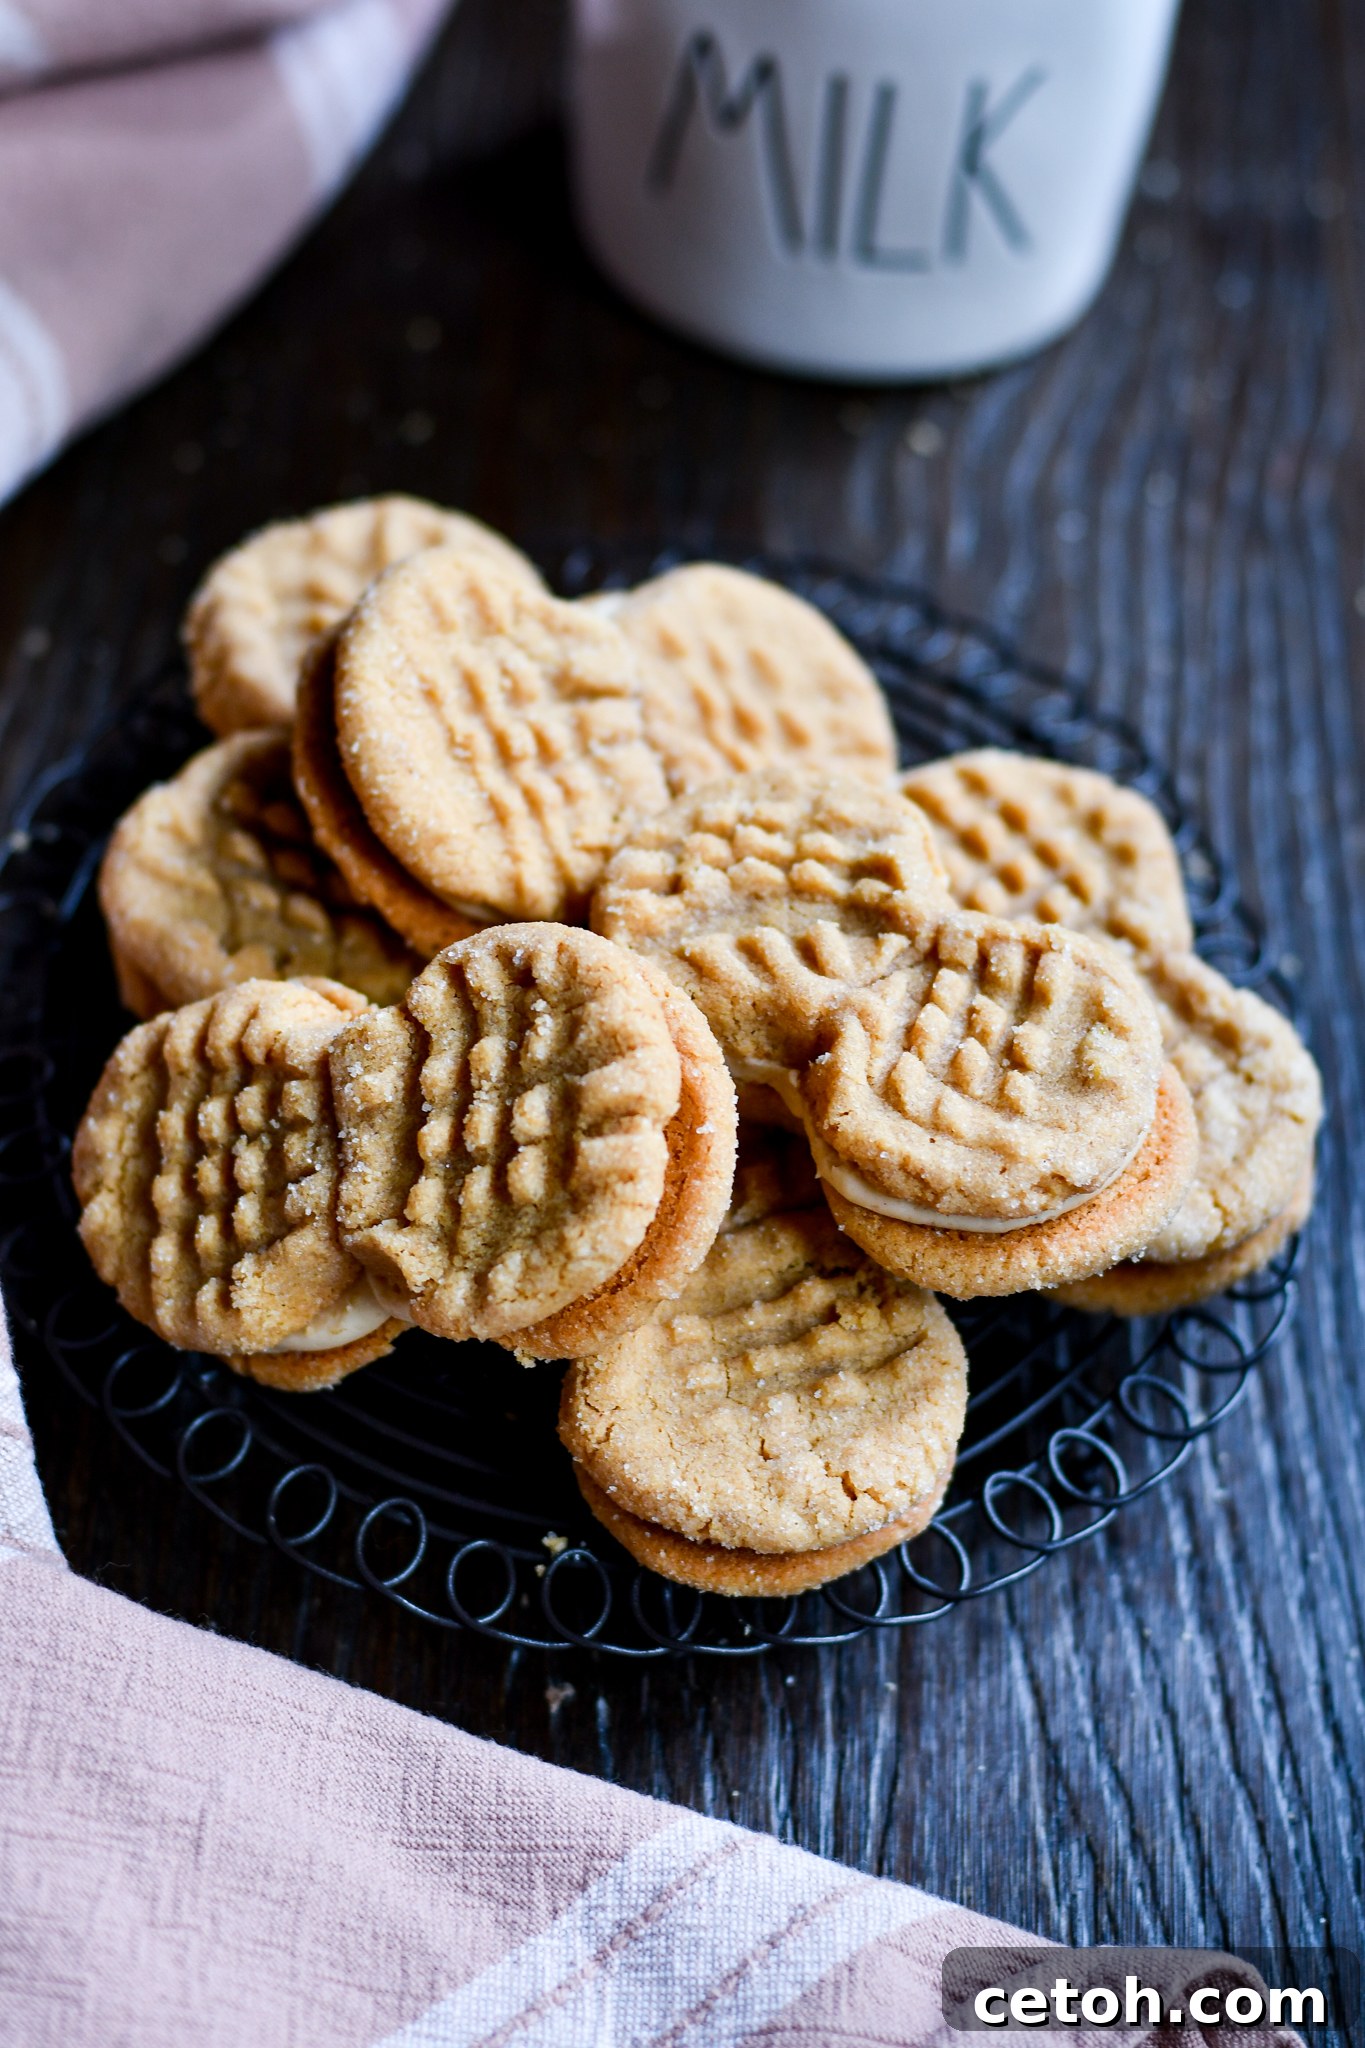
Irresistible Homemade Peanut Butter Sandwich Cookies: A Classic Nutter Butter Copycat Recipe
Indulge in a delightful trip down memory lane with this incredibly simple and utterly delicious peanut butter sandwich cookie recipe! These homemade Nutter Butter-style cookies are not only easy to make but also evoke the cherished flavors of childhood lunchboxes. Crafted with just a handful of basic ingredients and straightforward instructions, you’ll soon be enjoying a fresh batch of peanut butter cookies that are perfect for an after-school treat, a comforting snack, or sharing joyous moments with friends and family.
There’s something uniquely comforting about a peanut butter cookie, and when you double that goodness with a creamy, rich peanut butter filling, you create an unparalleled dessert experience. Forget store-bought imitations; once you taste these freshly baked, soft, and chewy marvels, you’ll never go back. They are a testament to how simple ingredients can come together to create something truly magical.
Speaking of lunchbox nostalgia and delightful treats, you might also love our Copycat Hostess Cupcakes recipe, featuring a luscious red velvet twist!
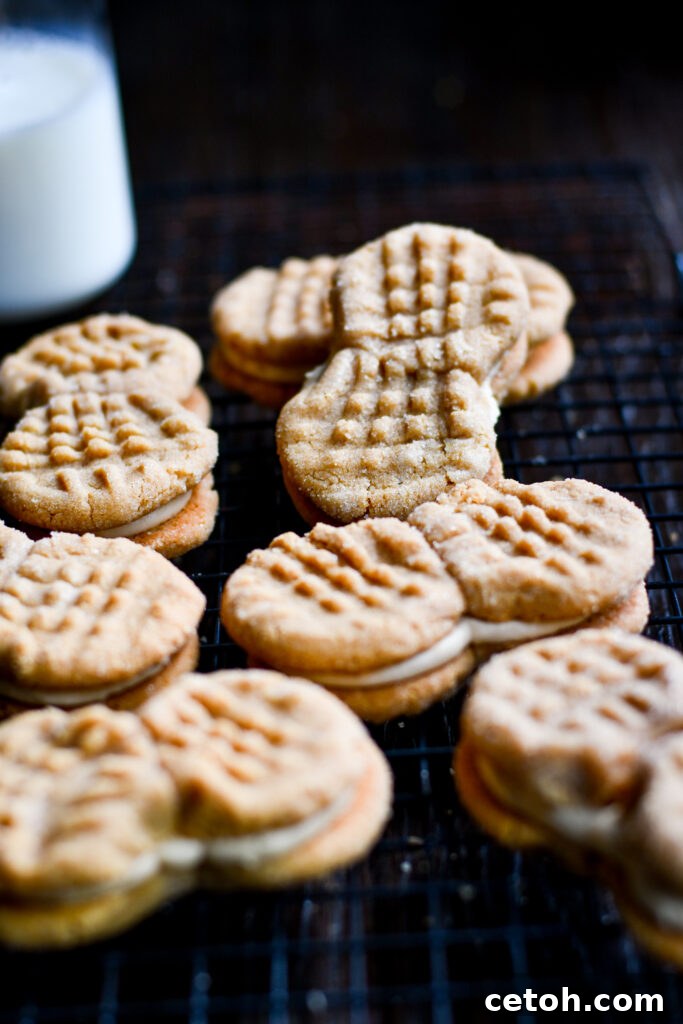
Why You’ll Adore These Peanut Butter Sandwich Cookies
Our homemade peanut butter sandwich cookies are more than just a dessert; they’re an experience. Here’s why this recipe will become a beloved staple in your kitchen:
- Unmatched Flavor: The combination of soft, chewy peanut butter cookies and a rich, creamy peanut butter filling creates a symphony of nutty, sweet flavors that’s far superior to anything you’d buy pre-packaged.
- Effortless Preparation: With simple ingredients and straightforward steps, this recipe is perfect for bakers of all skill levels, from beginners to seasoned pros.
- Nostalgic Comfort: These cookies capture the essence of classic Nutter Butters, bringing back fond memories of childhood snacks and simpler times.
- Perfectly Customizable: While delicious as is, this recipe serves as a fantastic base for creativity. Experiment with different fillings or cookie add-ins to make them uniquely yours.
- Crowd-Pleasing Treat: Whether for a bake sale, a party, or just an everyday snack, these cookies are guaranteed to be a hit with everyone who tries them.
Essential Ingredients for Your Peanut Butter Sandwich Cookies
Understanding the specific role each ingredient plays is key to appreciating how they come together to create the perfect peanut butter cookies and why each element is essential to the process. The cookies themselves are delightfully sweet, wonderfully chewy, and packed with irresistible peanut butter flavor, while the filling is luxuriously creamy, sweet, and utterly delicious. Together, they form the ultimate peanut butter cookie sandwich experience.
For the Peanut Butter Cookies: The Foundation of Flavor
The magic begins with a perfectly crafted peanut butter cookie. Each ingredient contributes to its signature taste and texture:
- Creamy Peanut Butter: This is unequivocally the star of the show. Peanut butter delivers the primary flavor and an incredible texture to the cookies. Its rich, creamy consistency and classic nutty taste are what define these treats. For optimal results and a consistent texture, a standard creamy peanut butter is recommended.
- Granulated Sugar: Beyond simply sweetening the cookies, sugar plays a vital role in their texture. It helps create a tender, chewy interior and contributes to the beautiful golden-brown color achieved during baking. While granulated sugar is specified, brown sugar can be substituted for a slightly chewier cookie with a hint of molasses flavor.
- Egg: Eggs serve as crucial binding agents, holding the cookie dough together. They also infuse moisture and provide essential structure, ensuring the cookies rise appropriately and set perfectly as they bake.
- Vanilla Extract: A touch of vanilla extract is a flavor enhancer that adds a subtle yet delightful hint of warmth and complexity. It beautifully complements and deepens the natural nuttiness of the peanut butter, elevating the overall taste profile.
- All-Purpose Flour: Just a touch of flour helps provide structure and stability to the cookie dough, preventing the cookies from spreading too much and ensuring they hold their iconic shape while maintaining their tender chewiness.
For the Decadent Peanut Butter Filling: The Creamy Heart
The luscious filling is what transforms a simple cookie into a sensational sandwich. Each component is chosen for its specific contribution to creaminess and flavor:
- Creamy Peanut Butter: Just as in the cookies, peanut butter is central to the filling, providing that wonderful nutty flavor and irresistibly creamy consistency. Ensure it’s creamy for the smoothest filling.
- Powdered Sugar (Confectioners’ Sugar): This fine sugar is indispensable for sweetening the filling and giving it the necessary body and thickness. Its powdery texture ensures a silky-smooth, melt-in-your-mouth filling without any grittiness.
- Corn Syrup: A small amount of corn syrup is a secret weapon for achieving a perfectly smooth and glossy filling. It helps prevent crystallization of the sugar, keeping the filling soft and spreadable for longer, while also adding a subtle sweetness and sheen.
- Vanilla Extract: Again, vanilla extract enhances the overall flavor profile of the filling, adding a subtle depth that perfectly balances the rich peanut butter. It brings a comforting warmth that makes the filling truly irresistible.
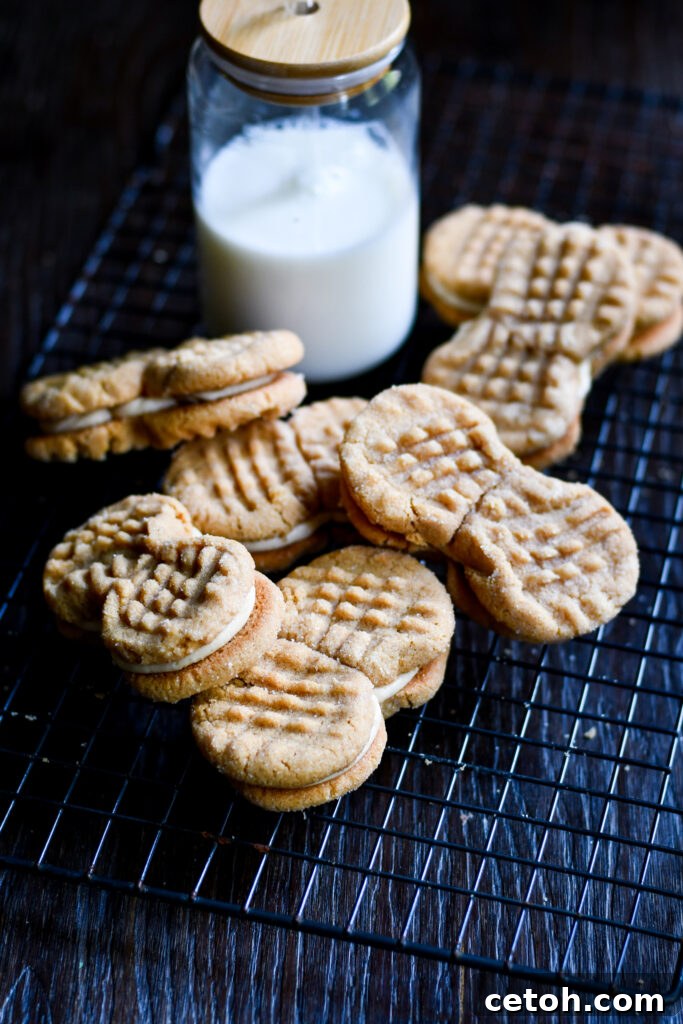
Choosing the Right Peanut Butter for Your Cookies
The type of peanut butter you choose can significantly impact the texture and taste of your cookies. Let’s explore your options:
Can I use natural peanut butter in this recipe?
While it is technically possible to use natural peanut butter, it is generally not recommended for optimal results in this specific recipe. Natural peanut butter tends to have a different consistency – it often separates, with oil rising to the top, and can be thinner or more oily than traditional processed peanut butter. This variability in consistency can lead to spreading issues with your cookies, making them flatter or less uniform than desired.
For the best and most predictable results, it’s advisable to use a regular, processed creamy peanut butter (such as Jif or Skippy). These brands offer a more consistent texture and fat content, which are crucial for achieving the perfect chewiness and shape of your peanut butter sandwich cookies. If you must use natural peanut butter, opt for a “no-stir” variety, which has stabilizers added to prevent separation and typically offers a texture more comparable to traditional peanut butter.
Can I use crunchy peanut butter?
Absolutely! If you revel in a bit of added texture and a delightful nutty crunch, you are more than welcome to use crunchy peanut butter instead of smooth peanut butter. This substitution will lend a delicious and exciting twist to the classic peanut butter sandwich cookies, adding an extra layer of enjoyment for those who appreciate a more complex mouthfeel.
Just be mindful that using crunchy peanut butter will naturally result in a filling that has a bit more texture. This can make the filling slightly more challenging to spread evenly between the cookies, and pressing the second cookie on top might require a gentle touch to avoid breakage. However, the unique crunch it provides is often well worth the minor adjustment in technique!
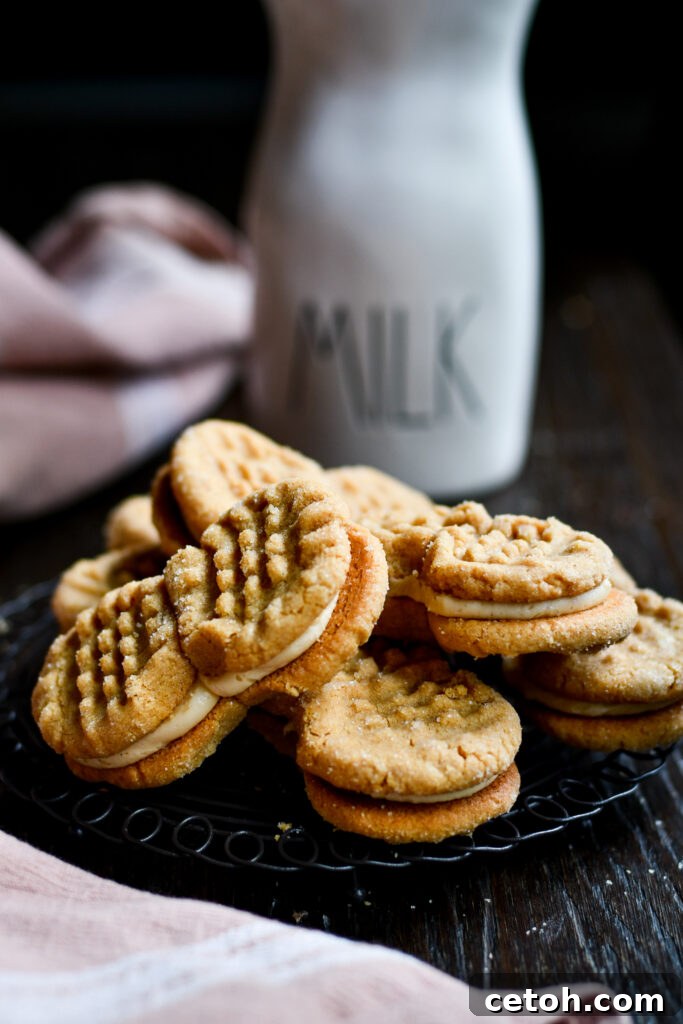
More Delightful Peanut Butter Cookie Recipes to Explore
If you’ve fallen in love with the magic of peanut butter cookies, you’re in for a treat! Here are some other fantastic peanut butter cookie variations you might enjoy:
- Homemade Nutter Butters Recipe
- Candy Corn Peanut Butter Cookies Recipe
- Gluten-Free Dairy-Free Monster Cookies Recipe
- Gluten Free Peanut Butter Blossoms
- Football Field Peanut Butter Cookie Bars
- 3-Ingredient Peanut Butter Cookies
Crafting the Iconic Nutter Butter Shape for Your Cookies
Everyone knows that presentation is a significant part of the eating experience. If you’re aiming to make these homemade delights look as appealing as they taste, here are some tips to help you achieve that unmistakable Nutter Butter peanut shape:
- Achieve Equal Portions: Begin by ensuring that you portion your cookie dough into uniformly sized balls. This crucial step contributes to creating cookies that are consistent in size and shape, which is important for even baking and aesthetic appeal.
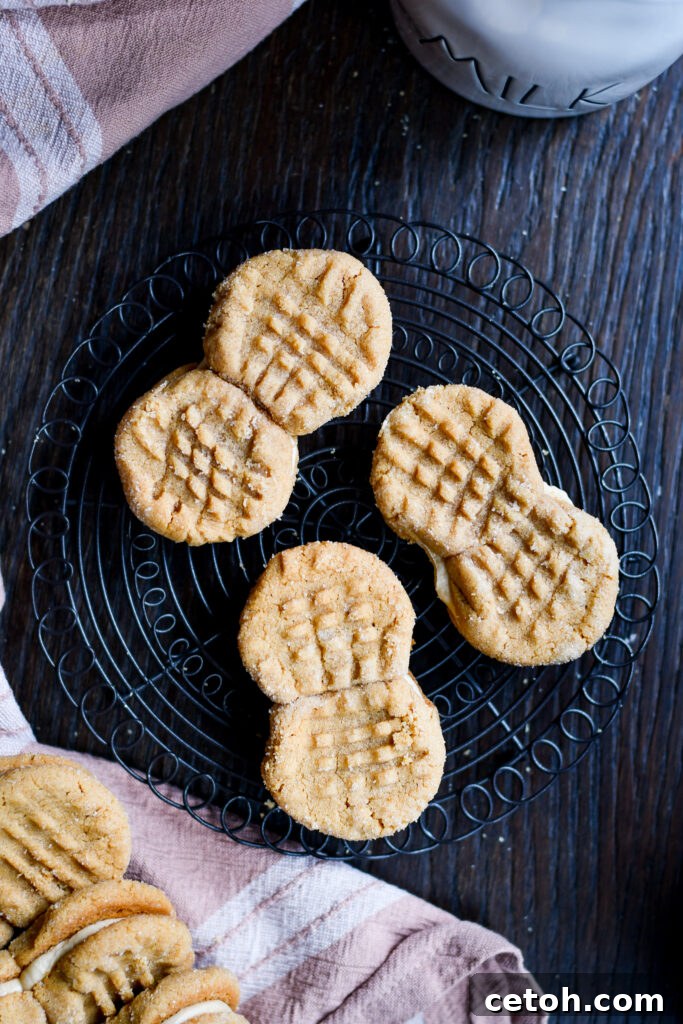
- Flatten and Join: Take each meticulously portioned ball of dough and roll it smoothly between your palms. Place two of these balls side by side on your prepared baking sheet, allowing just a small space in between. Gently use a fork to flatten each ball, then carefully press their sides together to merge them into the characteristic “Nutter Butter” sandwich shape.
- Create Fork Marks: After flattening the dough with the back of a fork, use the tines of the same fork to create the distinctive crisscross pattern or ridges that are characteristic of “Nutter Butter” cookies. Press the fork gently but firmly into the surface of the dough, first in one direction, then perpendicular to it.
- Refine with Fingers or Spoon: For an even more authentic peanut shape, you can further refine the edges. Use your fingertips or the edge of a small spoon to gently shape and smooth the contours, making them resemble a peanut more closely. This little extra effort goes a long way in presentation.
- Crucial Cooling: Once baked, allow the cookies to cool completely on a wire rack. Given their unique shape, they may be slightly more fragile straight out of the oven, so handle them with utmost care to prevent breakage.
- Filling with Precision: Only after the cookies have completely cooled and firmed up should you proceed with the filling. This prevents the filling from melting or making the cookies soggy.
Frequently Asked Questions About Peanut Butter Sandwich Cookies
Here are answers to some common questions that arise when making these delightful peanut butter sandwich cookies:
Can I substitute powdered sugar with granulated sugar in the filling?
No, it is strongly not recommended to substitute powdered sugar with granulated sugar in the filling for this recipe. Powdered sugar, also widely known as confectioners’ sugar, is specifically chosen for fillings like this due to its incredibly fine texture and its ability to dissolve effortlessly. This ensures a smooth, creamy, and uniform consistency in your filling.
Granulated sugar, in contrast, consists of larger, coarser crystals that do not dissolve as readily or completely. If you were to use granulated sugar in the filling, it would almost certainly result in a grainy, gritty, and unpleasant texture, detracting significantly from the desired creaminess. Furthermore, granulated sugar and powdered sugar behave differently in terms of sweetness and volume, so the filling may not achieve the intended sweetness or thickness. To guarantee the best results and the luxurious, creamy texture that makes these peanut butter sandwich cookies so exceptional, it is crucial to use powdered sugar precisely as specified in the recipe.
Do I need a stand mixer with a paddle attachment, or can I use a hand mixer?
You absolutely can use a hand mixer as a perfectly suitable and effective alternative to a stand mixer with a paddle attachment for this recipe. In fact, many home bakers, including myself, find a wooden spoon sufficient for mixing the cookie dough in a medium bowl, and for the filling, my KitchenAid Cordless Hand Mixer is often my preferred tool over the bowl of a stand mixer!
Here are some important considerations when using a hand mixer to ensure your cookies turn out perfectly:
- Bowl Selection: Opt for a deep, sufficiently large mixing bowl. This will comfortably accommodate all the ingredients for the dough or filling and prevent any splattering mess in your kitchen.
- Mixing Speed Control: Always begin mixing at a low to medium speed. Gradually increase the speed only as needed to fully incorporate ingredients. Exercise caution to avoid overmixing, as this can negatively impact the final texture of both your cookies and the creamy filling.
- Scrape Down the Bowl: Periodically pause your mixing to scrape down the sides and bottom of the bowl with a rubber spatula. This crucial step ensures all ingredients are thoroughly combined and evenly mixed, preventing pockets of unmixed sugar or butter.
- Enhanced Control: Hand mixers offer a fantastic degree of control, particularly beneficial for smaller batches often made in home kitchens. This allows you to closely monitor the consistency and texture as you mix.
- Focus on Consistency: Regardless of the tool you use, the ultimate goal is to achieve the desired consistency for both the cookie dough and the filling. As long as you reach that point, your hand mixer is performing its job effectively.
Ultimately, a hand mixer is a versatile and highly practical tool for a wide range of baking tasks, including the creation of these delicious peanut butter sandwich cookies. It provides the convenience of handheld control and is perfectly suited for typical home batch sizes. So, if a stand mixer isn’t available, rest assured that your trusty hand mixer will yield excellent results.
How do I prevent the cookies from sticking to the baking sheet?
Ensuring your peanut butter sandwich cookies release cleanly from the baking sheet is paramount for a successful and satisfying bake. Here are comprehensive tips to guarantee your cookies don’t stick:
- Utilize Parchment Paper: This is by far the most effective method. Line your baking sheet with a sheet of parchment paper. This creates a non-stick barrier between the cookies and the sheet, ensuring easy removal every time. I personally prefer parchment paper over silicone baking mats for peanut butter cookies, as silicone mats can sometimes encourage more spreading.
- Lightly Grease (Only if Necessary): If you do not have parchment paper or baking mats, and you are using an older, well-worn baking sheet, you may need to lightly grease it. Use a thin layer of cooking spray or a small amount of butter. However, exercise caution not to over-grease, as excessive fat can cause cookies to spread too much and lose their shape. This step is rarely needed for modern non-stick baking sheets.
- Maintain Proper Spacing: Always leave ample space between each cookie dough ball on the baking sheet. A general rule of thumb is to place cookies about 2 inches apart. This allows for natural spreading during baking without the cookies merging into one another.
- Employ a Cookie Scoop: Using a cookie scoop or an ice cream scoop helps create uniformly sized cookies. Consistent sizing not only looks better but also ensures even spreading and baking, preventing overcrowding.
- Allow Sufficient Cooling Time: After removing your cookies from the oven, let them rest and cool on the baking sheet for a few minutes (typically 5-10 minutes). This crucial cooling period allows them to set and firm up slightly, making them much easier to transfer without breaking.
- Use a Thin, Flexible Spatula: When it’s time to transfer the cookies from the baking sheet to a wire cooling rack, use a thin, offset spatula. A thin spatula can easily slide underneath the cookies without damaging their delicate structure. This 8″ Stainless Steel Spatula is an excellent tool for the job.
- Remove While Warm: Should your cookies prove a bit stubborn and stick, gently try to remove them while they are still warm (after the initial cooling period on the sheet). Cookies tend to release more easily when they haven’t completely cooled and hardened.
Craving More? Explore Our Chewy Chocolate Chip Cookie Collection!
If you’re a true cookie enthusiast, you’ll love diving into our other fantastic cookie recipes:
- Thick and Chewy Brown Sugar Chocolate Chip Cookies Recipe
- Soft & Chewy M&M Pudding Cookies Recipe
- One Smart Cookie Back to School Recipe
- Mom’s Choc-Oat-Chip Cookies Recipe
- Crispy Edges Chocolate Chips Cookies Recipe
- Chocolate Chip Birthday Cookies Recipe
Storing Your Delicious Peanut Butter Sandwich Cookies
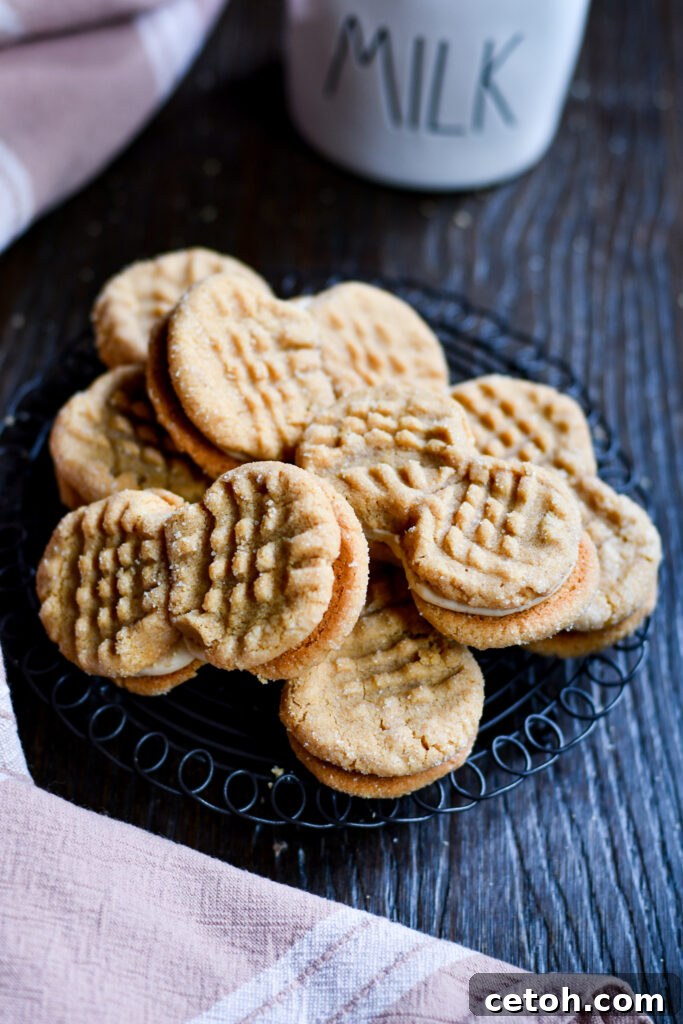
To ensure your leftover peanut butter sandwich cookies remain as fresh, soft, and delicious as the day they were baked, follow these essential storage guidelines:
- Cool Completely Before Storing: This is a critical first step. Ensure the cookies are entirely cool on a wire rack before you even consider adding the filling. Once filled, let the assembled sandwiches cool completely again before packaging. Any residual warmth can create condensation inside the storage container, leading to soggy cookies and a sticky mess.
- Utilize an Airtight Container: The key to maintaining freshness is an airtight seal. Place your cookies in a sturdy cookie tin, a plastic container with a tight-sealing lid, or a heavy-duty resealable plastic bag. Always ensure your chosen container is spotlessly clean and thoroughly dry before adding the cookies.
- Thoughtful Layering: If you plan to stack multiple layers of cookies within your container, it’s a good practice to place a sheet of parchment paper or wax paper between each layer. This simple trick prevents the cookies from sticking together, transferring flavors, or becoming overly soft. While not strictly necessary for very short-term room-temperature storage, it’s highly recommended if you intend to refrigerate or freeze your cookies.
- Room Temperature Storage: Peanut butter sandwich cookies will stay wonderfully fresh at room temperature for up to one week, provided they are kept in a well-sealed, airtight container. If your kitchen tends to be particularly warm or humid, opting for a container with a silicone seal can offer extra protection against moisture and help maintain their optimal freshness.
- Refrigeration for Extended Freshness: To further extend their shelf life, you can refrigerate the cookies for up to two weeks. Store them in an airtight container, ensuring it is well-sealed to prevent any moisture absorption or the cookies from taking on refrigerator odors. Bring them to room temperature before serving for the best taste and texture.
- Freezing for Long-Term Enjoyment: For maximum longevity, freezing is an excellent option. Individually wrap each cookie tightly in plastic wrap or aluminum foil. Alternatively, place unwrapped cookies in a single layer on a baking sheet and freeze until solid, then transfer them to an airtight freezer-safe container or a heavy-duty resealable freezer bag. When properly stored, frozen peanut butter sandwich cookies can last for up to three months.
- Proper Thawing Technique: When you’re ready to enjoy frozen cookies, simply transfer them from the freezer to a wire rack and allow them to thaw gradually at room temperature for a few hours or overnight. This gentle thawing process helps prevent condensation from forming on the surface of the cookies, which can otherwise compromise their texture and make them soggy.
Achieving Perfection: Advanced Tips for Peanut Butter Cookie Sandwiches
Mastering the Art of Peanut Butter Cookie Sandwiches:
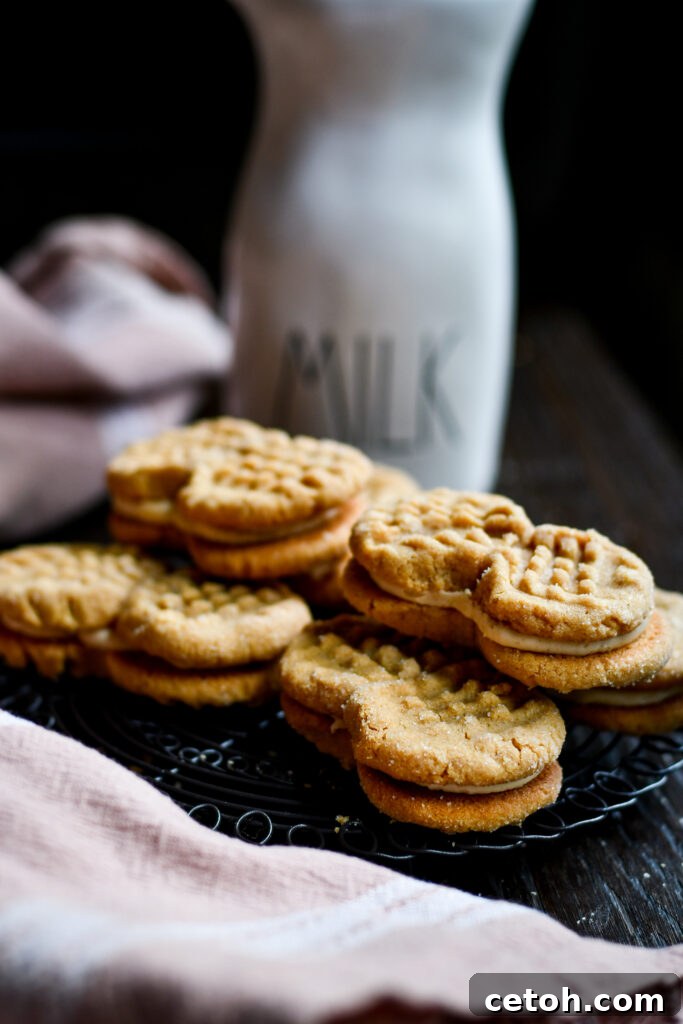
Transforming a good cookie into a truly exceptional peanut butter sandwich cookie often comes down to a few key techniques and considerations. Here are our top tips for achieving perfect results every time:
- Embrace Room Temperature Ingredients: The secret to soft, consistently textured cookies begins with softened, room-temperature ingredients, especially butter and eggs. They cream together more smoothly, creating a more cohesive dough and a better final product.
- Optimize Your Mixing: While a stand mixer with a paddle attachment offers convenience, you can achieve excellent results with a hand mixer or even a sturdy wooden spoon. Mix the dough on low speed to prevent overworking, which can lead to tough cookies. Mix just until combined.
- Sift Dry Ingredients for Uniformity: For the most consistent and tender cookie texture, lightly sift your all-purpose flour and any other dry ingredients together. This step eliminates clumps and ensures an even distribution throughout the dough.
- Unleash Filling Creativity: While a classic peanut butter filling is divine, don’t shy away from variety! Experiment with different fillings such as creamy chocolate ganache, luscious dulce de leche, or even a scoop of softened vanilla ice cream for a decadent twist.
- Strategic Cookie Alignment: Remember that each sandwich requires two cookies. To streamline the assembly process, lay out half of your cooled cookies on a clean surface before you begin filling. This ensures proper alignment and efficient sandwich creation.
- Master the Chewy Texture: To achieve that coveted chewy texture, bake your cookies until they are just set at the edges but still appear slightly soft in the center. They will continue to firm up and reach their ideal chewiness as they cool on the baking sheet and then on a wire rack.
- Uniformity with a Cookie Scoop: A cookie scoop is your best friend for creating consistently sized, bite-size cookies. Uniformity not only enhances the aesthetic appeal but also ensures even baking and makes assembling your sandwiches a breeze.
- Precision with a Piping Bag: For a professional and tidy appearance, especially if you’re photographing your cookies or making them for a special occasion, consider using a piping bag to apply your creamy filling. It allows for precise distribution and creates a beautiful, even layer.
- Smart Shortcuts for Busy Days: While the homemade filling is undeniably superior and truly elevates these cookies, sometimes you need a quick hack. As a clever shortcut that won’t compromise the cookie’s integrity, try mixing store-bought peanut butter with canned vanilla frosting (adjust measurements to taste) for a surprisingly delicious and easy filling.
- Vigilant Baking Time Awareness: Every oven is unique, and even a minute or two can significantly impact the outcome of cookies. Keep a watchful eye on your cookies during baking and adjust the baking time as needed to ensure they are perfectly golden and baked through, but not overdone.
- Freeze for Future Enjoyment: Plan ahead by baking an extra batch and freezing some of your cookies (either baked cookies or even the filled sandwiches). They thaw beautifully and make for perfect, ready-to-eat treats or spontaneous ice cream cookie sandwiches.
- Explore Endless Variations: Don’t limit yourself to just one flavor profile! Experiment with different filling flavors—think chocolate peanut butter, white chocolate, or even a hint of espresso. Finding your all-time favorite cookie sandwich recipe is part of the delicious journey!
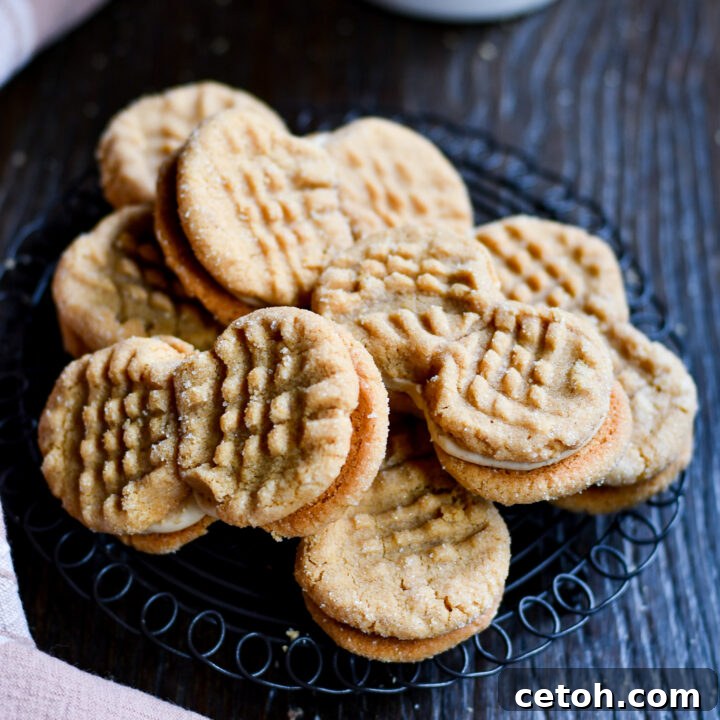
Peanut Butter Sandwich Cookies
12 Sandwiches
20 minutes
10 minutes
10 minutes
40 minutes
Make your kitchen smell heavenly with our peanut butter cookies sandwich recipe – easy and delicious! A simplified homemade version of Nutter Butters that are perfect for lunchboxes, after-school treats, and sharing with friends.
Ingredients
Peanut Butter Cookies
- 1 cup creamy peanut butter
- 1 cup granulated sugar
- 1 egg
- 1 teaspoon vanilla extract
- 1 tablespoon all-purpose flour
Peanut Butter Filling
- ¾ cup creamy peanut butter
- ⅓ cup powdered sugar
- 2 tablespoons corn syrup
- 1 teaspoon vanilla extract
Instructions
Peanut Butter Cookies
- Preheat your oven to 350ºF (180ºC) and line a baking sheet with parchment paper.
- In a medium bowl, combine peanut butter, granulated sugar, egg, vanilla extract, and the flour. Mix until all the ingredients are well incorporated and a soft cookie dough forms.
- Take small portions of the dough (approximately 1 tablespoon per portion) and roll them into balls.
- Place two balls side by side on the baking sheet. Use a fork to gently flatten each ball, pressing them together at their sides to create the “Nutter Butter” sandwich shape.
- Press the fork gently into the surface of the dough again, creating a crisscross pattern.
- Repeat this with the remaining cookie dough.
- Bake the cookies for 9 minutes. They may appear to be underbaked, and that’s okay. They’ll continue to bake a little bit on the baking sheet as they cool.
- Once the cookies are cool enough to handle, transfer them to a wire baking rack to cool completely.
Peanut Butter Filling
While the cookies are cooling, prepare the peanut butter filling.
- In a separate bowl, use an electric mixer (hand or stand is fine) to combine the peanut butter, powdered sugar, corn syrup, and vanilla extract. Mix until the filling is smooth with no streaks remaining.
Assembly
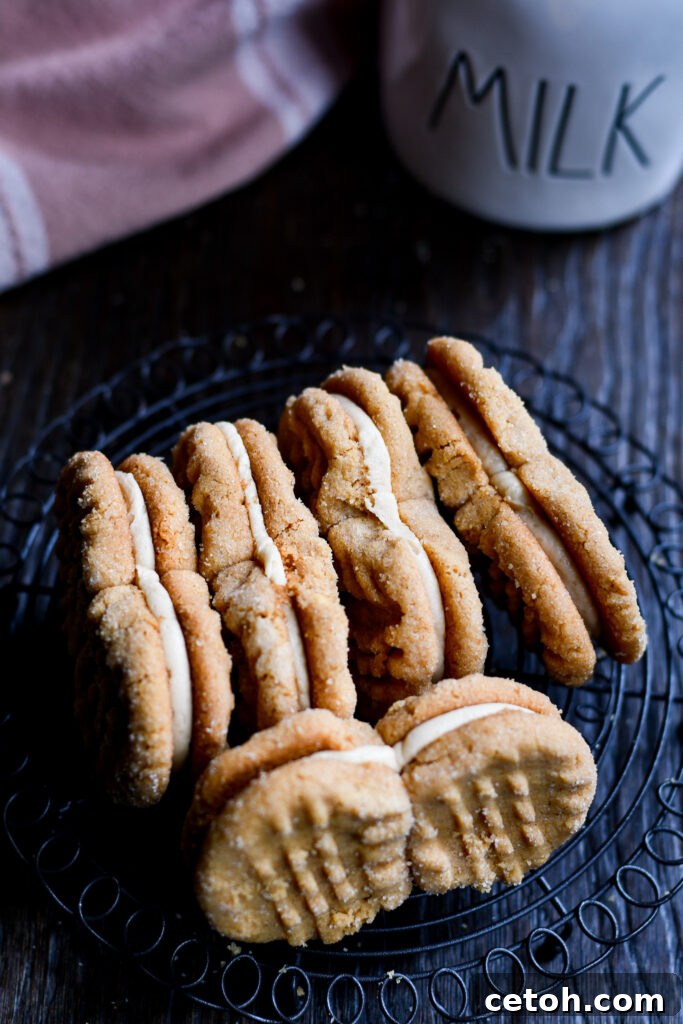
- Once the cookies have cooled completely, take one cookie and spread a generous amount of the peanut butter filling on the flat side. Then, top it with another cookie, flat side down, to create a sandwich.
- Repeat with remaining cookies and filling.
- Refer to the storage section of this post for notes on how to properly store your delicious creations.