
Dive into the comforting world of homemade English muffins – those perfectly soft, subtly chewy discs famed for their incredible “nooks and crannies.” Whether slathered with butter and jam or forming the base of a luxurious Eggs Benedict, a freshly baked English muffin is a breakfast revelation. Forget store-bought; making these at home elevates your brunch game to an entirely new level, filling your kitchen with an irresistible aroma and rewarding you with a taste and texture far superior to anything from a package.
Unlock the Secret to Perfect Homemade English Muffins: Fluffy, Nooks-and-Crannies Delight
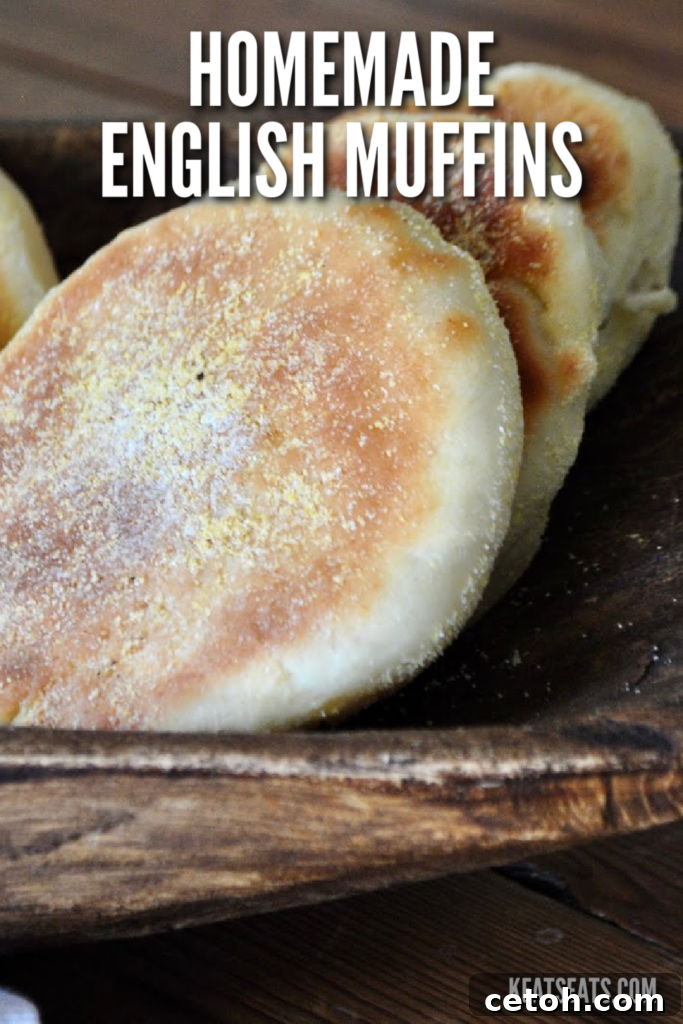
The Surprising Origin Story: Are English Muffins Truly English?
The name “English muffin” might suggest a British pedigree, but their popularization, particularly in the form we cherish today, is a distinctly American tale. The journey of these beloved breakfast items began with Samuel Thomas, an English baker who immigrated to New York City in 1874. Bringing with him the baking traditions of his homeland, Thomas refined a version of the English crumpet, transforming it into something unique that would soon capture the American palate.
By 1880, Samuel Thomas opened his own bakery in New York, where he began selling what he called “English muffins.” Unlike traditional English crumpets, which are typically thinner and have holes on the top surface, Thomas’s creation was flatter, drier, and developed its signature airy pockets – the famous “nooks and crannies” – on the inside. This ingenious internal structure made them perfect for splitting cleanly in half and, more importantly, for absorbing copious amounts of butter, jam, or any other delicious topping one could imagine.
It was this innovative design that propelled Thomas’s English Muffins to fame, eventually making his brand a household name and one of the most recognized breakfast foods in America. So, while the roots are undeniably English, the “English muffin” as we know it is very much an American innovation, a testament to Samuel Thomas’s entrepreneurial spirit and baking genius.
Why Embark on the Homemade English Muffin Journey?
In an age of convenience, one might wonder why bother making English muffins from scratch when they are readily available at any grocery store. The answer lies in the unparalleled experience of homemade goodness. Commercial English muffins, while decent, often lack the depth of flavor, the pillowy softness, and the truly distinct “nooks and crannies” that define a perfect muffin. When you bake them yourself, you control the quality of ingredients, avoid preservatives, and infuse each batch with a warmth and freshness that’s simply unbeatable.
Beyond the superior taste, there’s an immense satisfaction in the baking process itself. The scent of yeast-risen dough, the gentle kneading, the anticipation as they puff up on the griddle – it’s a therapeutic and rewarding culinary journey. Imagine waking up to the aroma of freshly baked English muffins, still warm from the pan, ready to be split and toasted. It’s a small luxury that transforms an ordinary breakfast into an extraordinary one.
The Magic of Nooks and Crannies: What Makes Them Special?
The iconic “nooks and crannies” are not just a catchy marketing phrase; they are the very essence of what makes an English muffin so uniquely delightful. These internal air pockets are formed during the dough’s fermentation and cooking process, creating a remarkably porous interior. When you slice an English muffin horizontally, these cavities are exposed, providing the perfect texture to trap and hold whatever delicious spread you choose to fill them with.
From a technical standpoint, the formation of these nooks and crannies is a delicate balance. The yeast produces carbon dioxide, creating bubbles within the gluten structure of the dough. Unlike bread that bakes in a hot oven, English muffins are cooked on a griddle or in a skillet over moderate heat. This slower, gentler cooking allows the dough to rise gradually, trapping the steam and gases, which then expand to form the characteristic airy texture. The cornmeal coating also plays a crucial role, preventing sticking and contributing a subtle crunch to the exterior.
It’s this unique internal landscape that makes English muffins such versatile vehicles for flavor, ensuring every bite is saturated with your chosen topping.
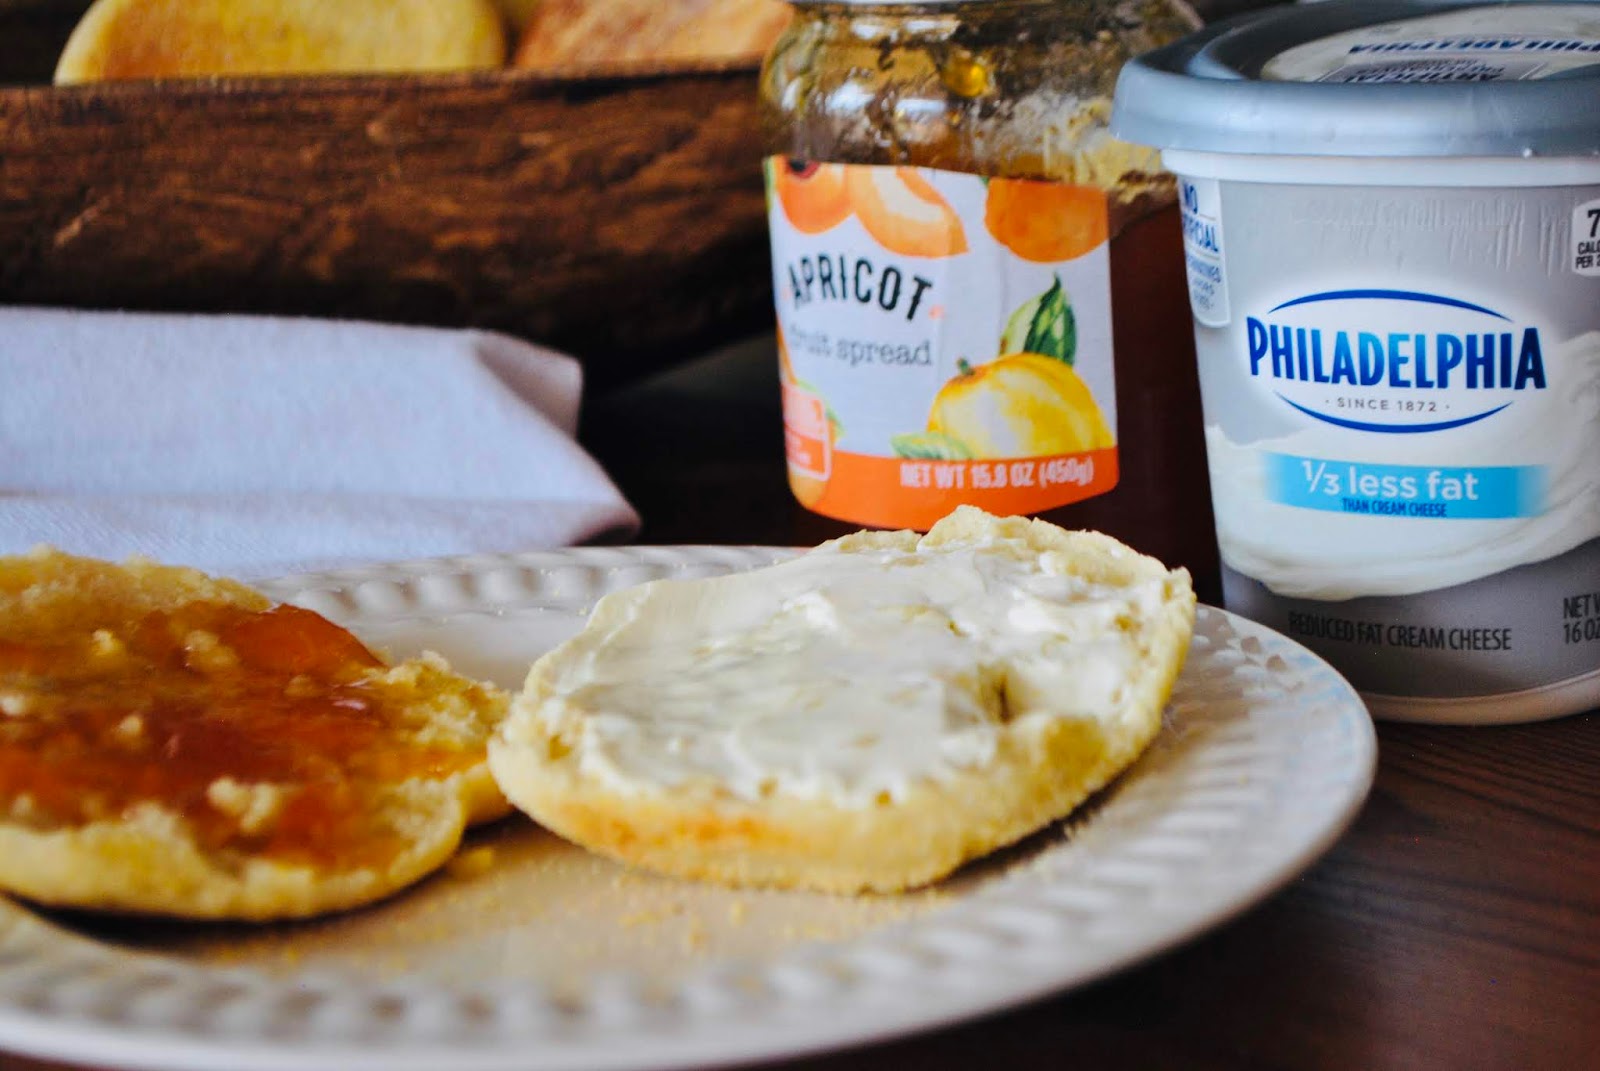
Your Guide to Baking Fluffy English Muffins at Home
Are you ready to channel your inner Samuel Thomas and fill your home with the incredible aroma of freshly baked English muffins? This recipe is designed to be straightforward, yielding perfectly fluffy muffins with those coveted nooks and crannies every single time. Get ready to impress your family and friends with this timeless breakfast treat!
Fluffy English Muffins Recipe
Print Recipe
Yield: 8 Large Muffins
Author: Keaton
Prep time: 1 Hour & 30 Minutes
Cook time: 15 Minutes
Total time: 1 Hour & 45 Minutes
Ingredients:
- 1 1/4 cup warm water (around 105-115°F / 40-46°C)
- 1 tsp instant dry yeast
- 1 Tbsp granulated sugar
- 2 Tbsp melted butter or coconut oil
- 2 3/4 cup all-purpose flour (plus more for dusting)
- 1 tsp salt
- Cornmeal for coating
Equipment You’ll Need:
- Large mixing bowl
- Spatula or wooden spoon
- Clean kitchen towel or plastic wrap
- Baking sheet
- Parchment paper or non-stick baking mat
- Rolling pin (optional, for even thickness)
- 2.5-3 inch round cookie cutter or a wide-mouth jar lid (for shaping)
- Large, heavy-bottomed skillet or griddle with a lid
- Pastry brush (for greasing the pan)
Instructions:
Follow these detailed steps to achieve perfectly soft and airy English muffins.
- Activate the Yeast: In a large mixing bowl, pour the warm water. Sprinkle the instant dry yeast evenly over the water, followed by the granulated sugar. Stir gently to combine. Let this mixture sit for 5-10 minutes. You’ll know the yeast is active and healthy when it becomes foamy and bubbly on the surface, indicating it’s ready to bring your muffins to life.
- Combine Wet and Dry: Add the melted butter (or coconut oil), all-purpose flour, and salt to the yeast mixture. Using a sturdy spatula or wooden spoon, fold the ingredients together until a shaggy, somewhat sticky dough forms. Don’t worry if it looks messy at this stage.
- Knead the Dough: Lightly flour a clean work surface. Turn the dough out onto the floured surface. Begin to knead the dough, folding it over itself, pushing down, and rotating. Continue kneading for about 5-7 minutes. If the dough is too sticky, add flour sparingly, a tablespoon at a time, until the dough is smooth, elastic, and no longer sticks excessively to your hands or the counter. This step is crucial for developing the gluten, which gives English muffins their chewy texture.
- First Rise: Lightly oil a clean bowl. Form the kneaded dough into a smooth ball and place it in the oiled bowl, turning once to coat. Cover the bowl tightly with plastic wrap or a clean kitchen towel. Place it in a warm, draft-free spot (like a slightly warm oven that’s turned off, or a sunny spot) and let it rise for approximately 1 hour, or until the dough has doubled in size.
- Prepare for Shaping: While the dough rises, line a baking sheet with parchment paper or a non-stick baking mat. Lightly sprinkle a generous layer of cornmeal over the prepared surface. This cornmeal is key to the authentic English muffin texture and prevents sticking.
- Punch Down and Divide: Once the dough has doubled, gently punch it down to release the air. Transfer the dough back to your lightly floured surface. You can either roll the dough out to about 1/2 inch thickness and use a 2.5-3 inch round cookie cutter to cut out muffins, or simply divide the dough into 8-10 equal portions and gently shape each into a round disc.
- Cornmeal Coating: Place each shaped dough disc onto the cornmeal-coated baking sheet. Gently flatten each disc with your palm so that both sides are lightly coated in cornmeal. Ensure they are evenly spaced to allow for further rising.
- Second Rise: Cover the baking sheet loosely with plastic wrap or a clean kitchen towel. Let the shaped muffins rise again for another 20-30 minutes. They should puff up slightly but not necessarily double in size.
- Cook on the Griddle: Heat a large, heavy-bottomed skillet or griddle over low-medium heat. It’s important not to use high heat, as this can burn the outside before the inside cooks through. Lightly grease the pan with a tiny bit of oil or butter.
- Griddle Cooking: Carefully place as many English muffins into the heated pan as space permits, ensuring they aren’t overcrowded. Cover the pan with a lid. Cook for 7-10 minutes on the first side. The lid helps to trap steam, creating a soft interior and promoting a good rise.
- Flip and Finish: After 7-10 minutes, the bottoms should be golden brown. Gently flip the muffins to the other side, cover the pan again, and cook for another 5-7 minutes, or until both sides are a beautiful golden brown and the muffins feel light and cooked through. The internal temperature should reach about 200°F (93°C) if you’re using a thermometer.
- Cool and Serve: Transfer the cooked English muffins to a wire rack to cool slightly. Serve them warm, ideally split with a fork to preserve those precious nooks and crannies. Enjoy immediately!
Recipe adapted from The Recipes Generator
Pro Tips for English Muffin Perfection
- Don’t Over-Flour: While you need flour for kneading, resist the urge to add too much. A slightly sticky dough leads to a tender, not tough, muffin.
- Warm Water is Key: Ensure your water is the right temperature (105-115°F or 40-46°C). Too hot will kill the yeast, too cold won’t activate it.
- The Fork Split: Always split English muffins with a fork, rather than cutting with a knife. This ragged edge is what truly exposes and enhances the nooks and crannies, making them perfect for holding toppings.
- Heat Control: Low to medium heat is crucial. High heat will cook the outside too quickly, leaving the inside raw. Patience is a virtue here.
- Heavy-Bottomed Pan: A cast iron skillet or other heavy-bottomed pan distributes heat more evenly, preventing hot spots and ensuring consistent cooking.
- Storage: Once cooled, store English muffins in an airtight container or zip-top bag at room temperature for up to 3-4 days.
- Freezing for Later: English muffins freeze beautifully! Once completely cooled, place them in a freezer-safe bag. They can be frozen for up to 2-3 months. To reheat, thaw at room temperature or toast directly from frozen until warm and crisp.
Beyond Breakfast: Creative Ways to Enjoy Your English Muffins
While the classic butter and jam combination is always a winner, the versatility of English muffins allows for endless culinary creativity. Their sturdy yet airy structure makes them ideal for both sweet and savory applications.
Classic & Sweet Ideas:
- The Quintessential: Toasted, split, and generously slathered with softened butter, then topped with your favorite fruit jam, marmalade, or honey.
- Cream Cheese Delights: A thick layer of cream cheese, perhaps with a sprinkle of cinnamon sugar or fresh berries.
- Nut Butter Power: Spread with peanut butter, almond butter, or hazelnut spread for a protein-packed start to your day.
- Sweet & Fruity: Top with sliced bananas, strawberries, or blueberries and a drizzle of maple syrup.
Savory & Meal-Worthy Options:
- Eggs Benedict Base: The ultimate use! Perfectly toasted English muffins provide the foundation for poached eggs, Canadian bacon, and rich hollandaise sauce.
- Breakfast Sandwiches: Build your own custom breakfast sandwich with scrambled eggs, cheese, sausage, bacon, or a veggie patty.
- Mini Pizzas: A fantastic quick lunch or snack! Top with marinara sauce, mozzarella cheese, and your favorite pizza toppings, then broil until bubbly.
- Avocado Toast Twist: Smash avocado onto a toasted English muffin, season with salt, pepper, and chili flakes for a satisfying healthy option.
- Open-Faced Melts: Tuna melt or turkey melt on an English muffin makes for a delightful, lighter meal.
Embrace the Joy of Homemade Baking!
From their fascinating Americanized origins thanks to Samuel Thomas, to their iconic “nooks and crannies,” English muffins are more than just a breakfast item – they’re a canvas for culinary delight. Making them from scratch is a rewarding experience that connects you to a rich baking tradition and delivers an end product far superior to anything store-bought.
So, roll up your sleeves, gather your ingredients, and prepare to be amazed by the simple magic of homemade English muffins. The effort is minimal, but the payoff in flavor, texture, and the sheer joy of creation is immense. Enjoy the process, savor the aroma, and delight in every single fluffy, nooks-and-cranny-filled bite!